Last week we debuted our first welding project, which was the restoration of an old flatbed trailer and converting it into an all-purpose load-carrying trailer. We walked through all the preliminary steps and some of our new welding knowledge, so now here are the remaining steps we took to complete our very functional and often overused trailer.
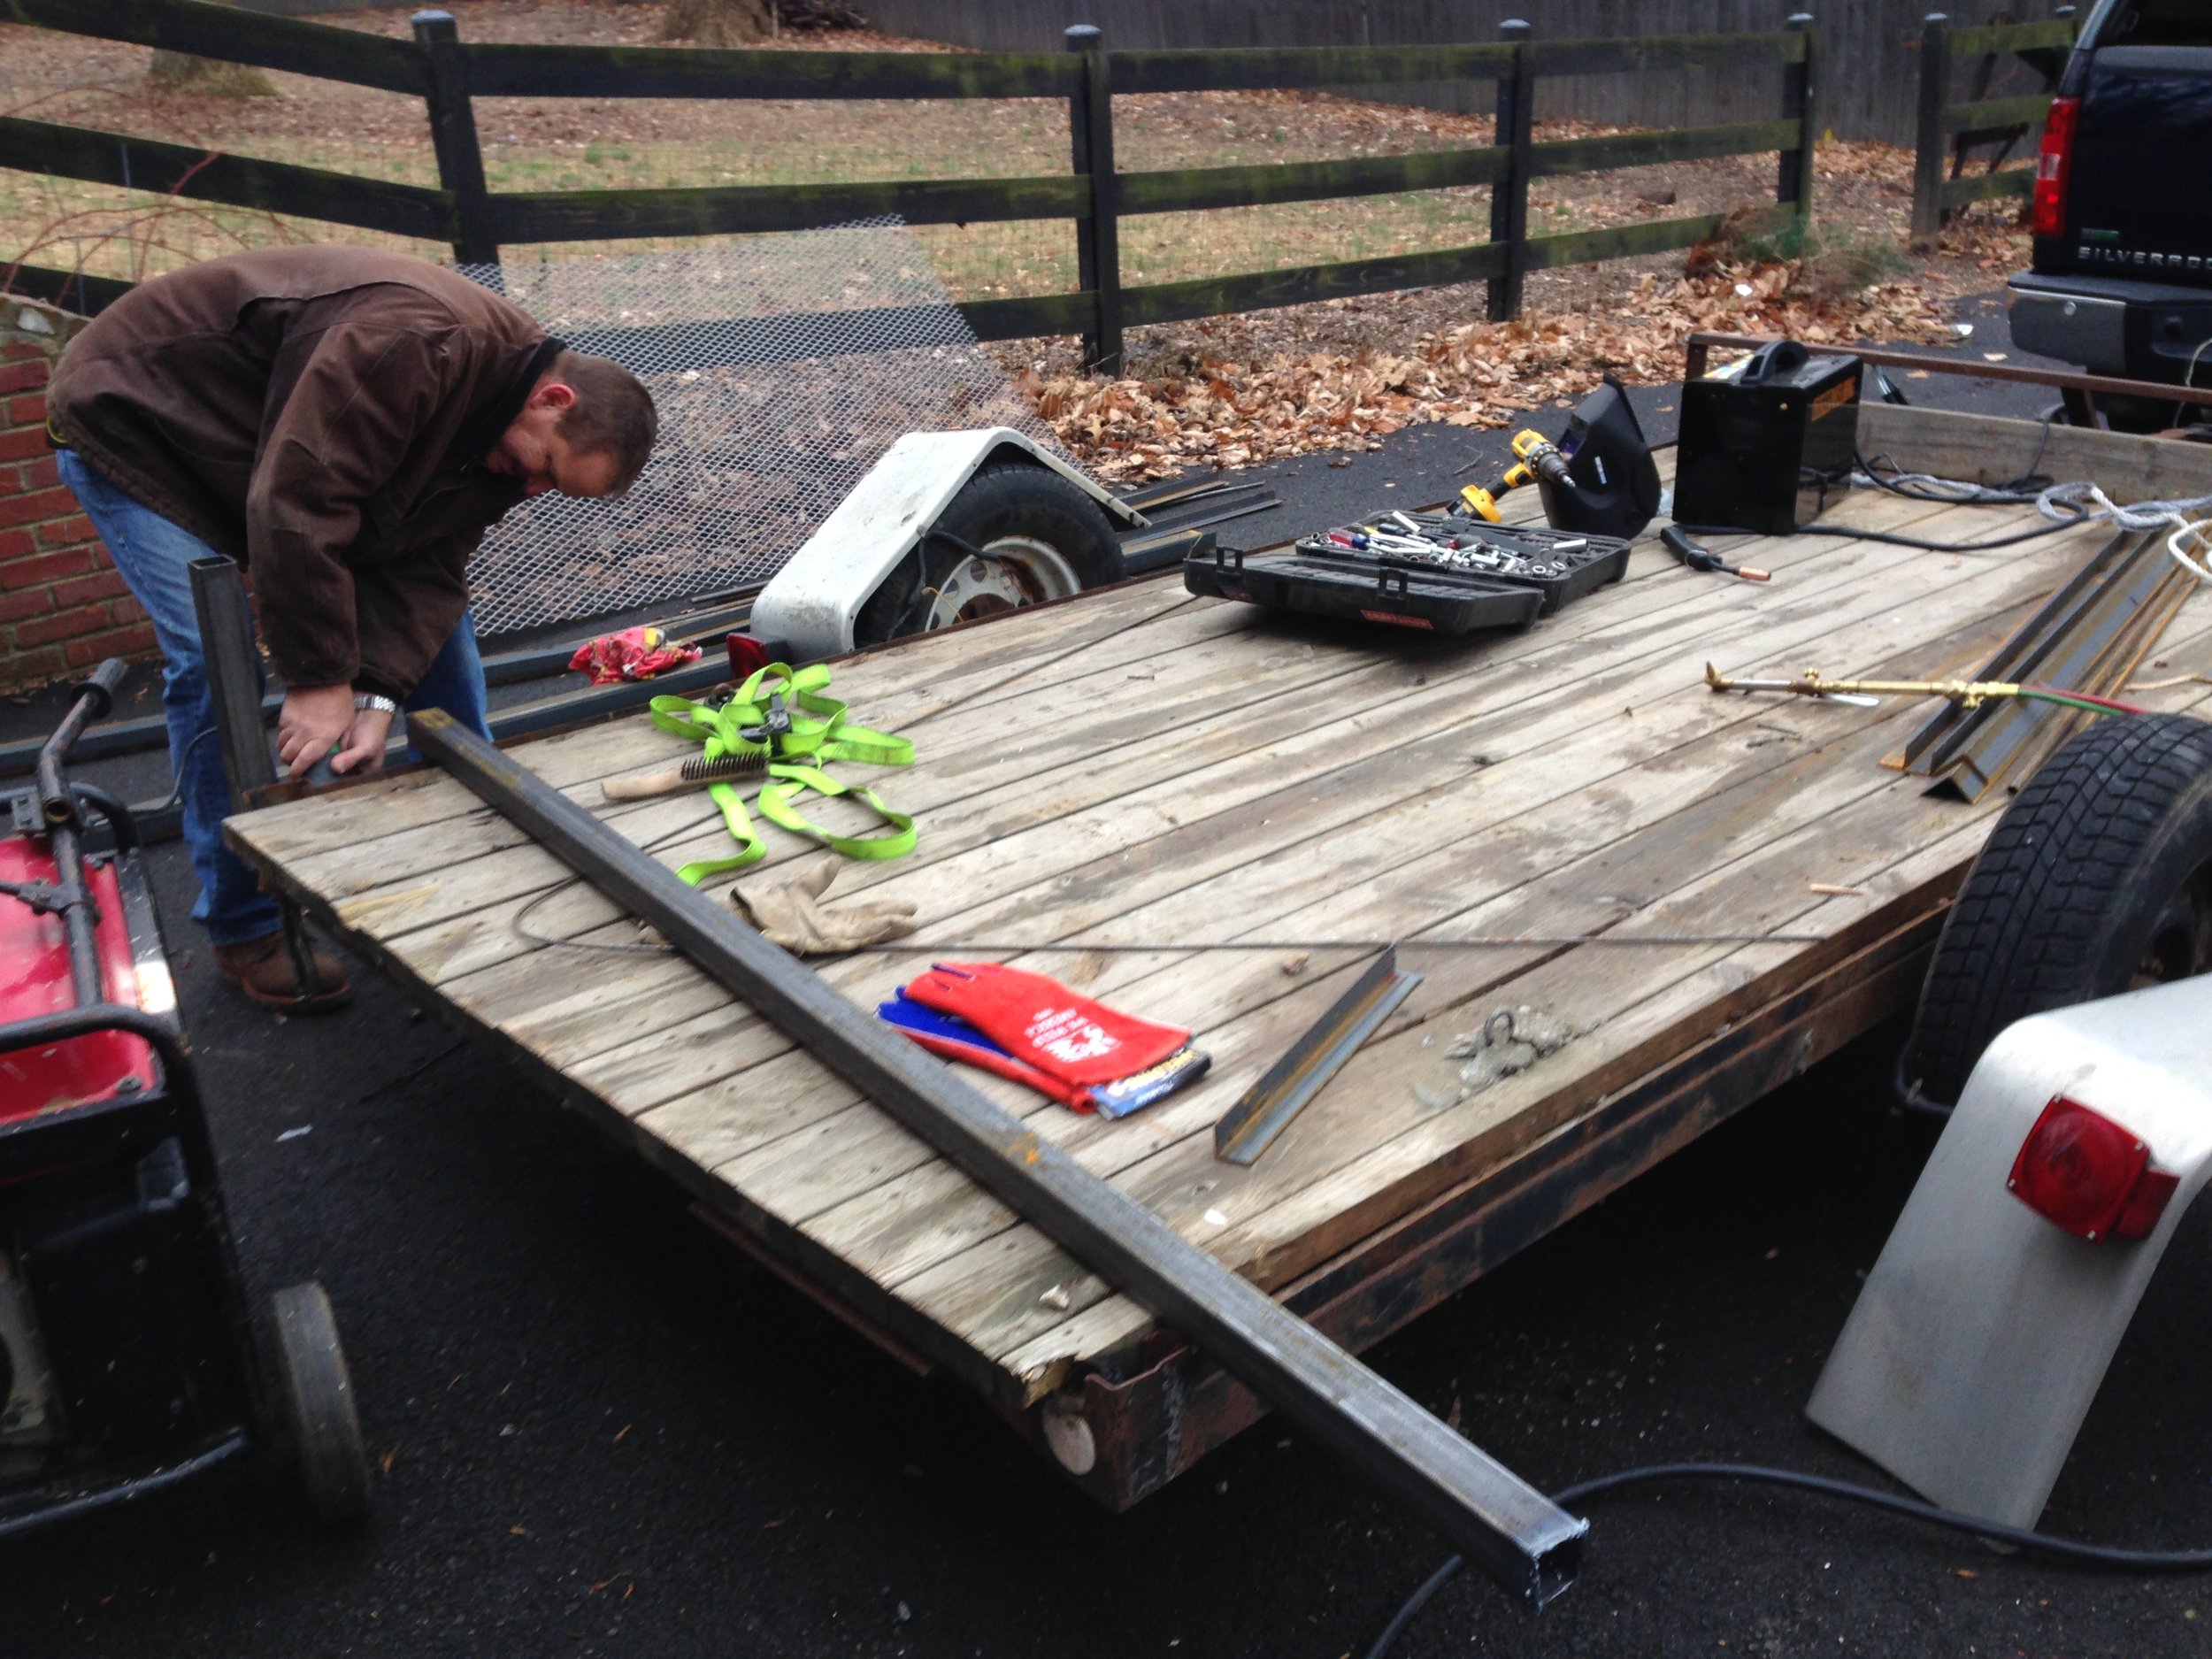
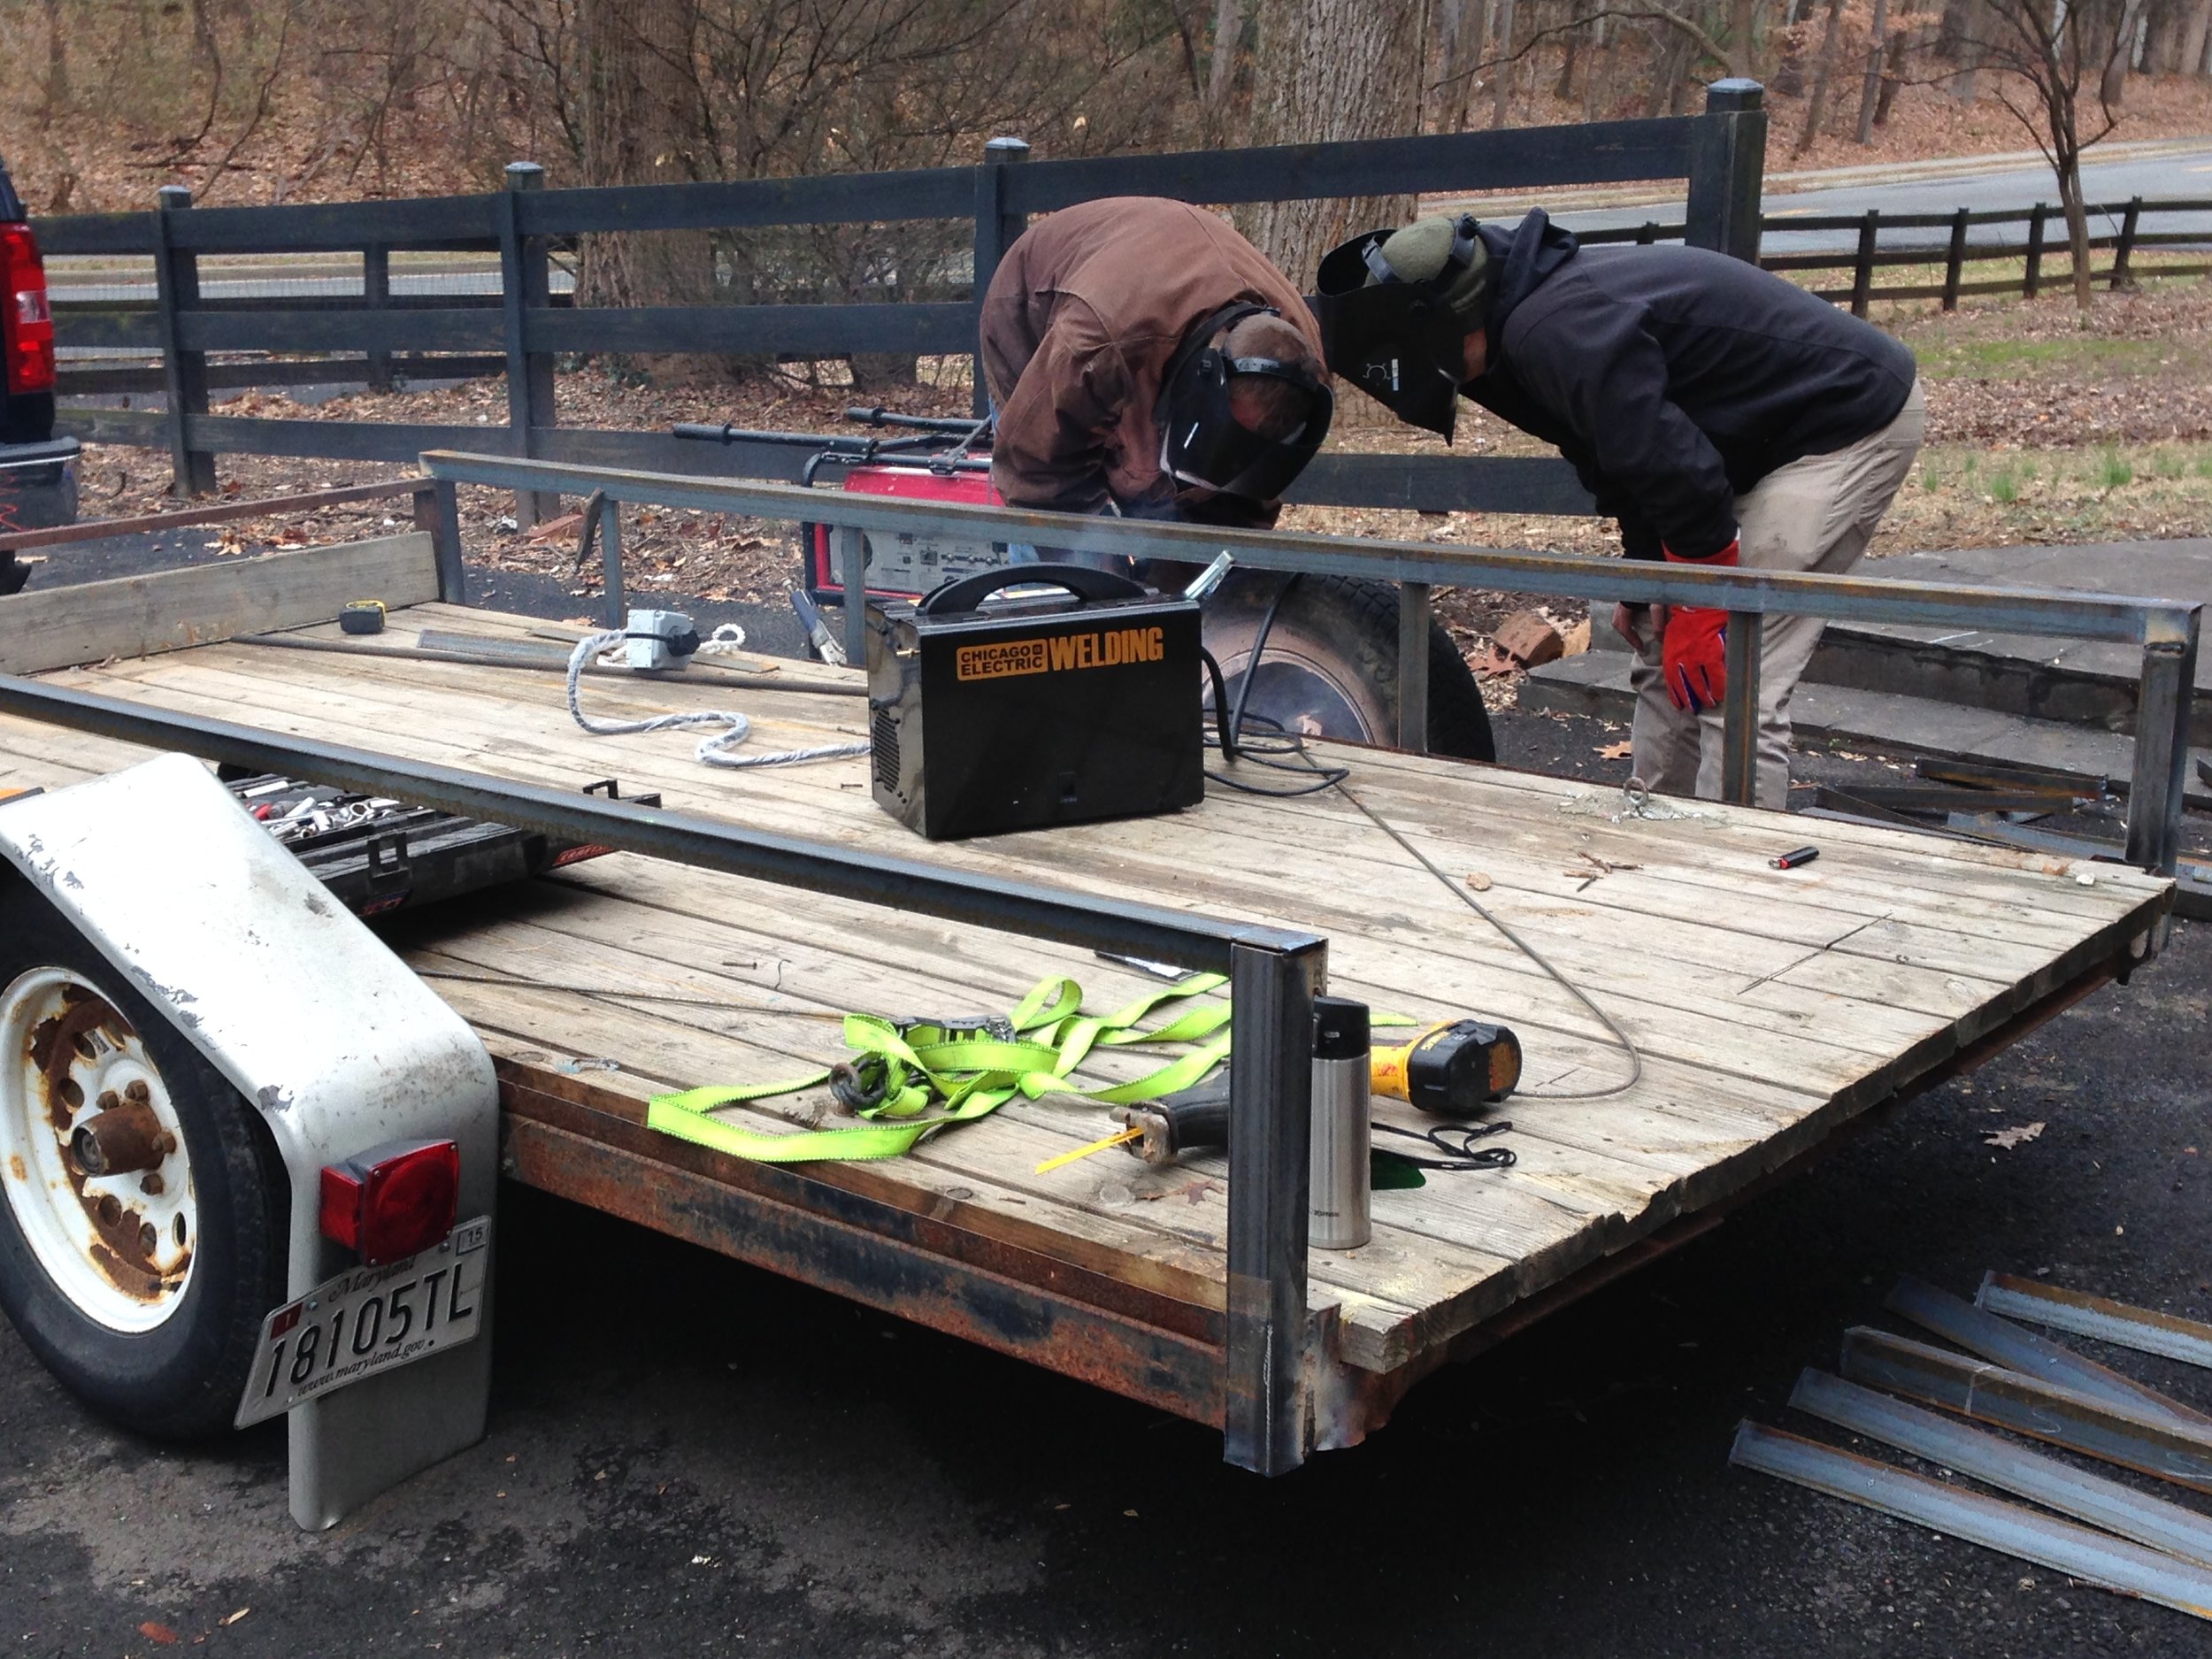
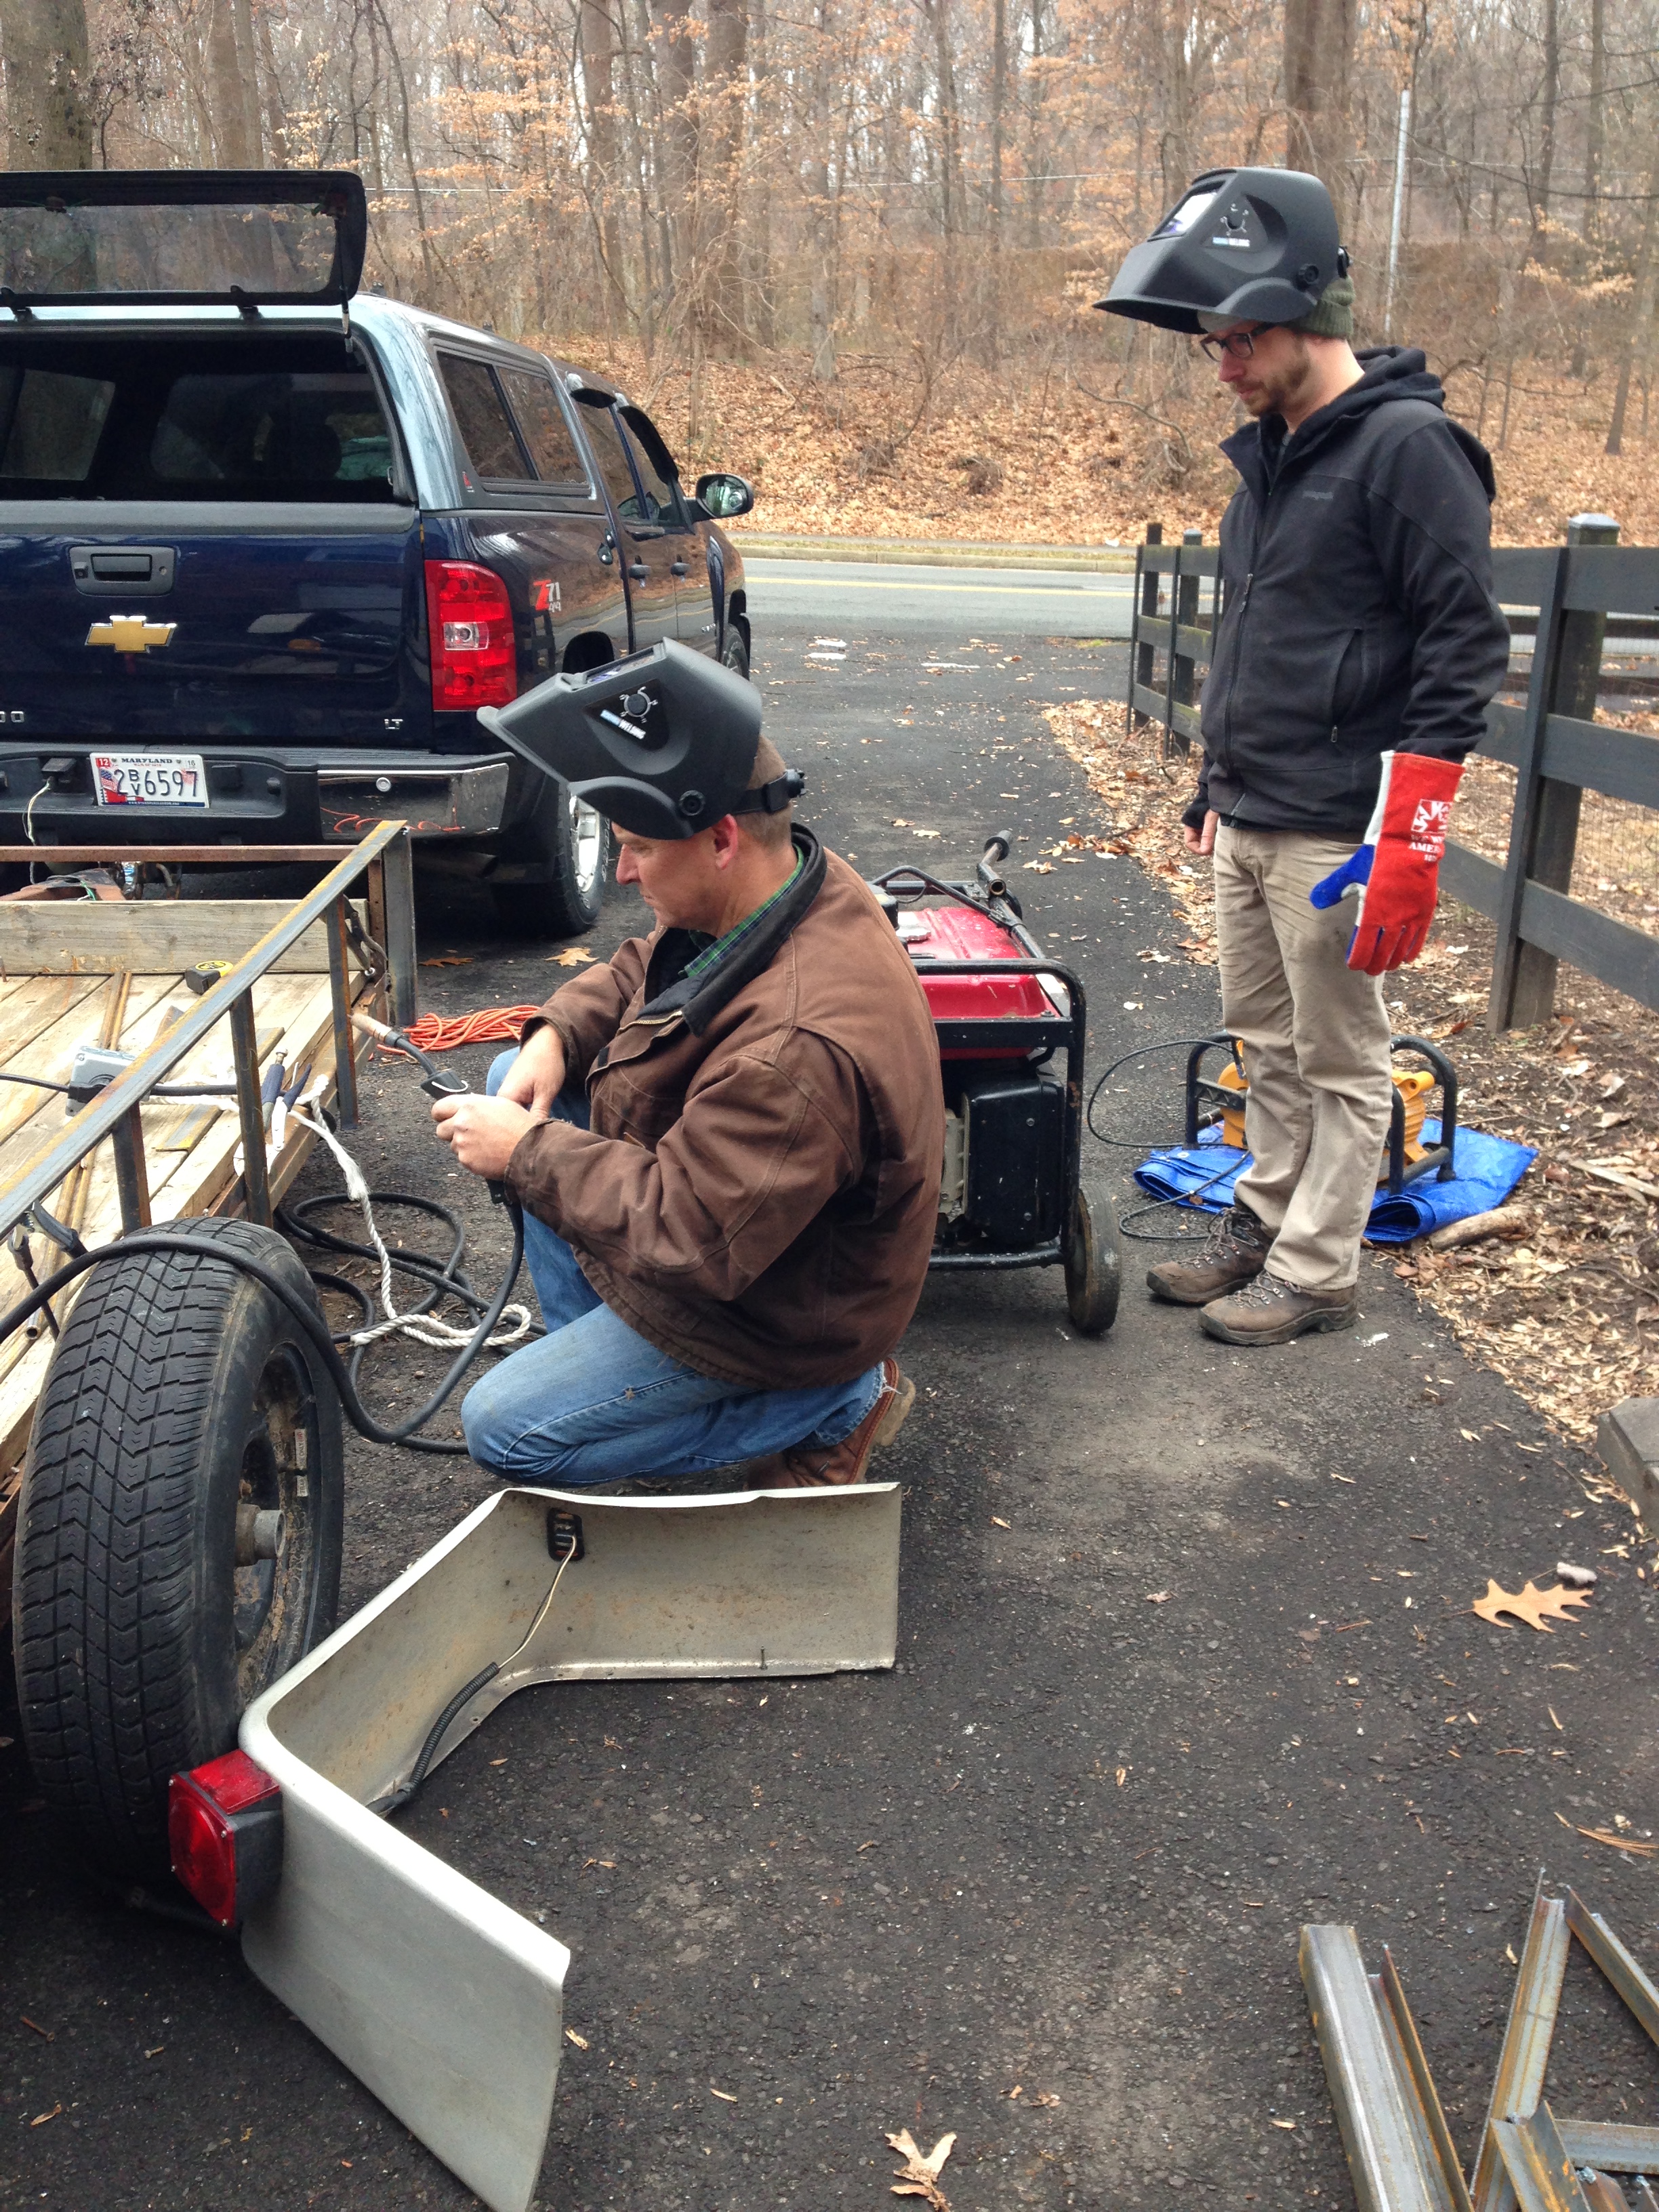
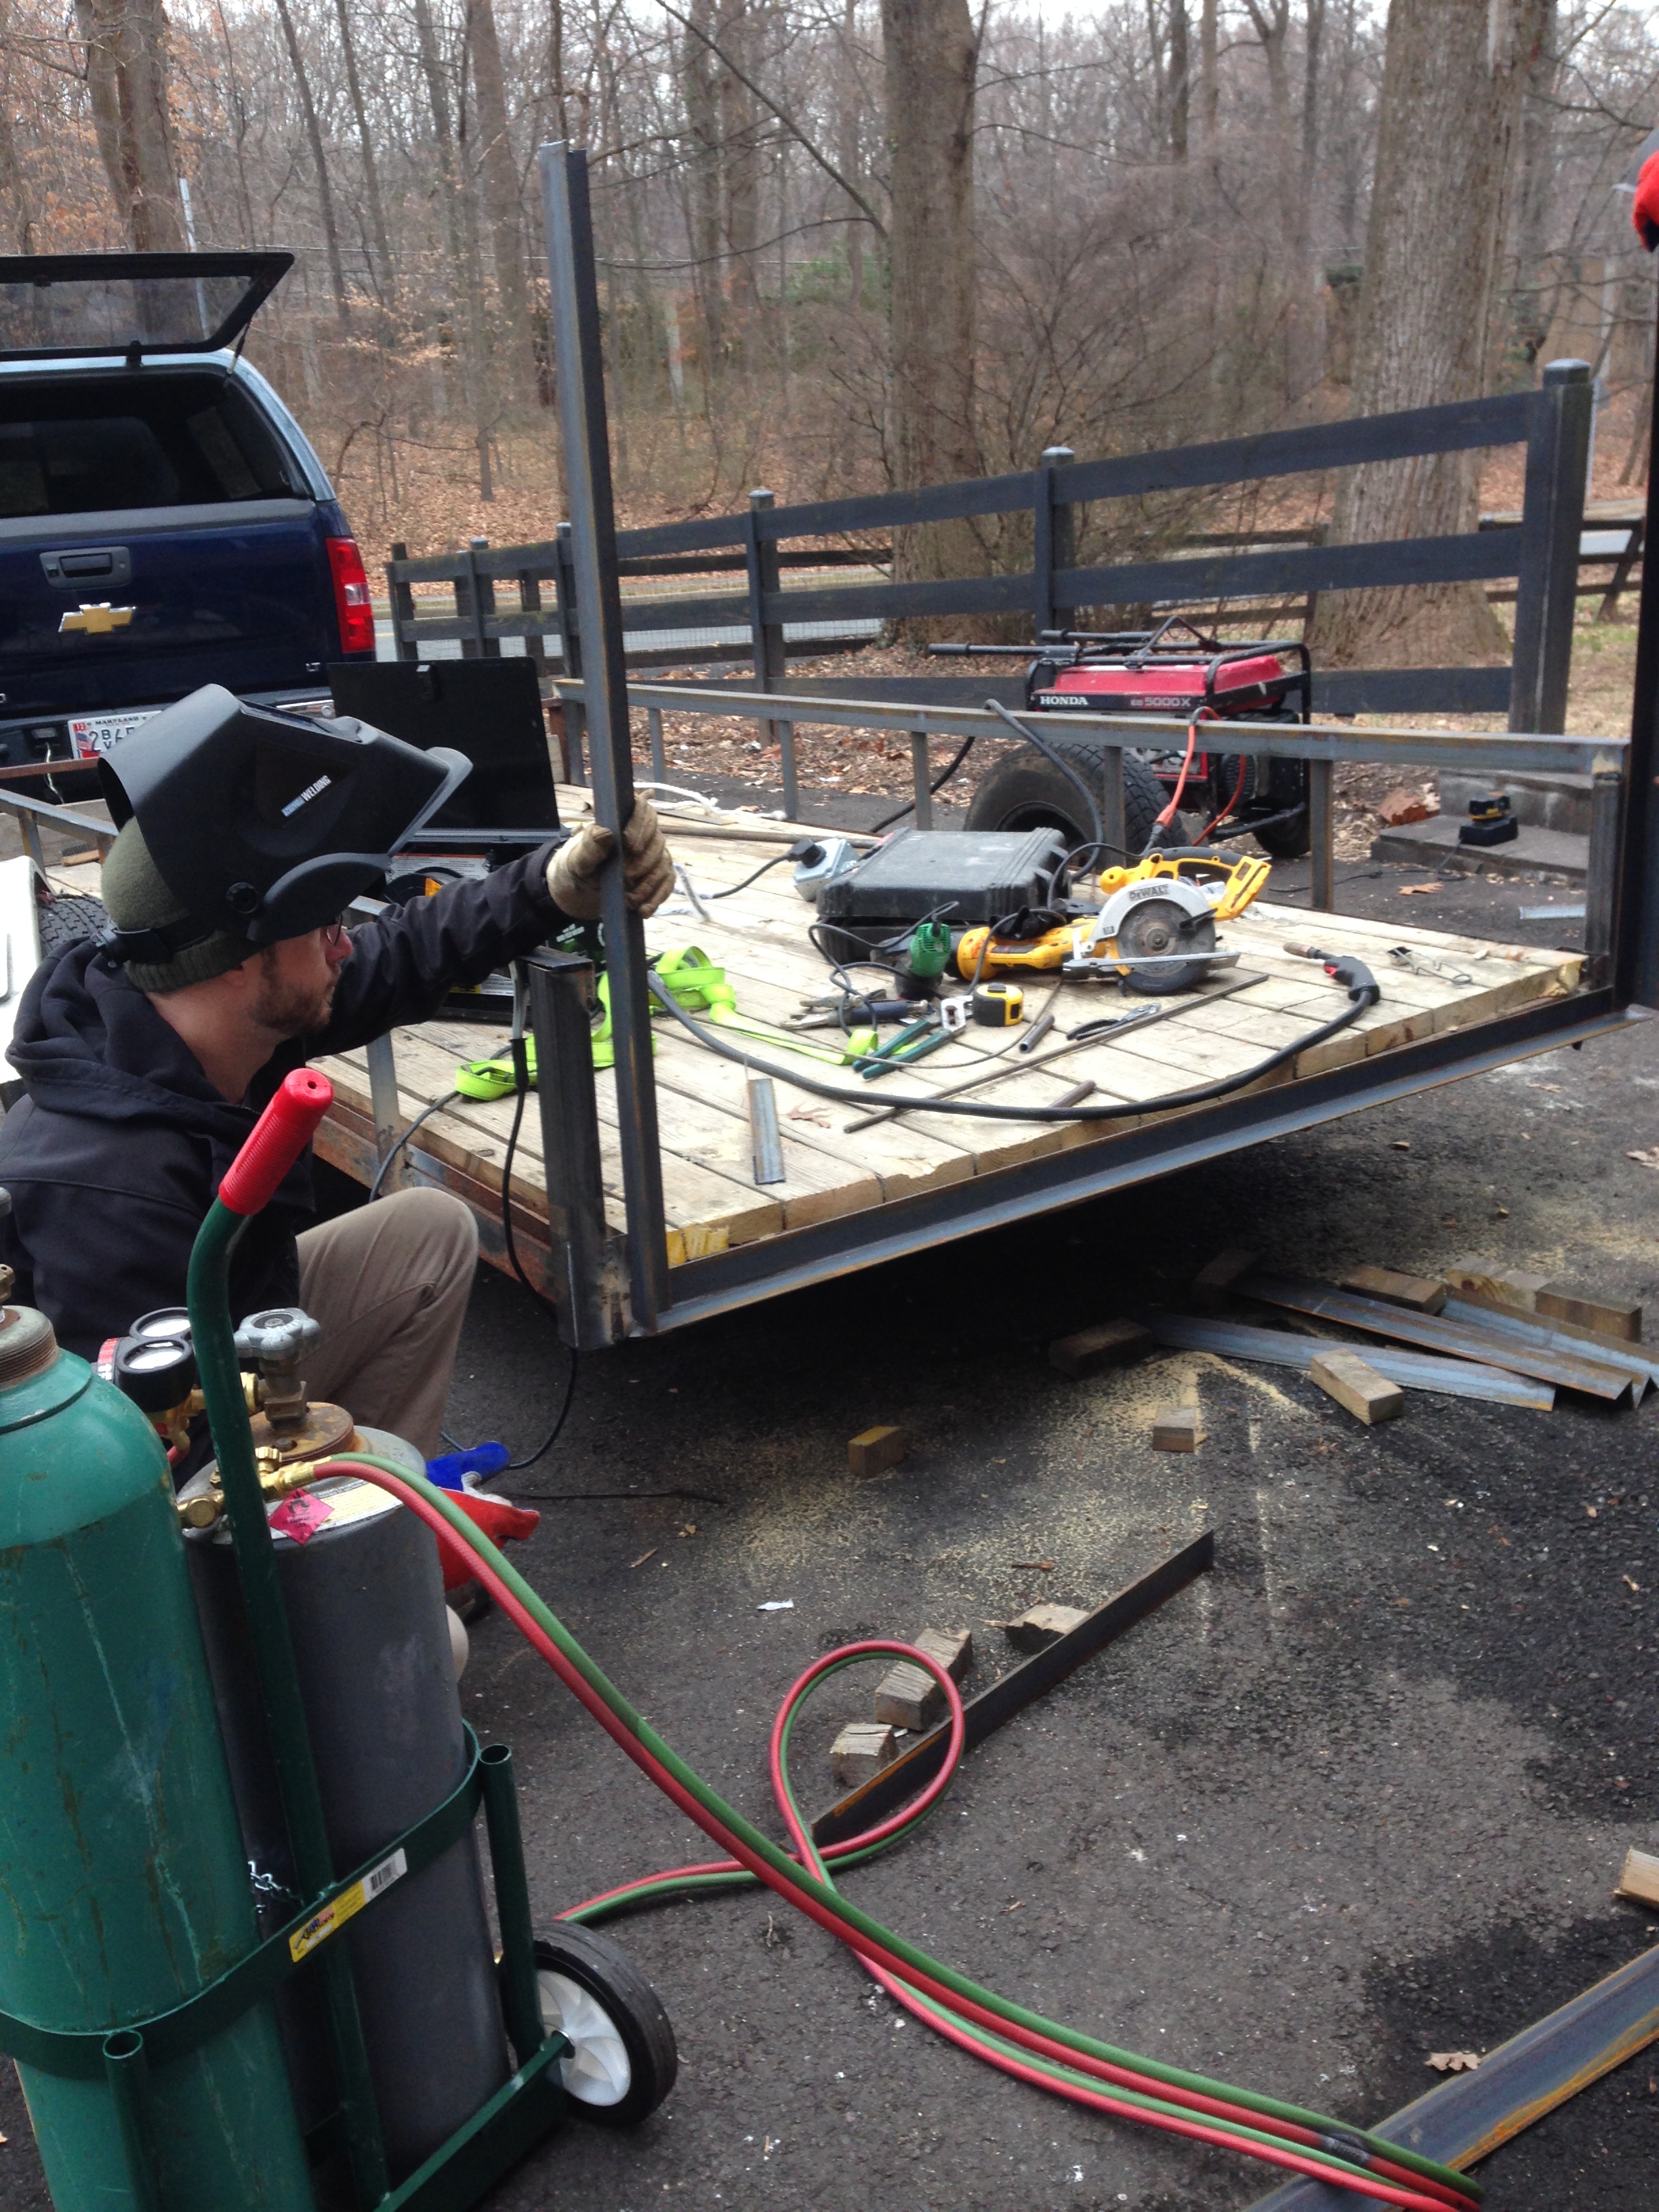
Once stripped down to the trailer’s bare framework, we began to layout the steel pieces we wanted to add around the perimeter. Since we wanted to create legitimate sides to the trailer, we first identified the preferred height and began to clamp the vertical posts in position around the front and sides.
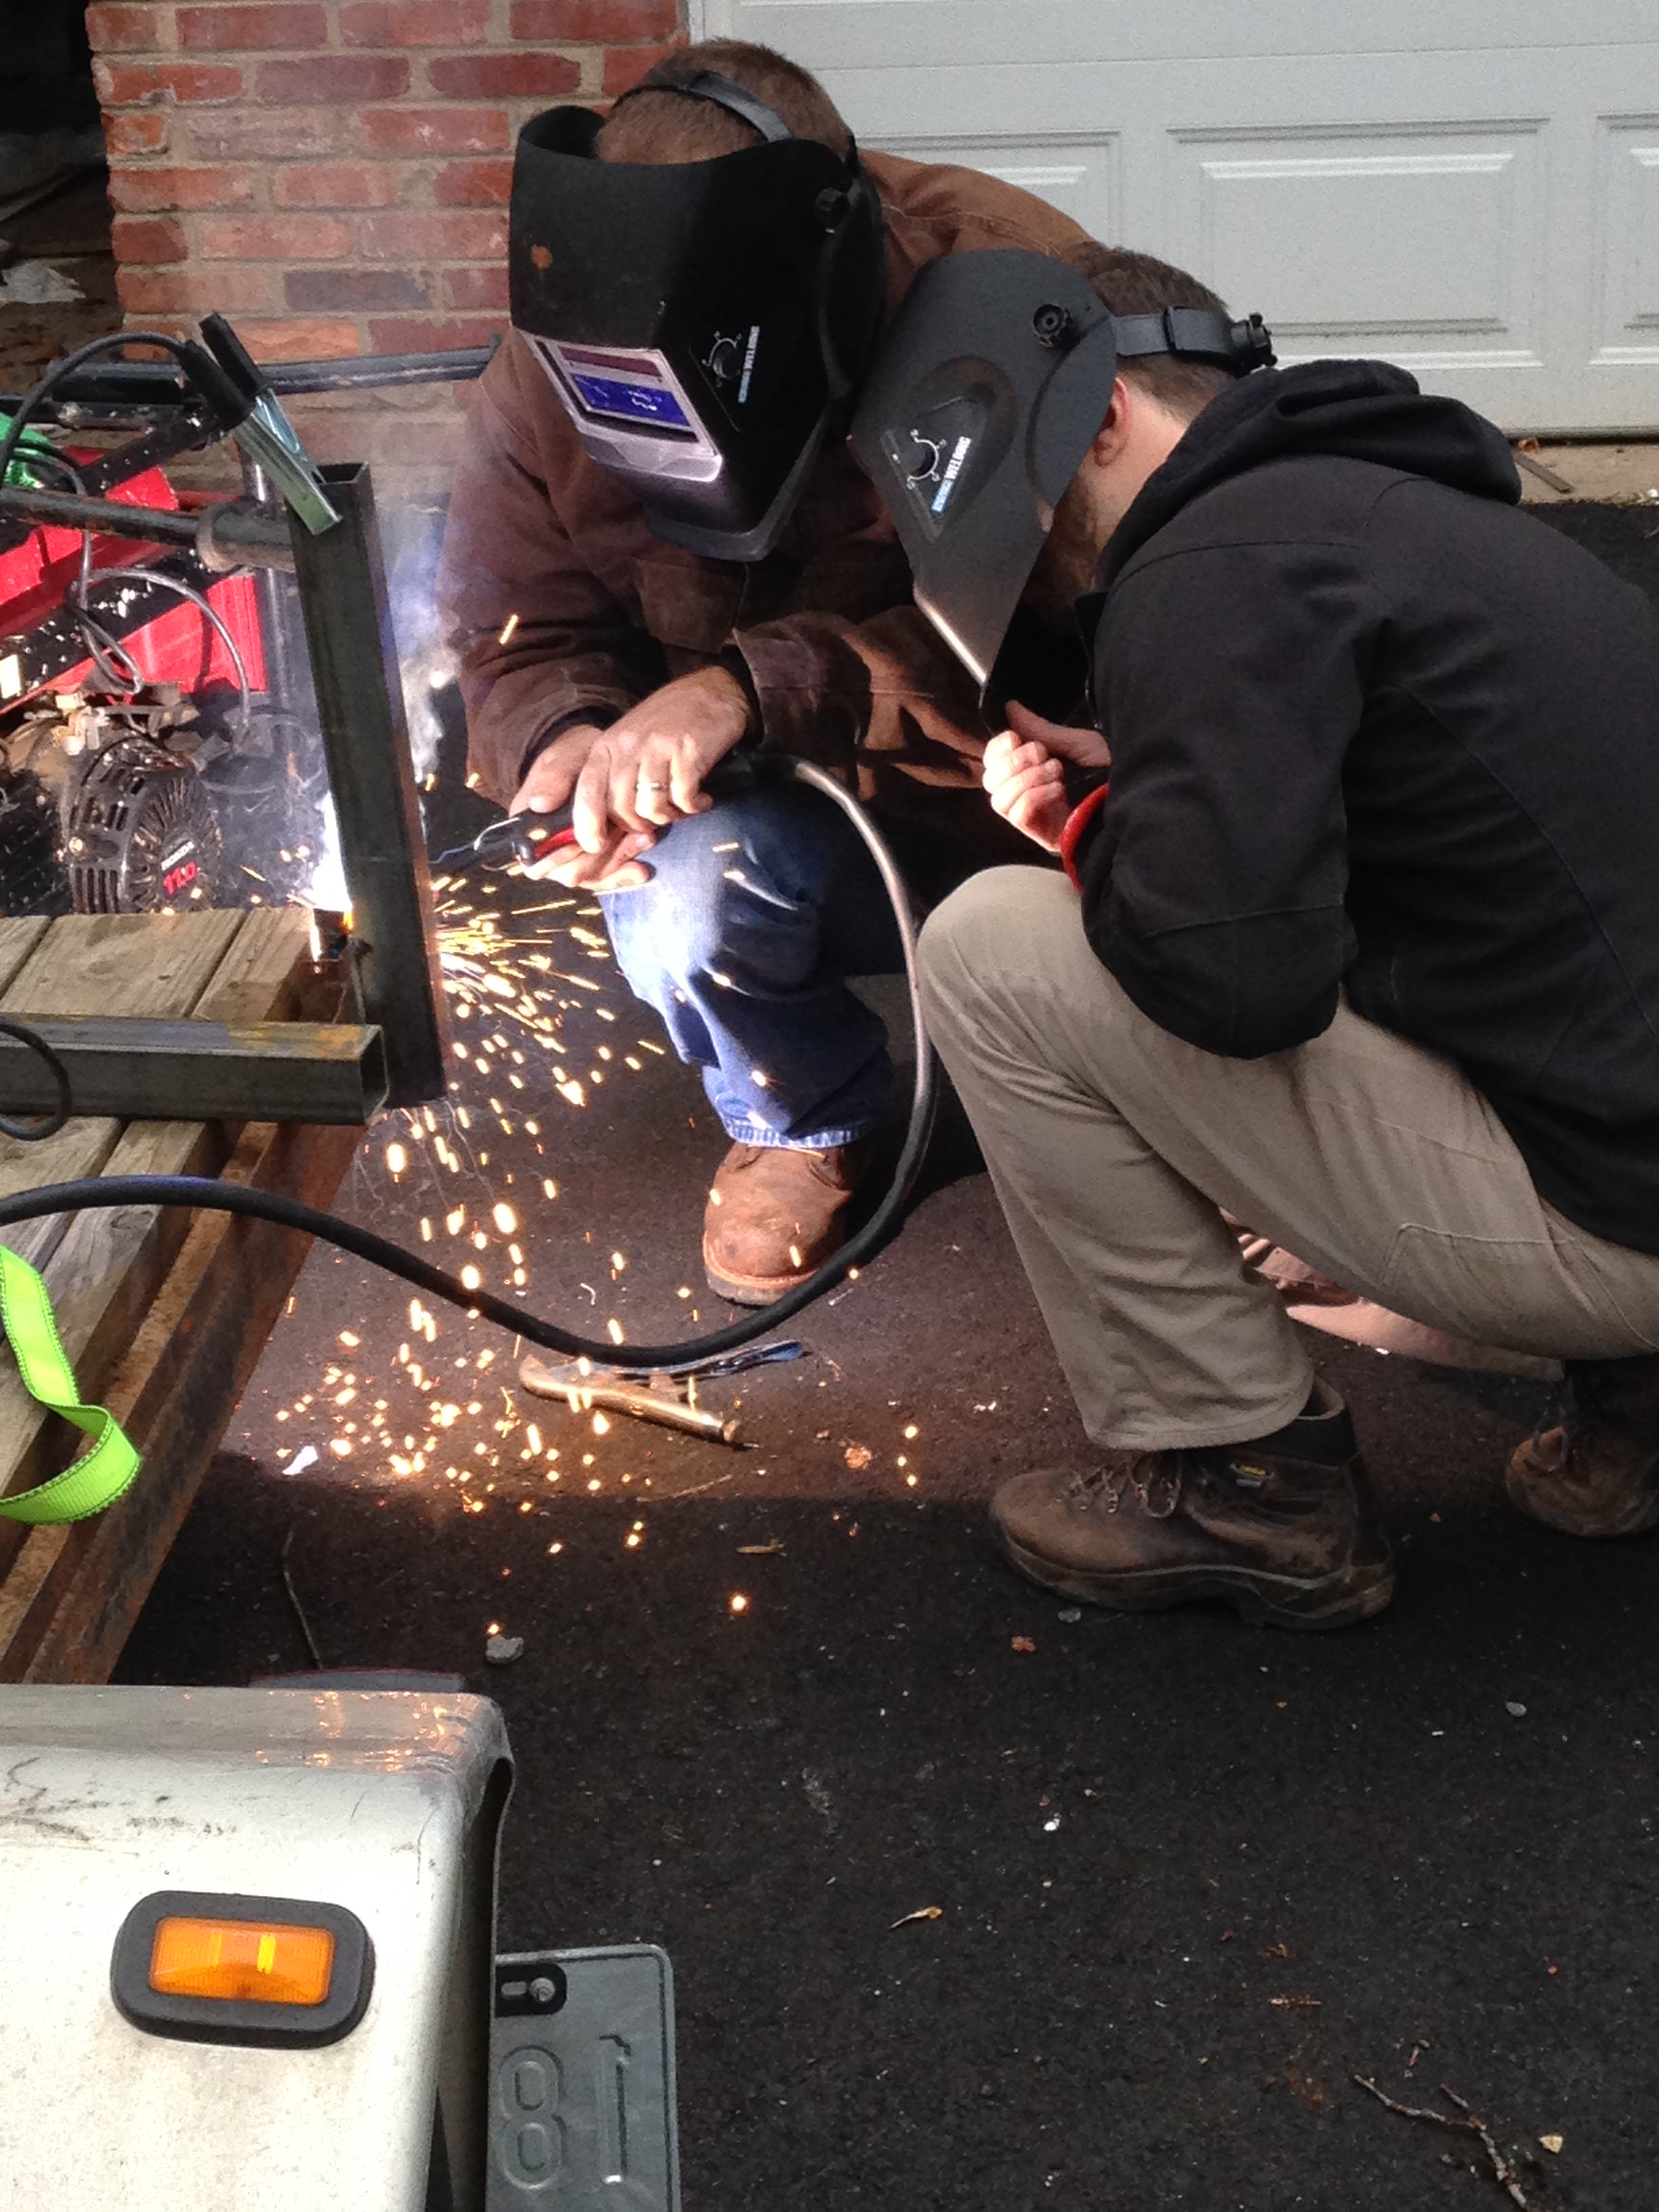
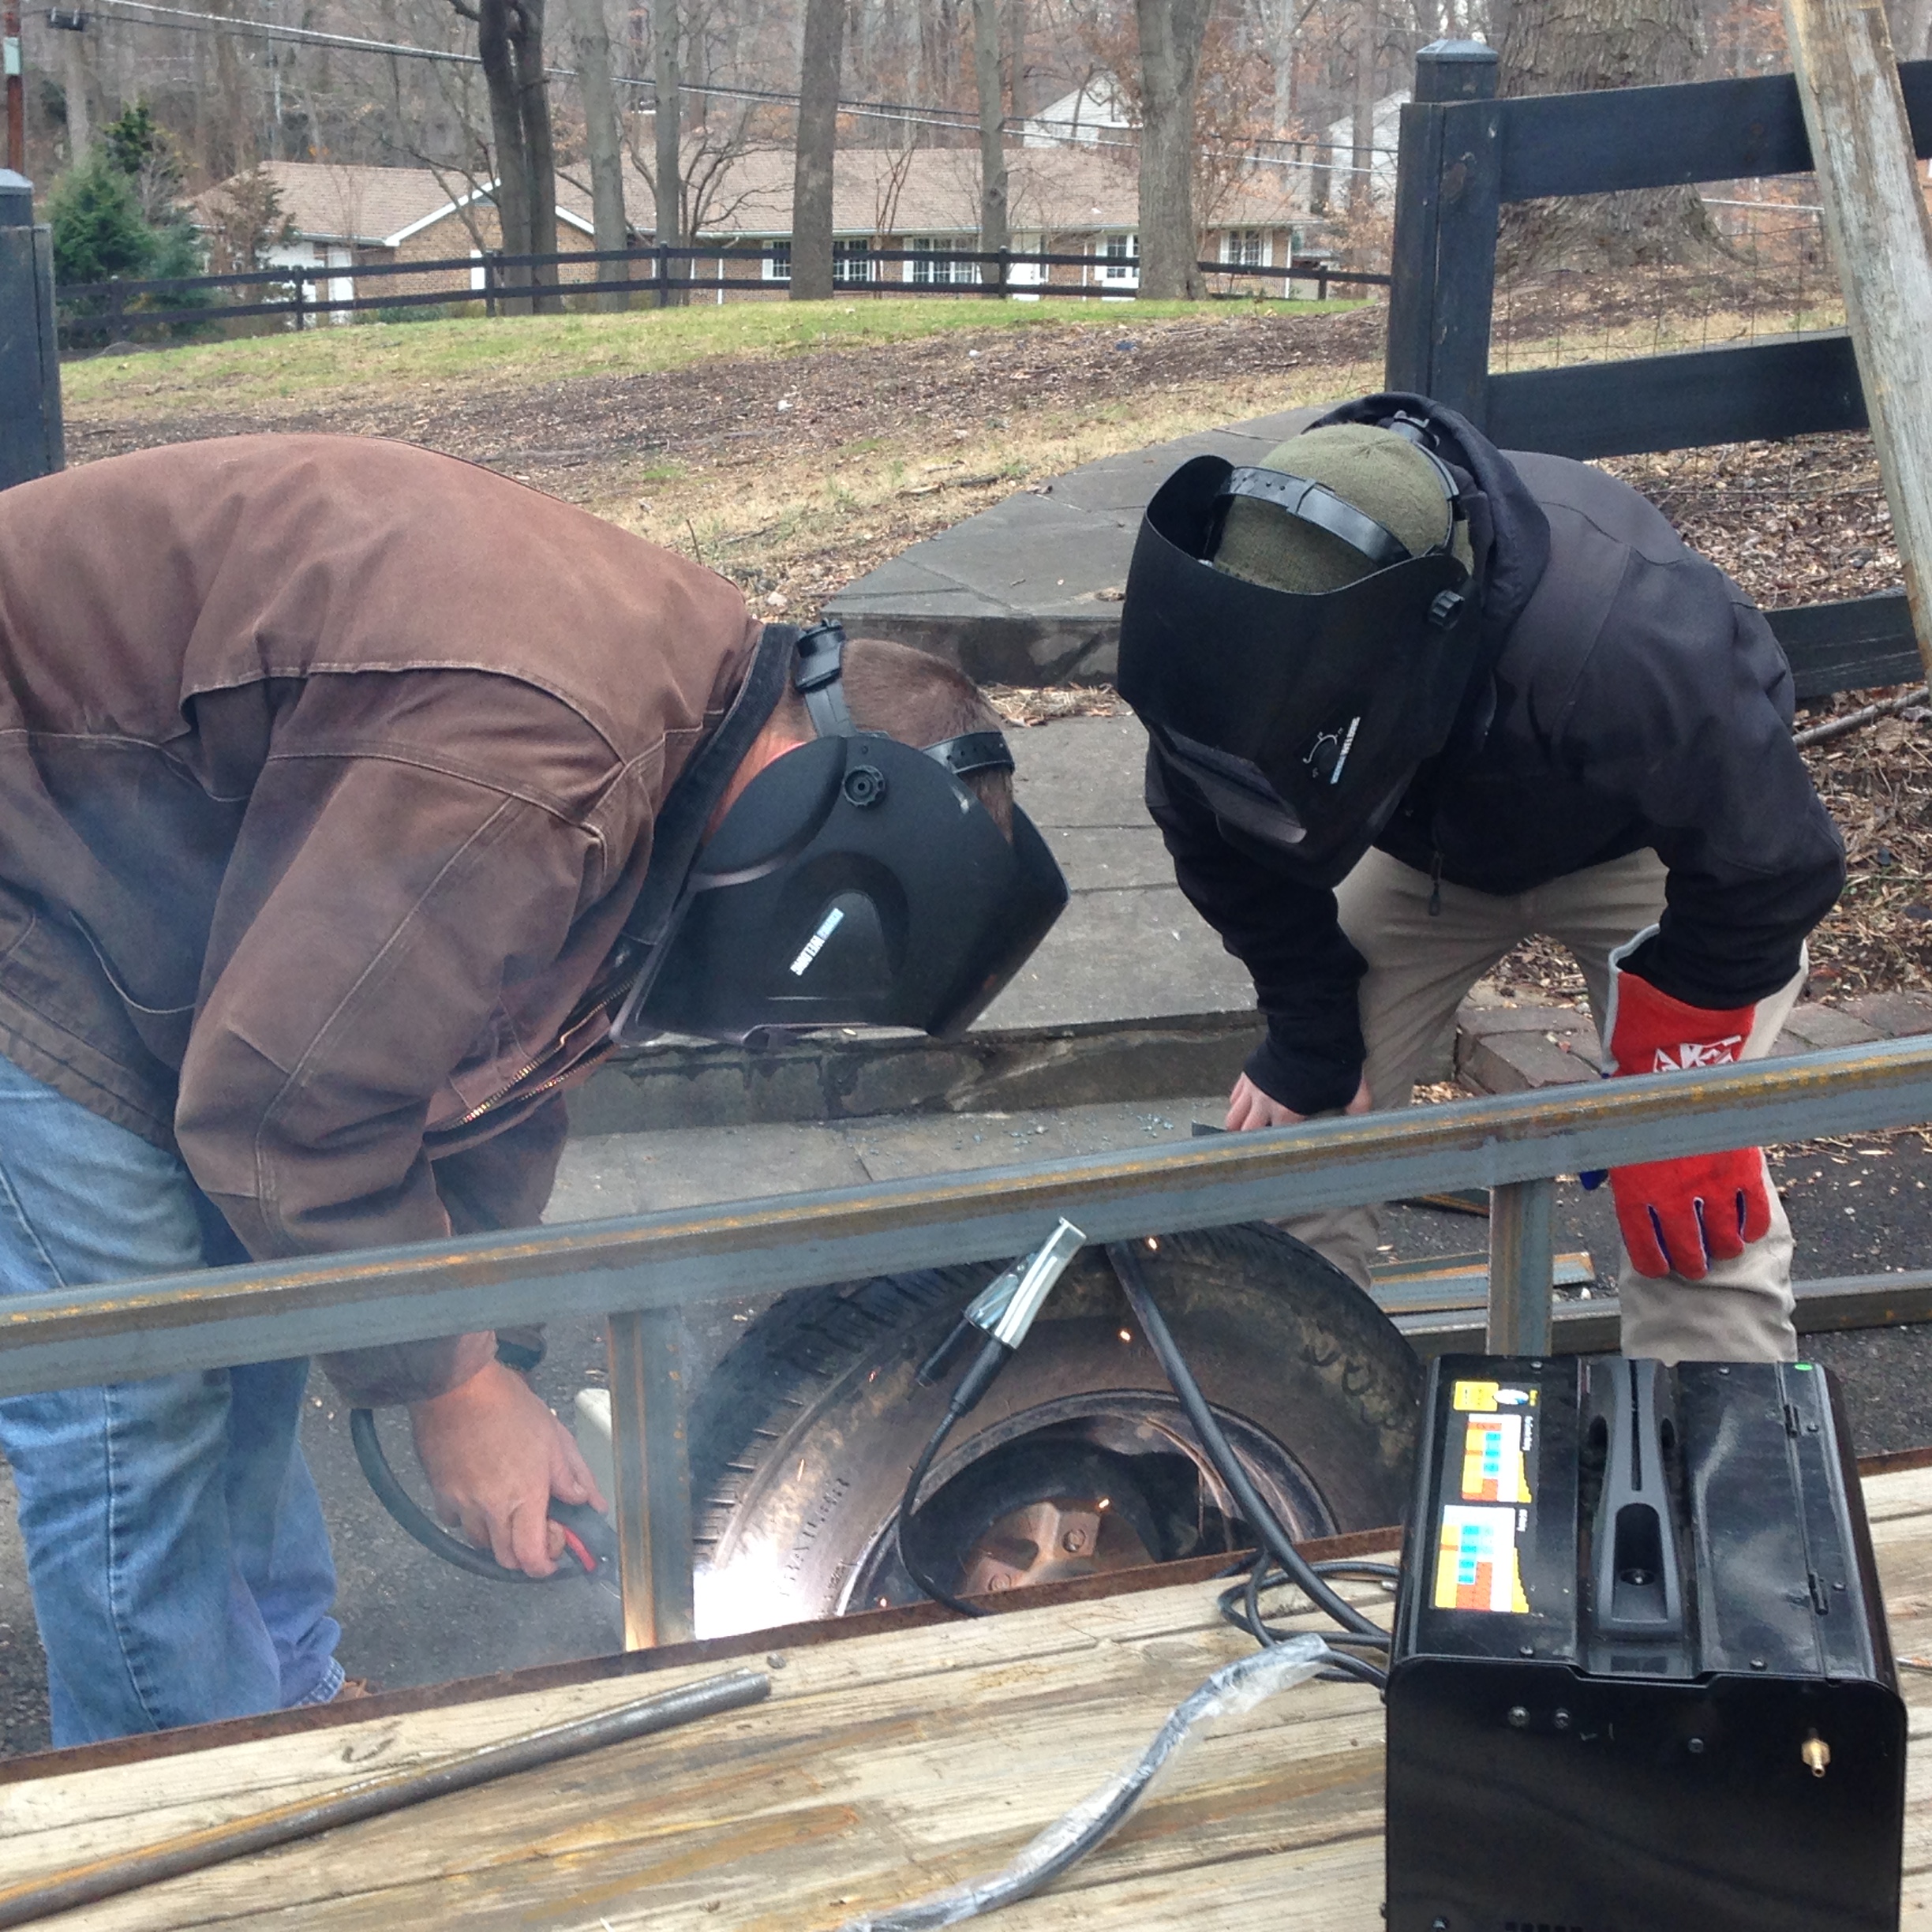
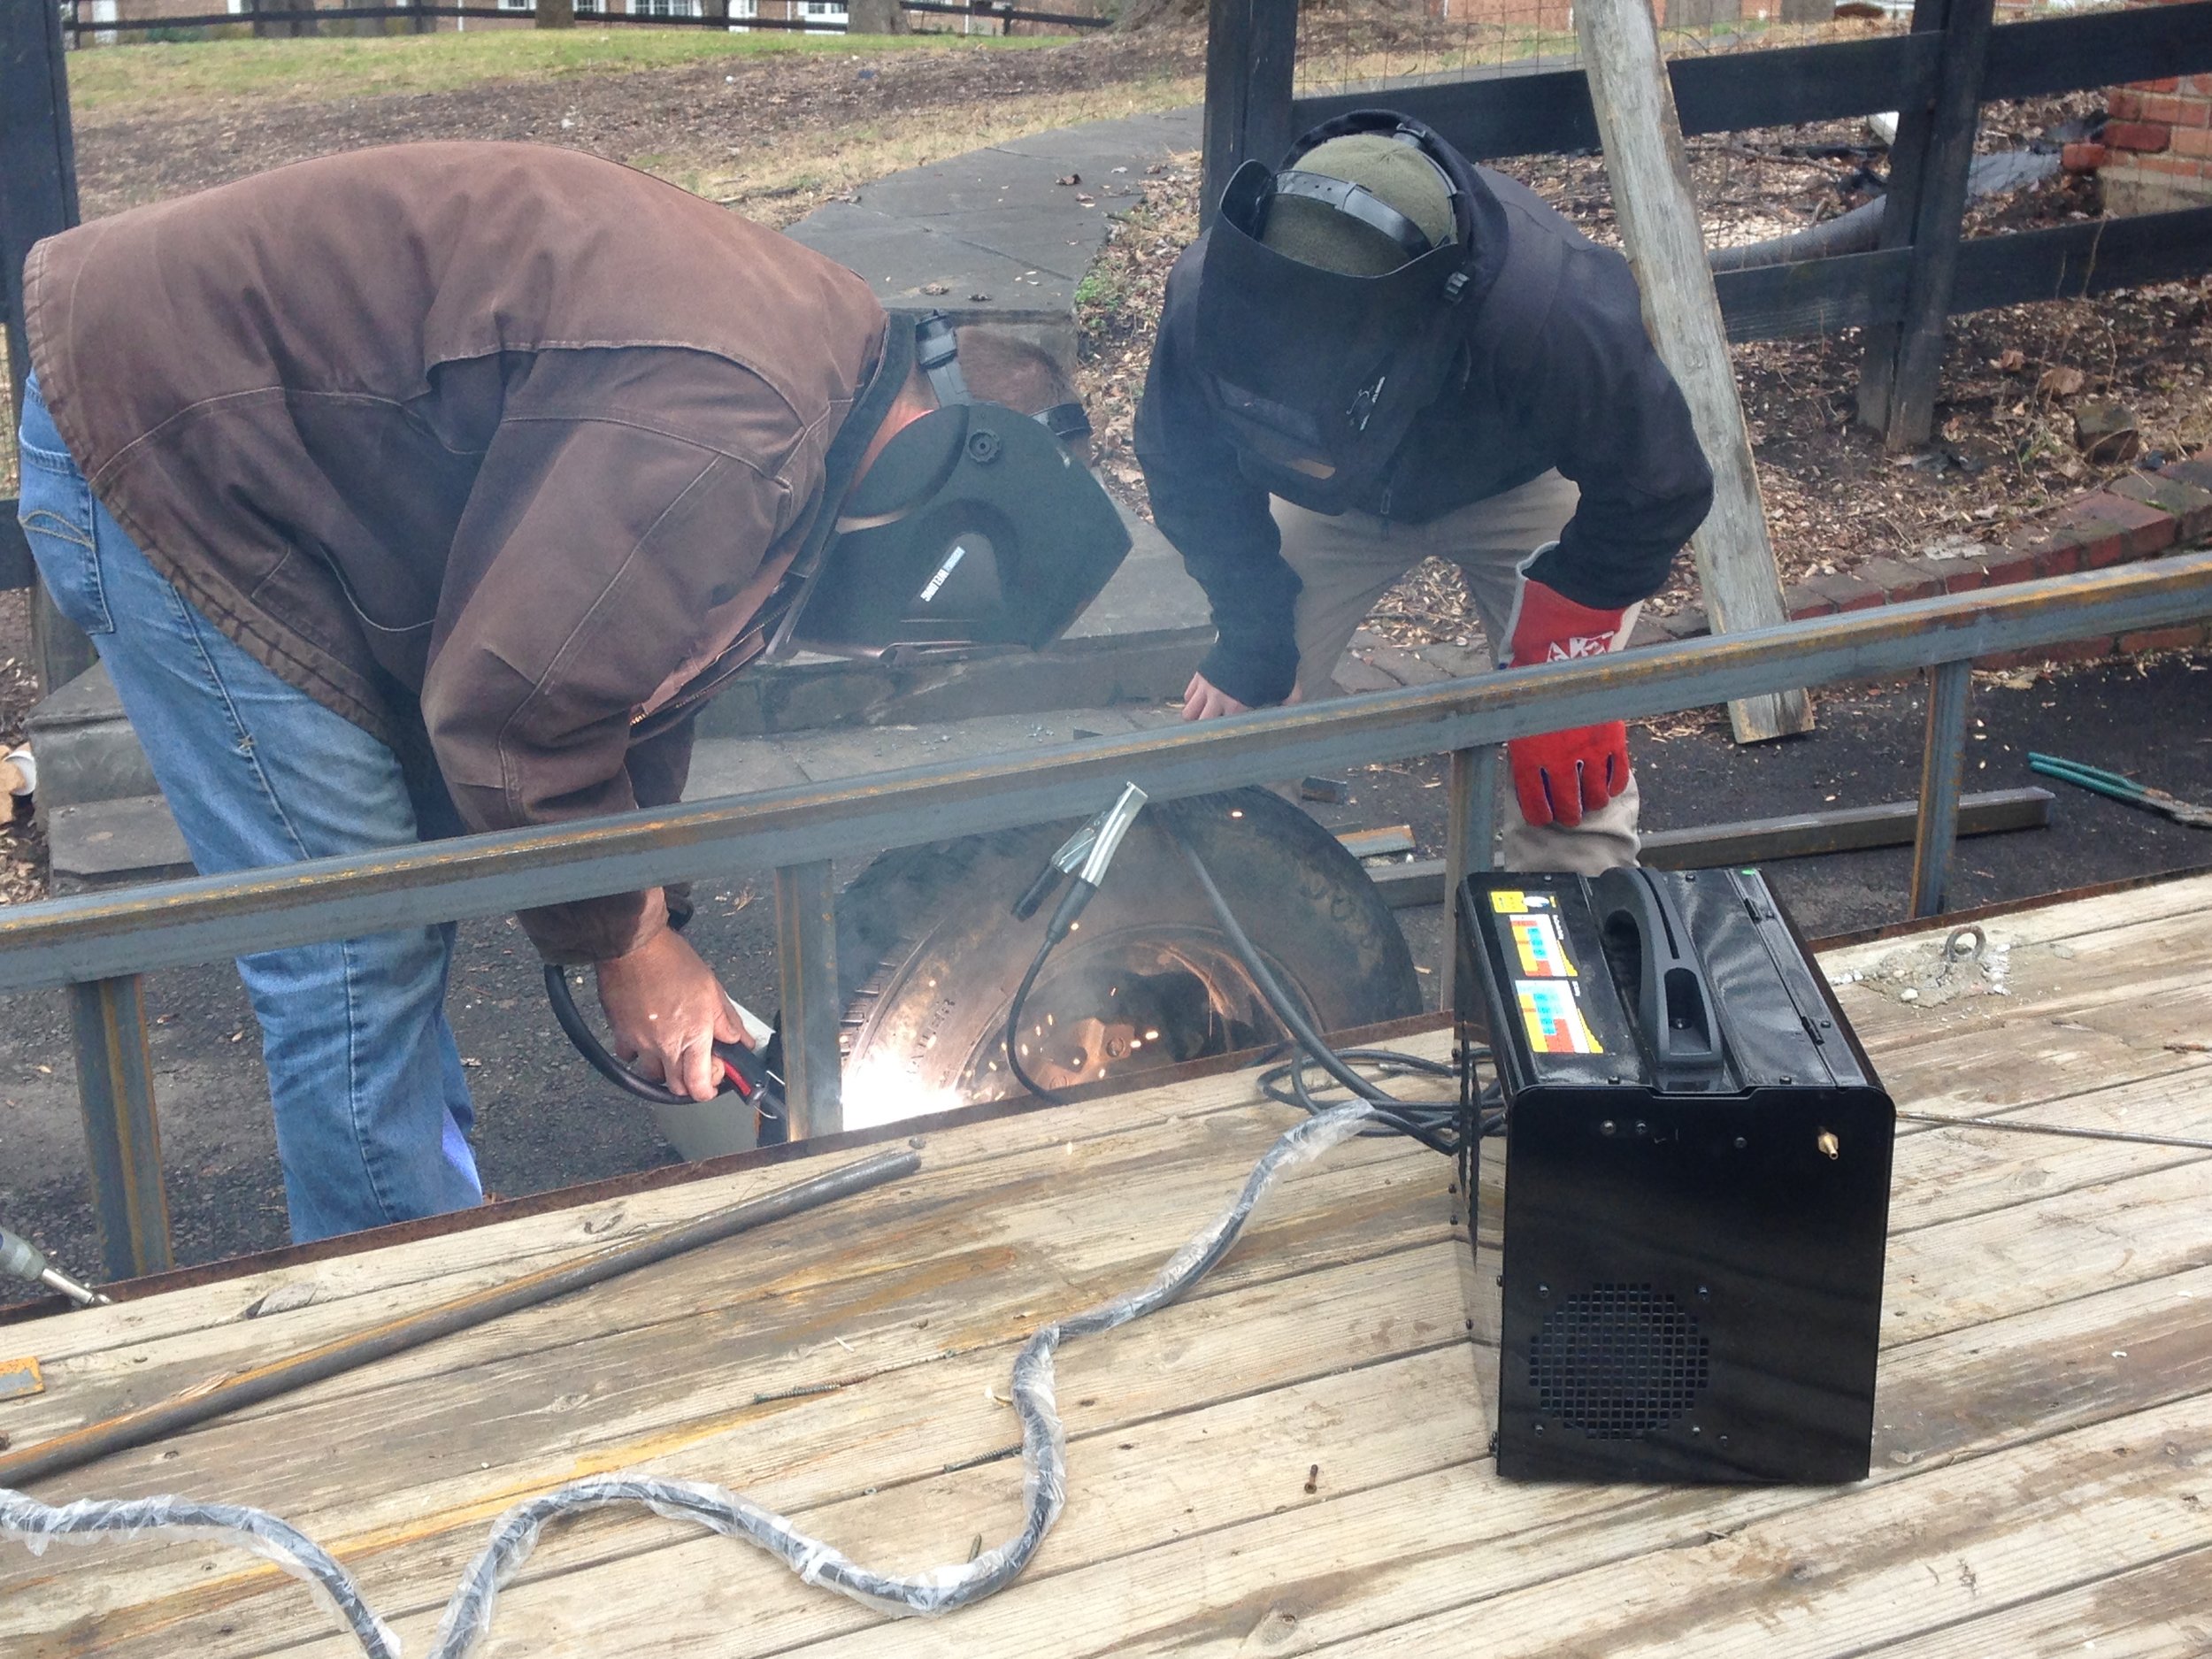
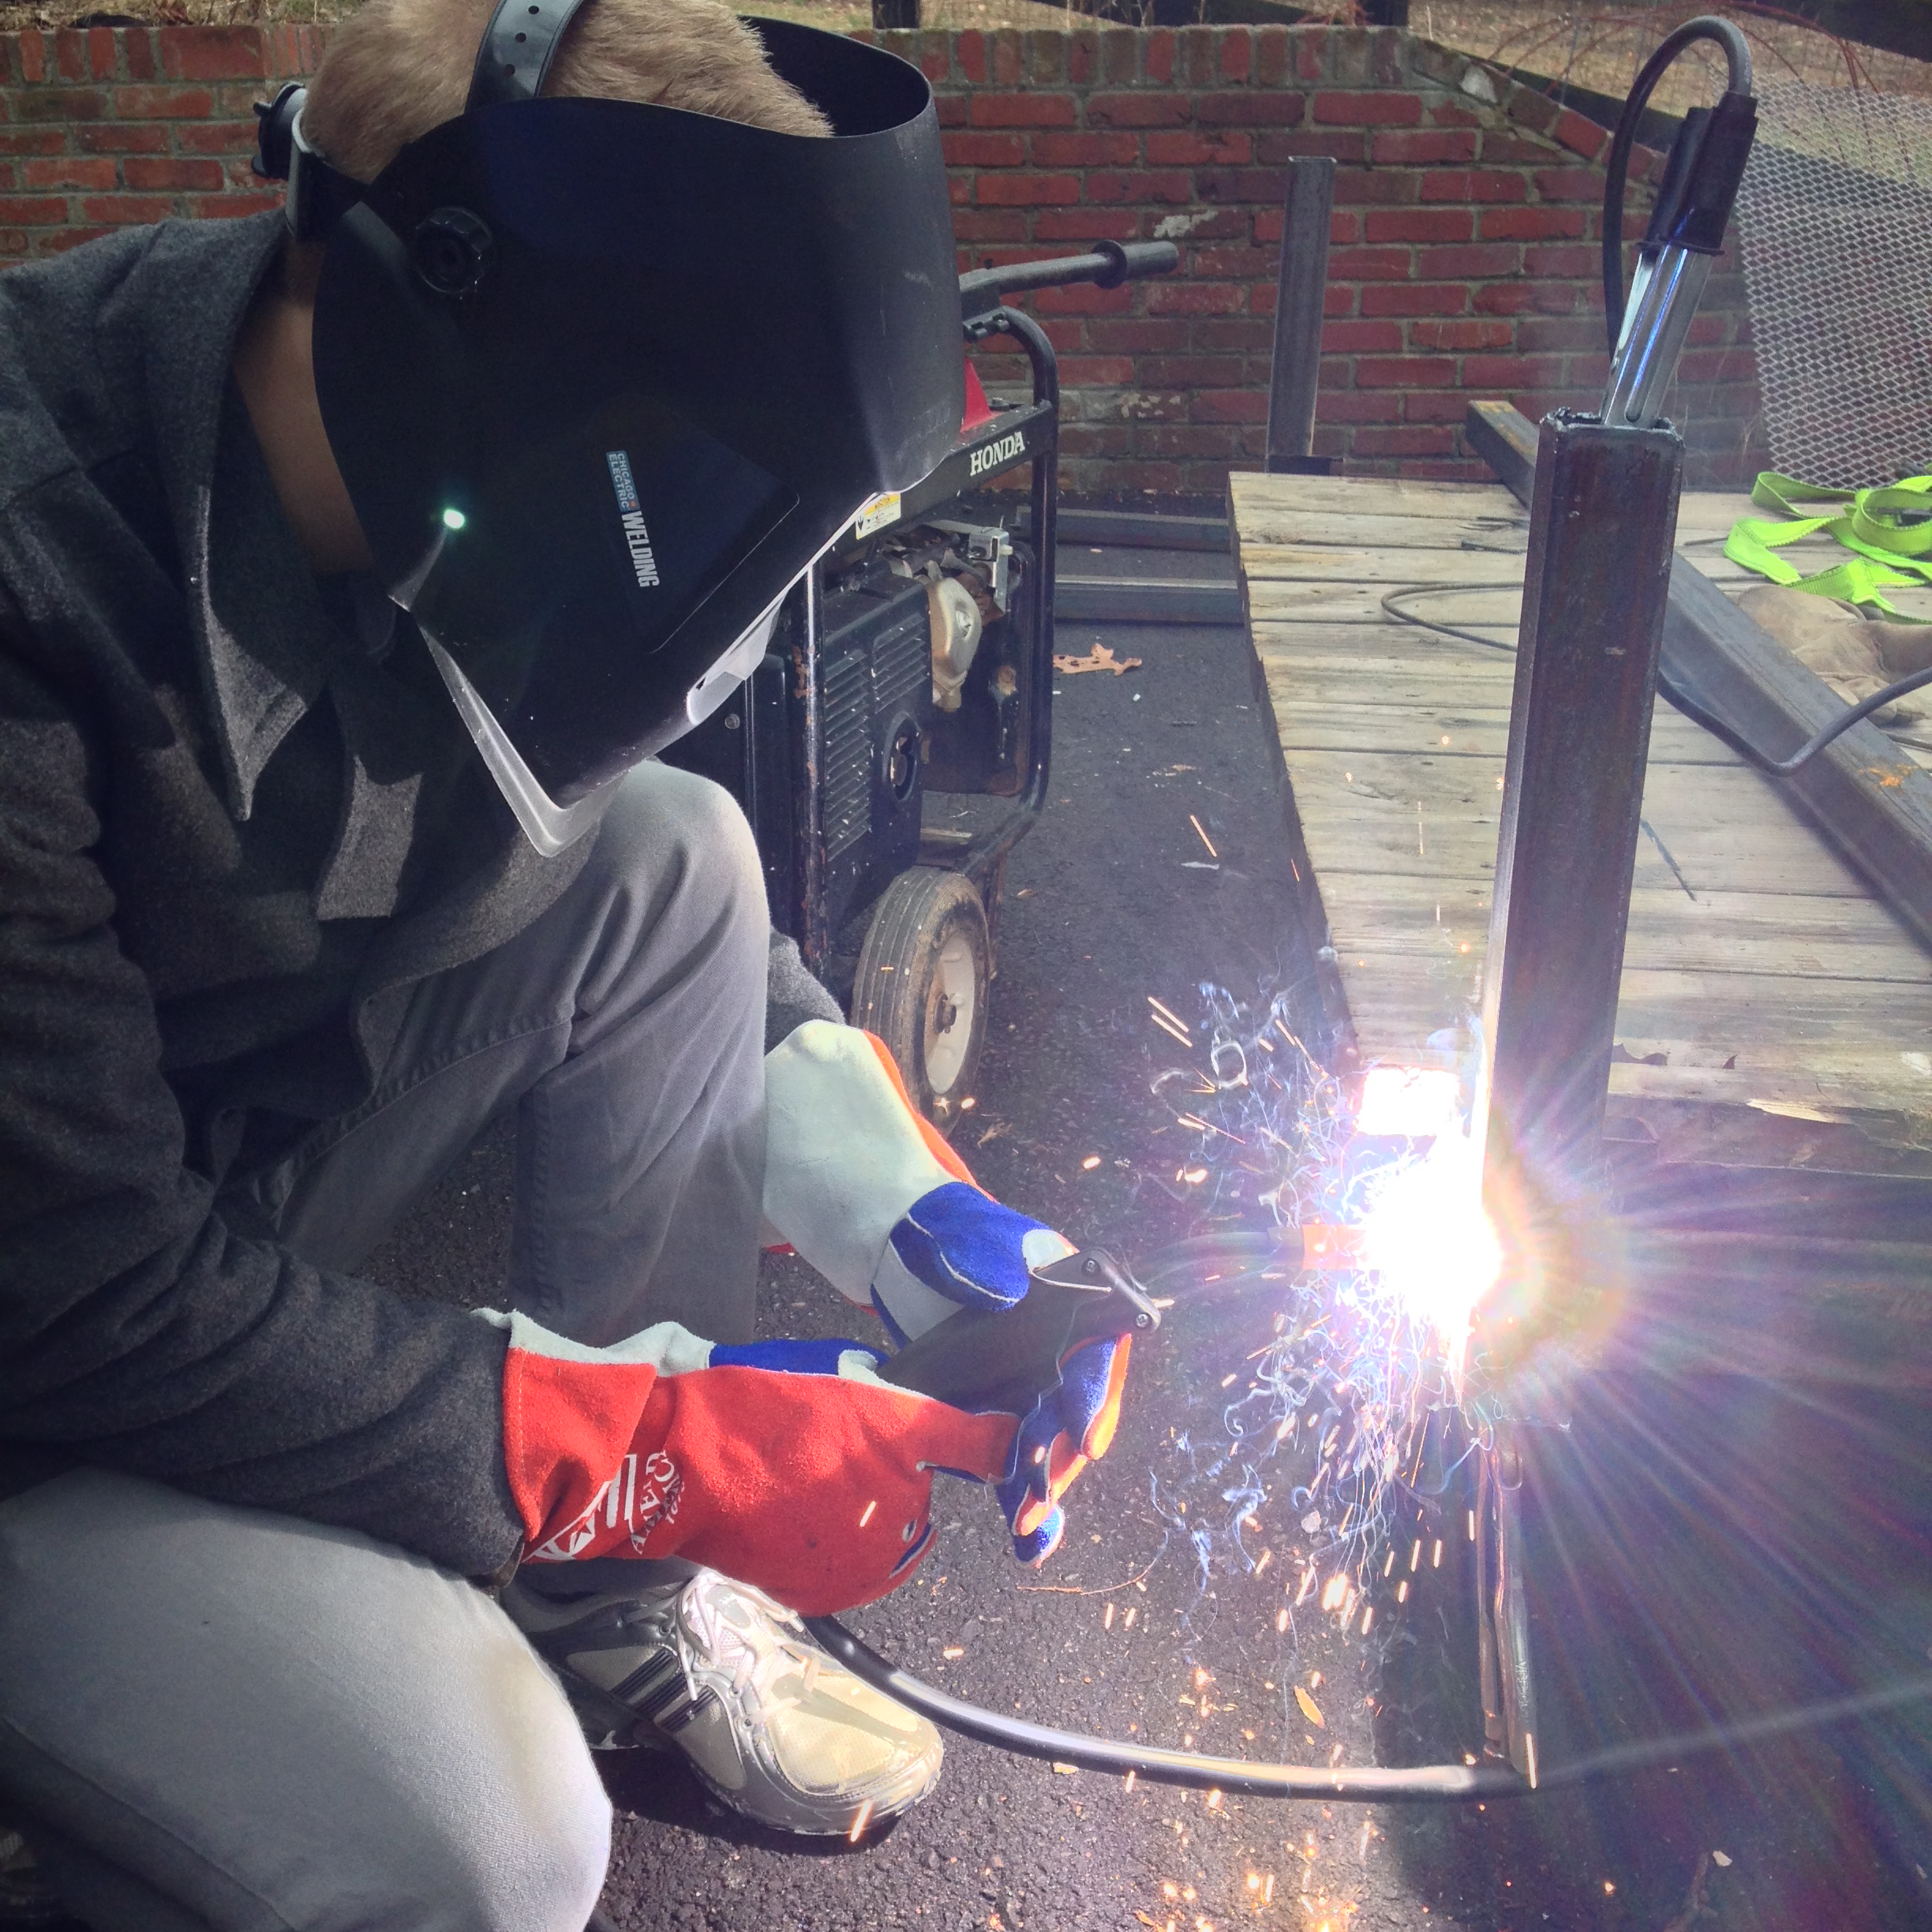
Clamping the steel in place allows for an easy weld without concern of any pieces shifting and all remain at the same height. Welding steel is an interesting construction medium because within second of an item being welded properly, it is permanently in place and are able to move onto the subsequent steps.


Next came the border rails that would make a squared ‘U’ shape and run along the sides and front, leaving the rear of the trailer open where we will eventually construct a folding ramp. We used a type of steel called angle iron, which is just a type of steel that forms an ‘L’ shape at a 90 degree angle. A common example of this is found on metal bed frames where the ‘L’ faces in on each side so the box spring stays in place.
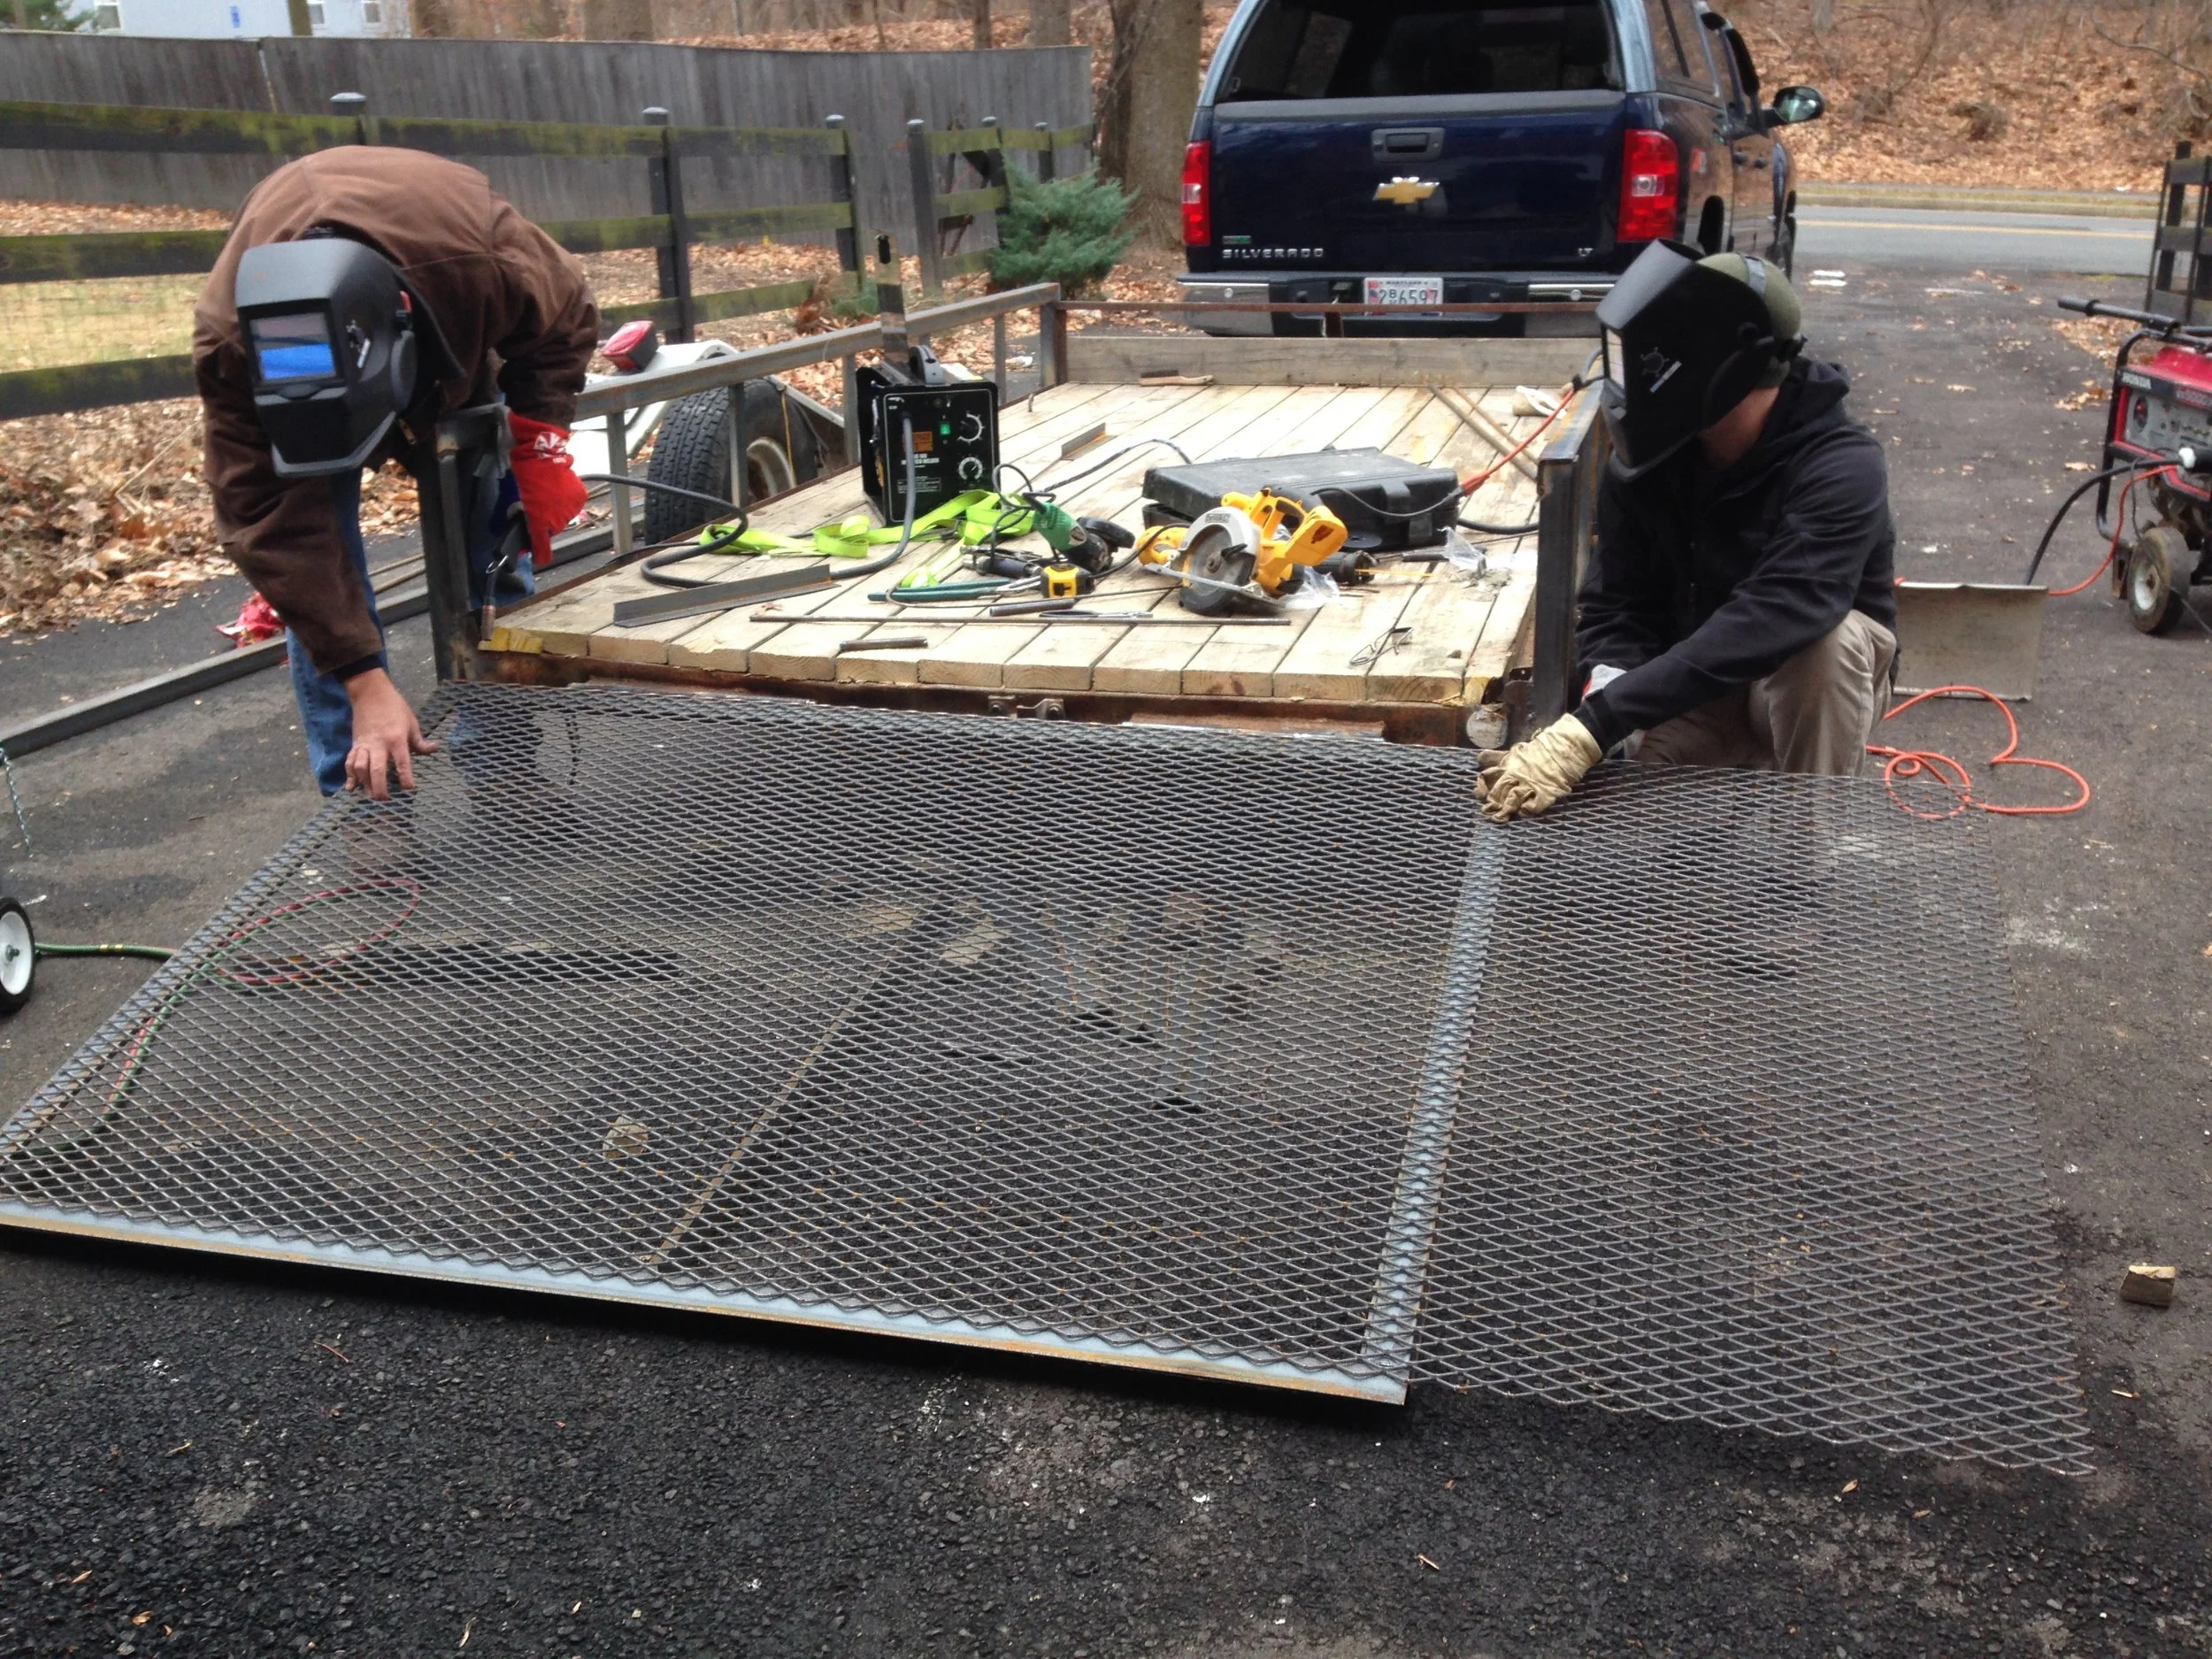
The final item to construct for the trailer body was the rear gate that would be connected to heavy-duty hinges that allow the gate to fold up and down as well as provide an angled ramp for rolling heavy machinery onto the trailer. The gate is simply just a square shape of the same angle iron with a middle support, covered with expanded diamond metal.
The expanded metal is essentially a metal mesh with holes in it that are used as barriers in areas that heavy metal is not necessary. Once the gate was assembled, hinges were welded onto the gate as well as the trailer itself. We then lifted the gate up so it was in the vertical position to make sure it was flush with the rear of the trailer and then welded on some small hollow metal tubes to create a lynchpin to lock the gate onto the frame.
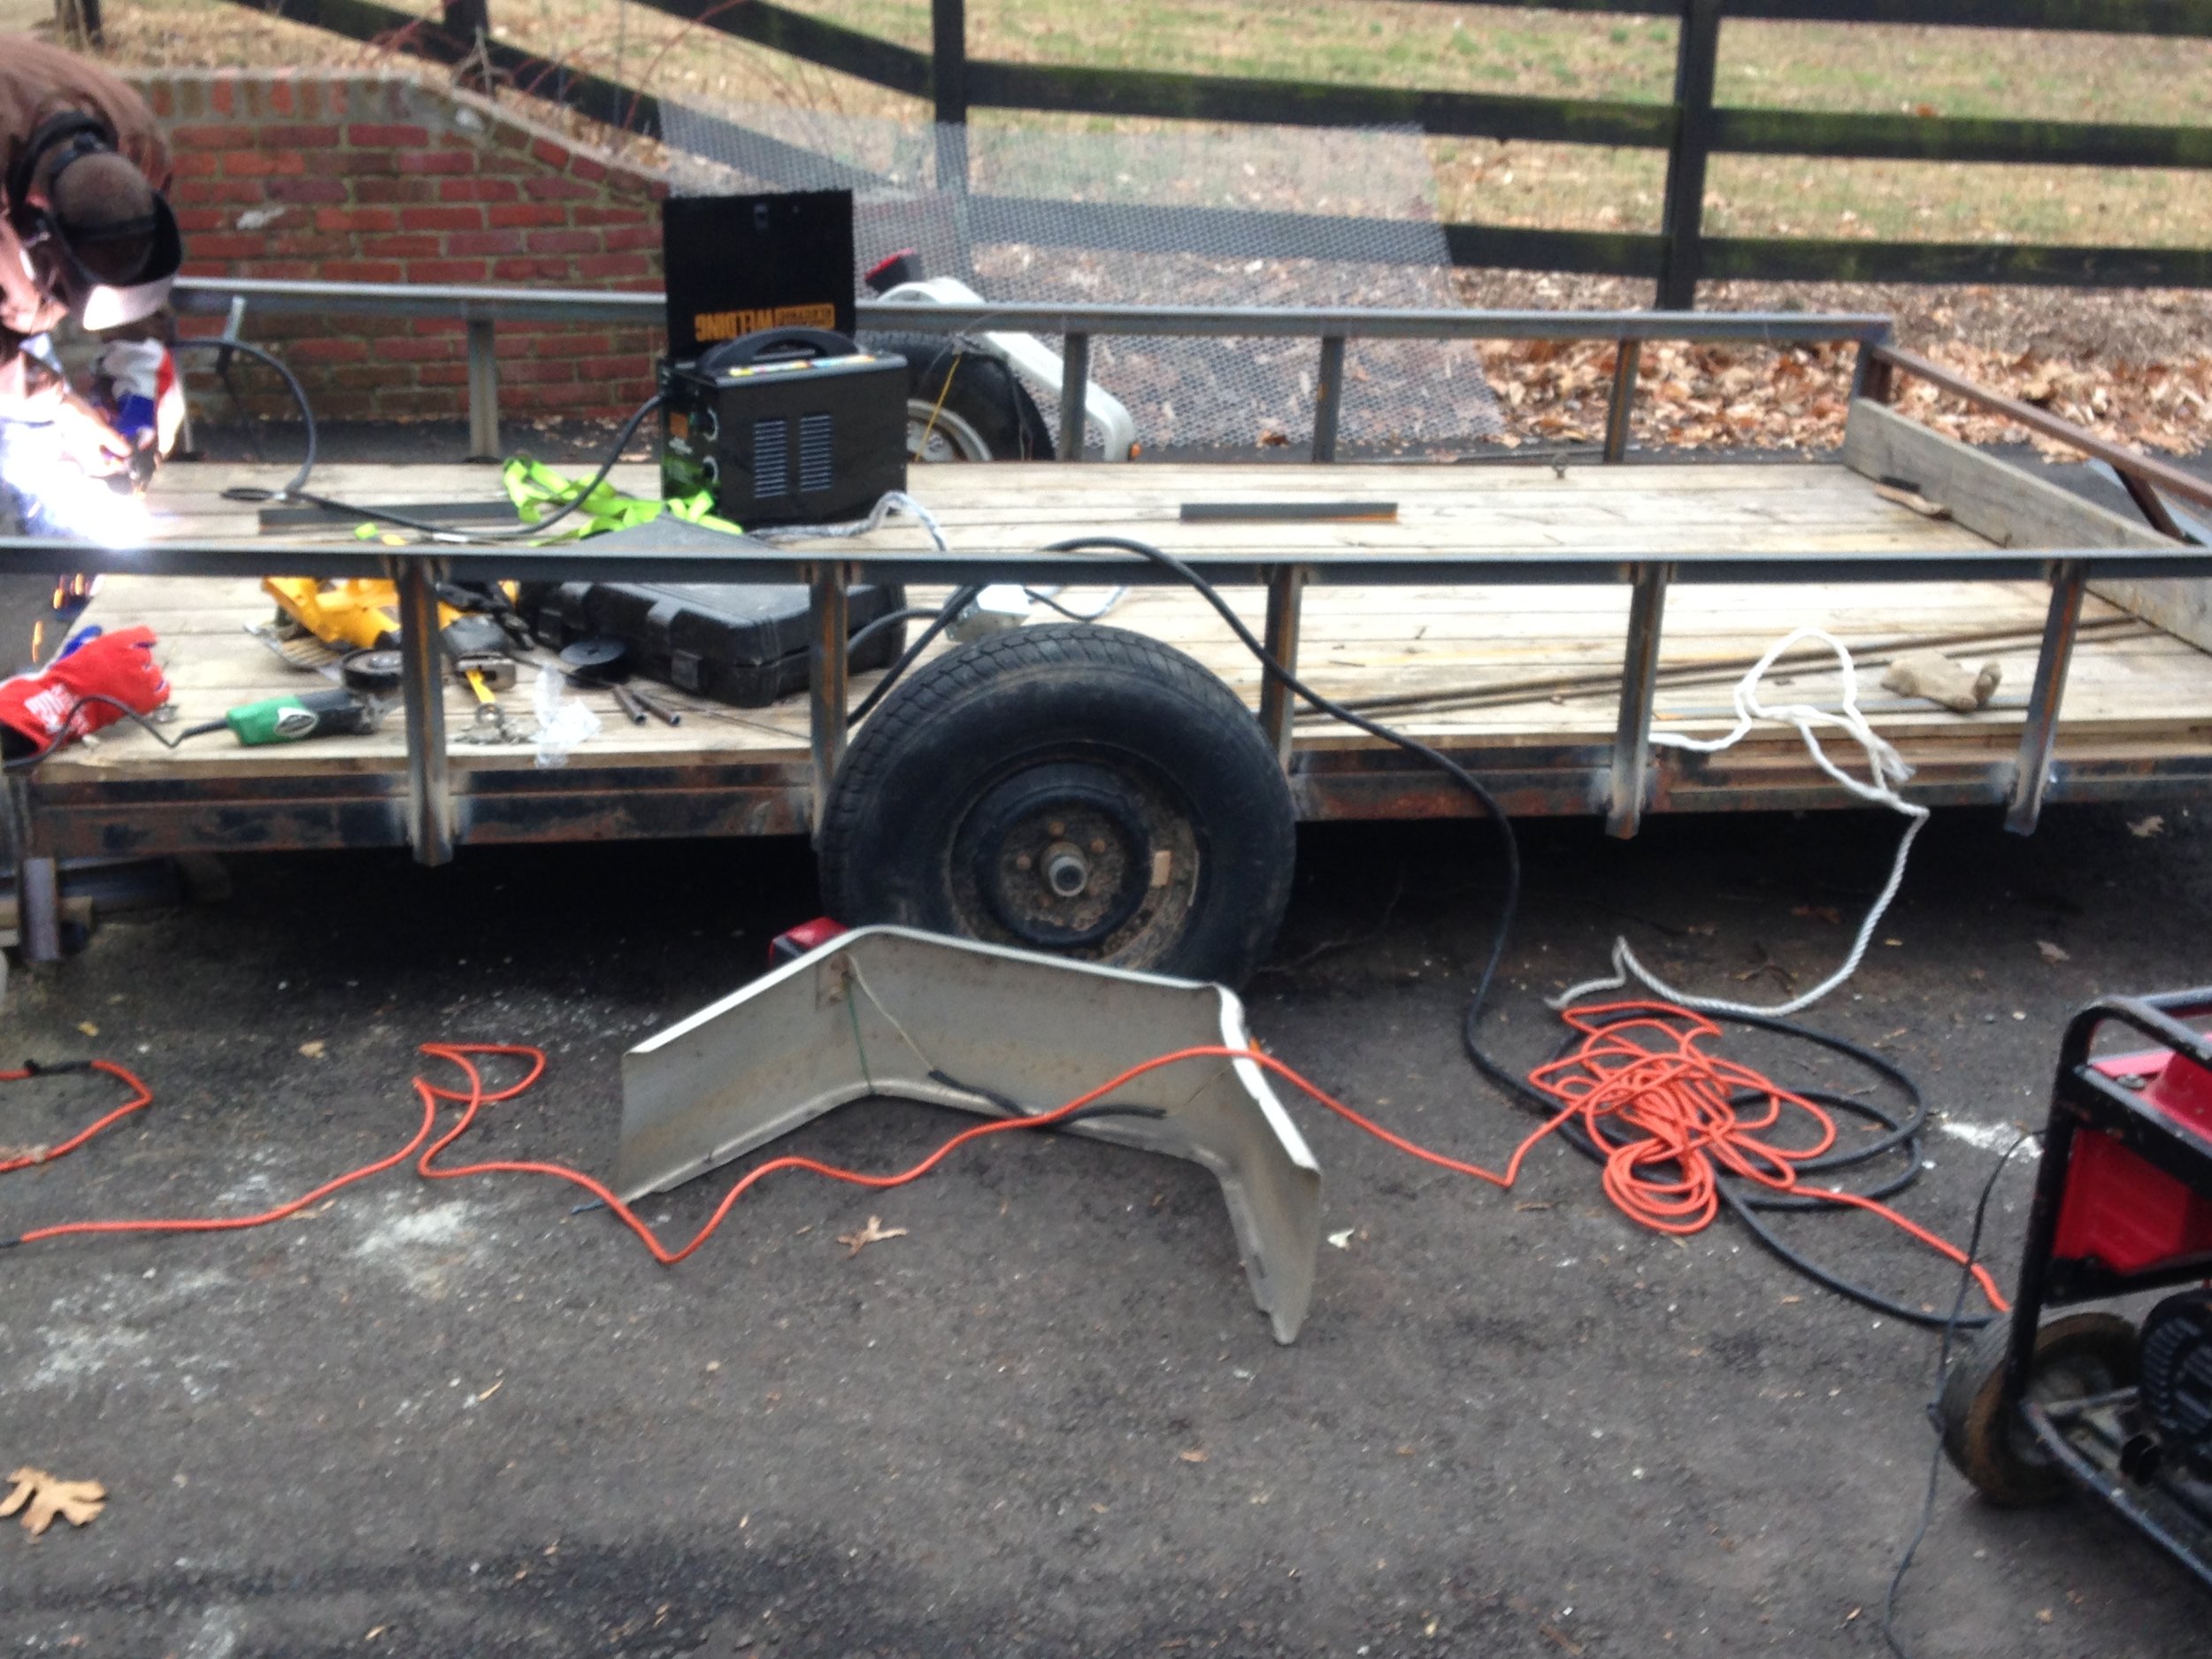
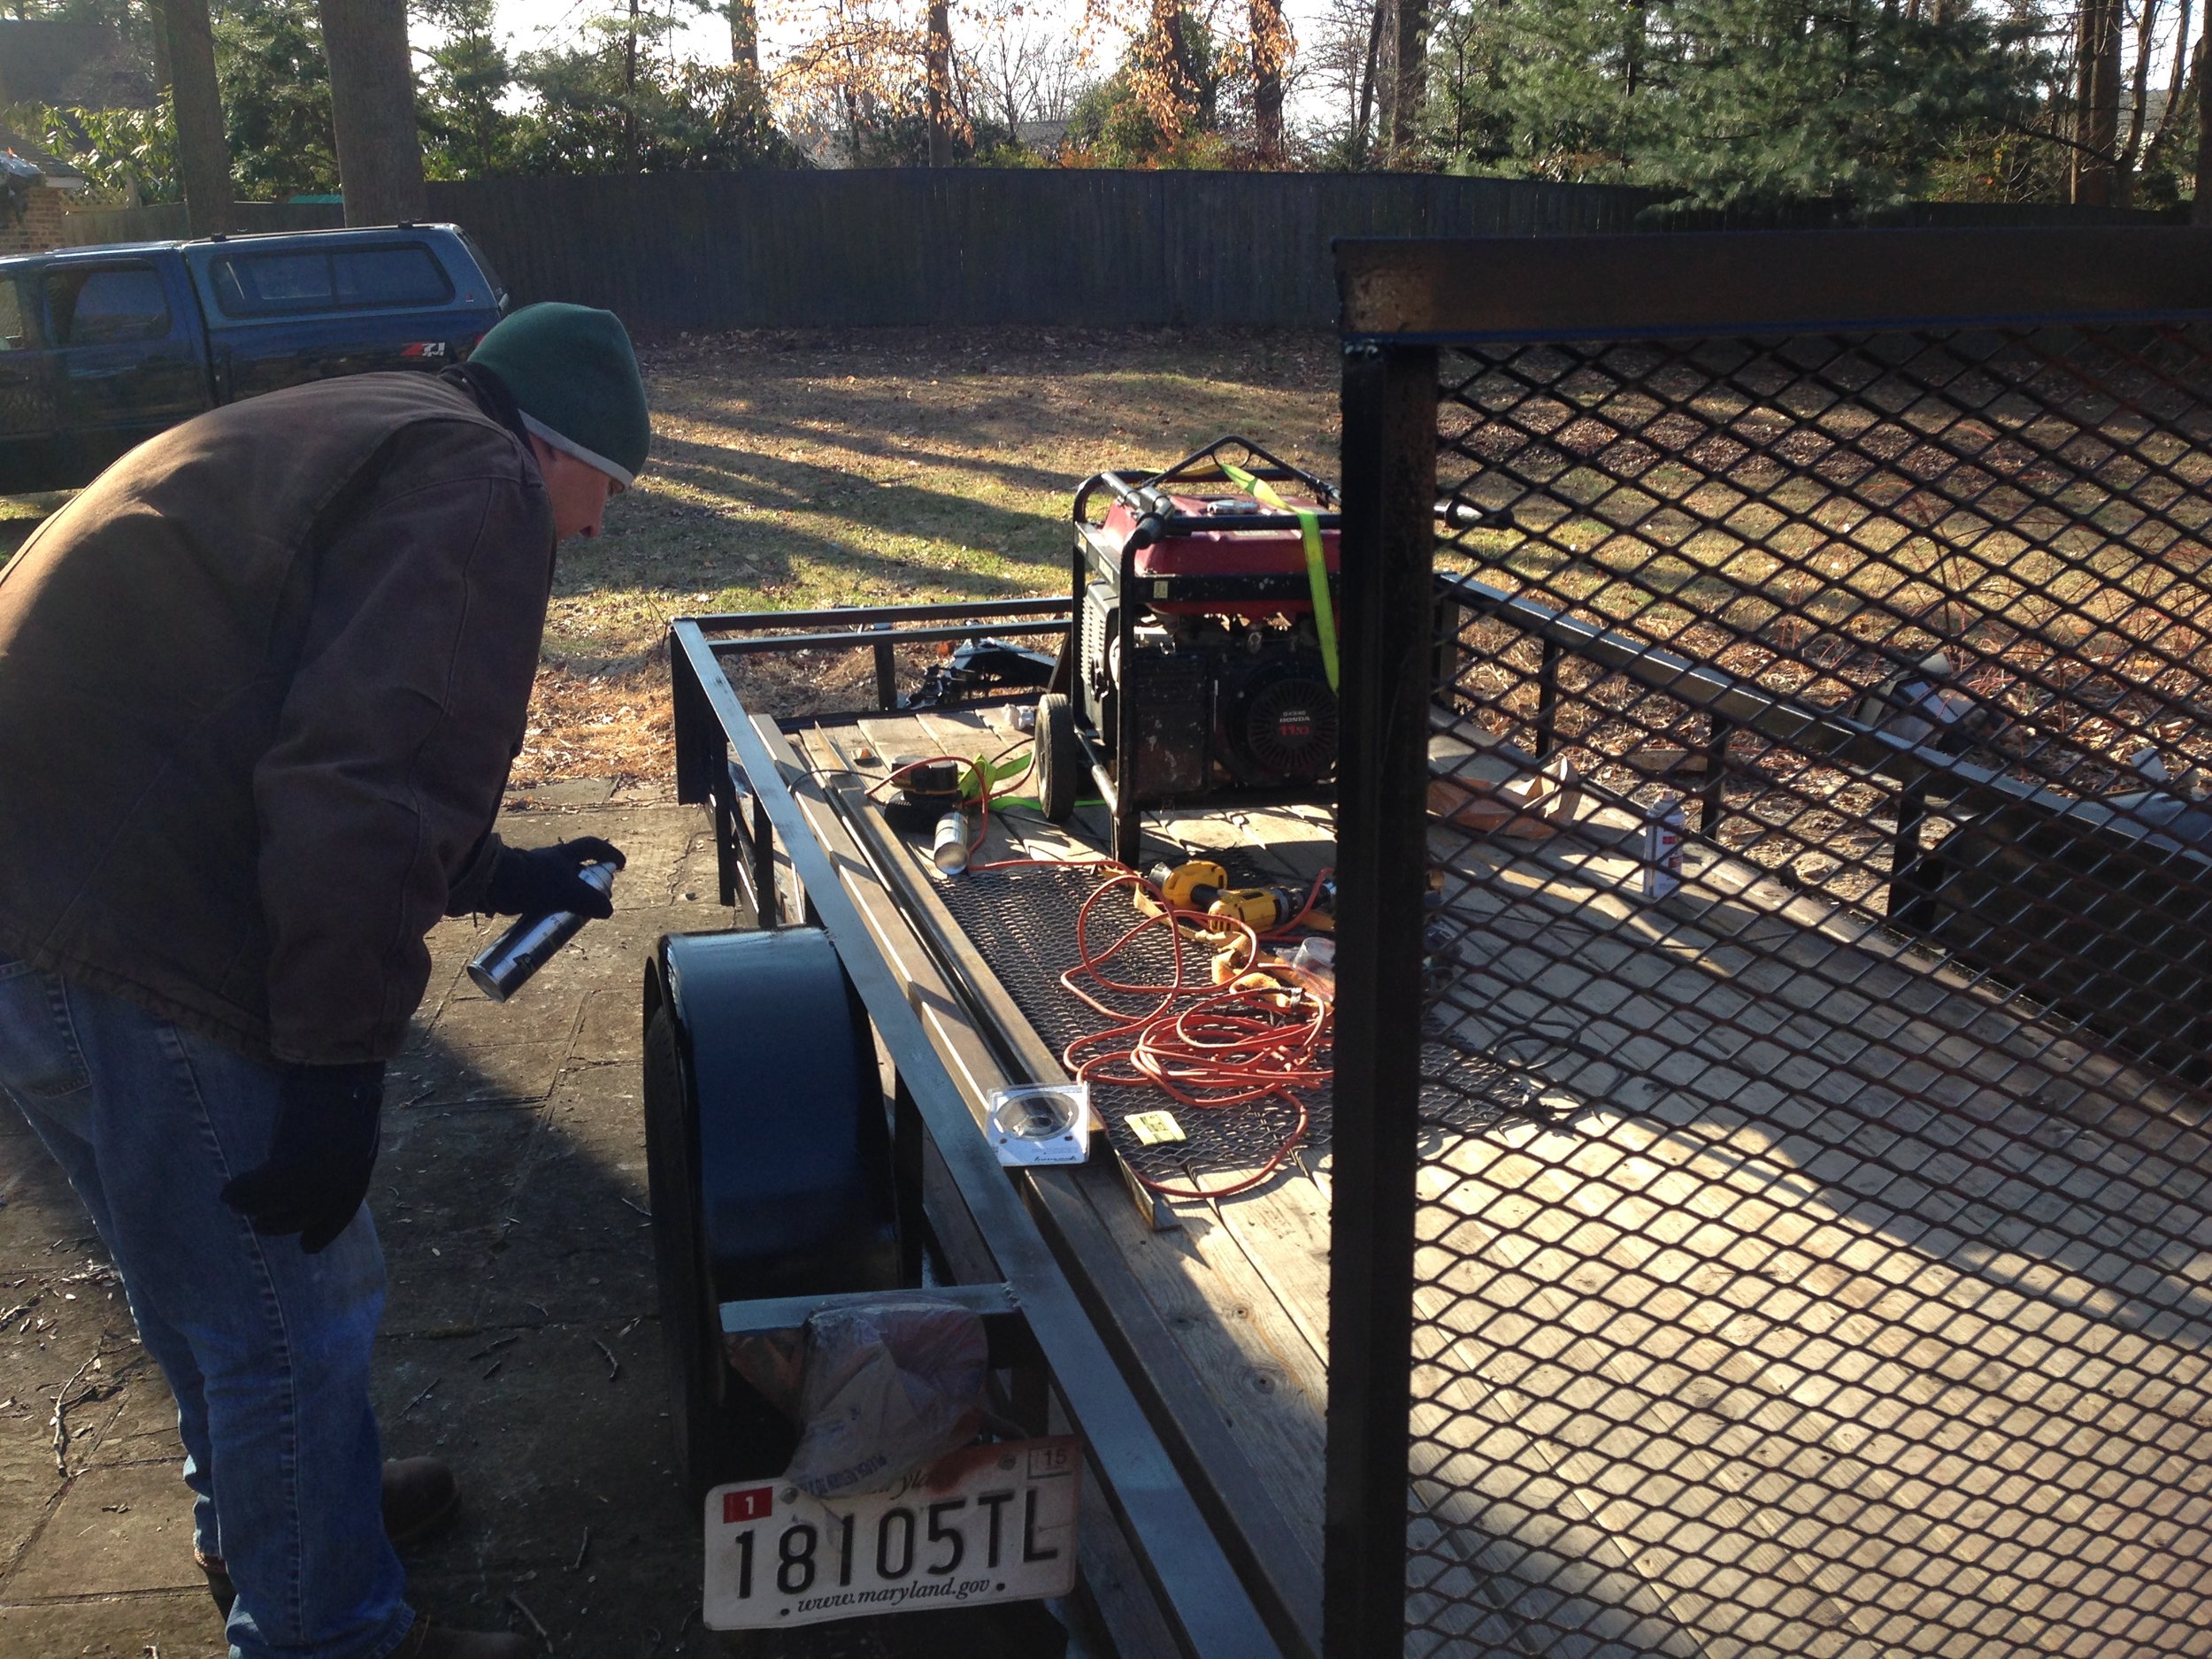
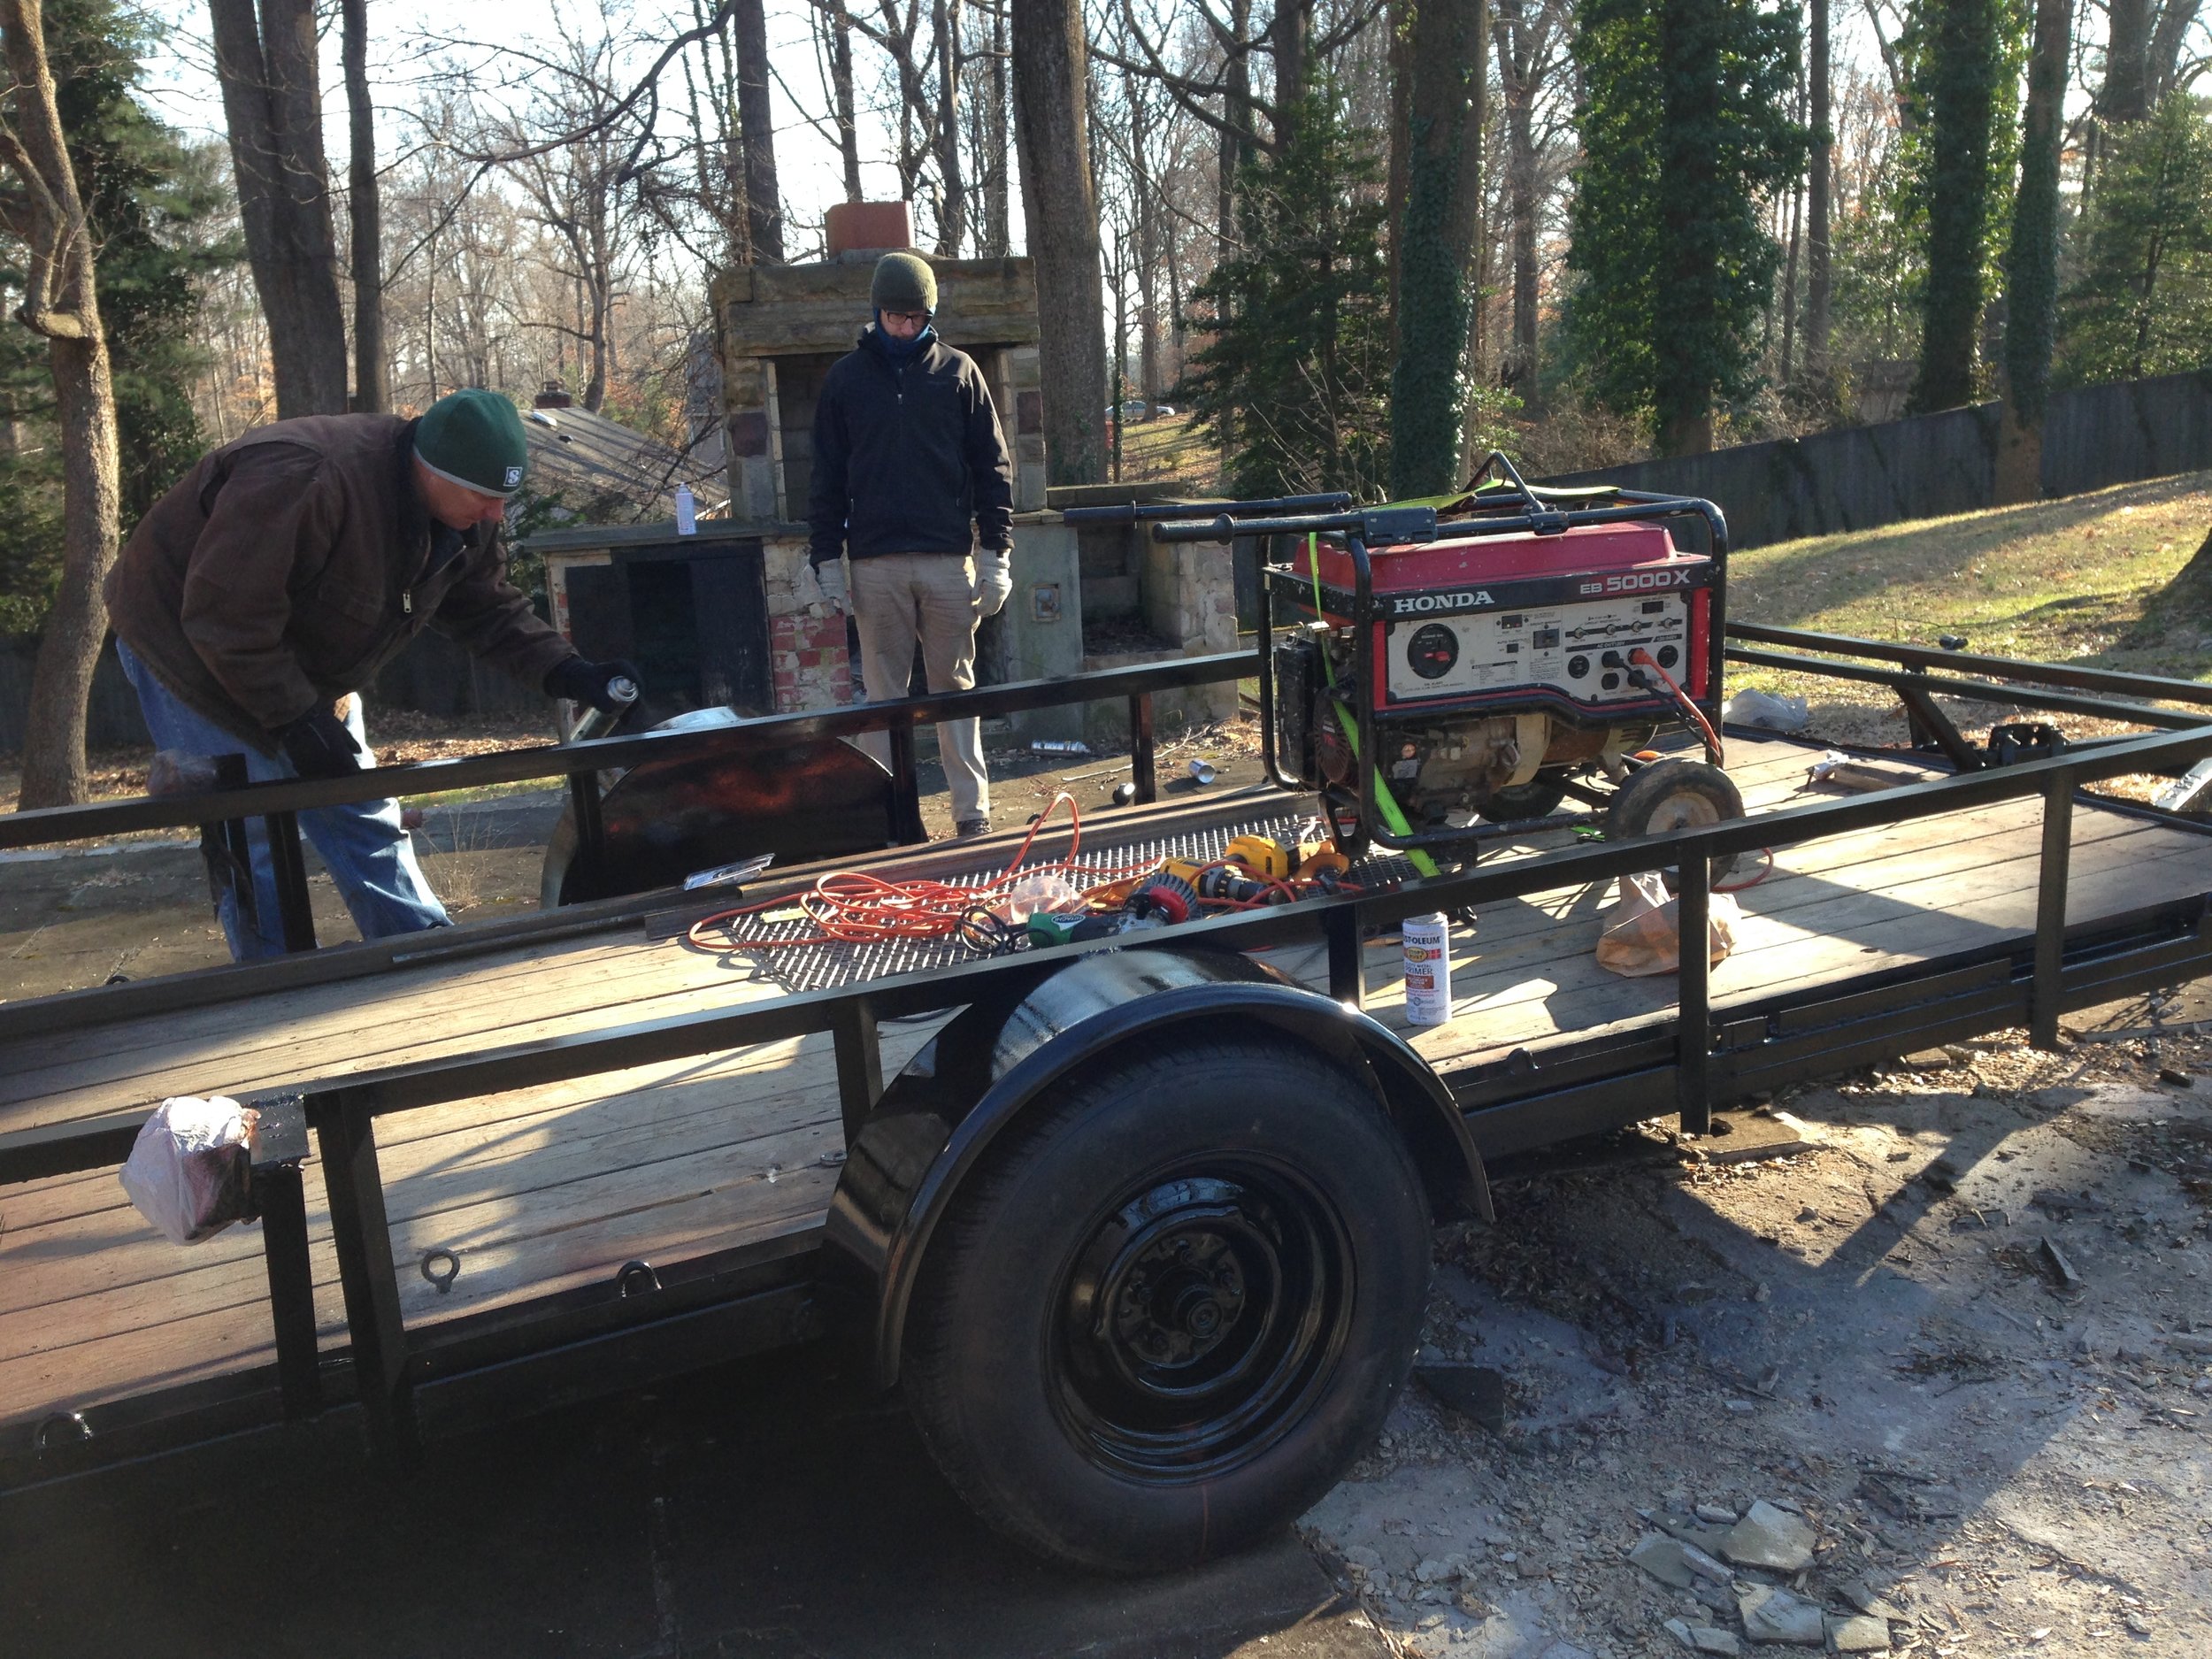
Now that the new frame was in place, it was time to add the wheel covers and brake lights. The brake light addition was fairly simple—instead of putting the bent-up wheel well and combination brake lights back on, we installed smoother, half-circle shaped wheel covers and then built a separate unit to mount the lights. The light mounts were built from scrap steel pieces and assembled into two triangles to extend the lights and license plate further away from the trailer, providing better visibility for anyone driving behind the trailer.
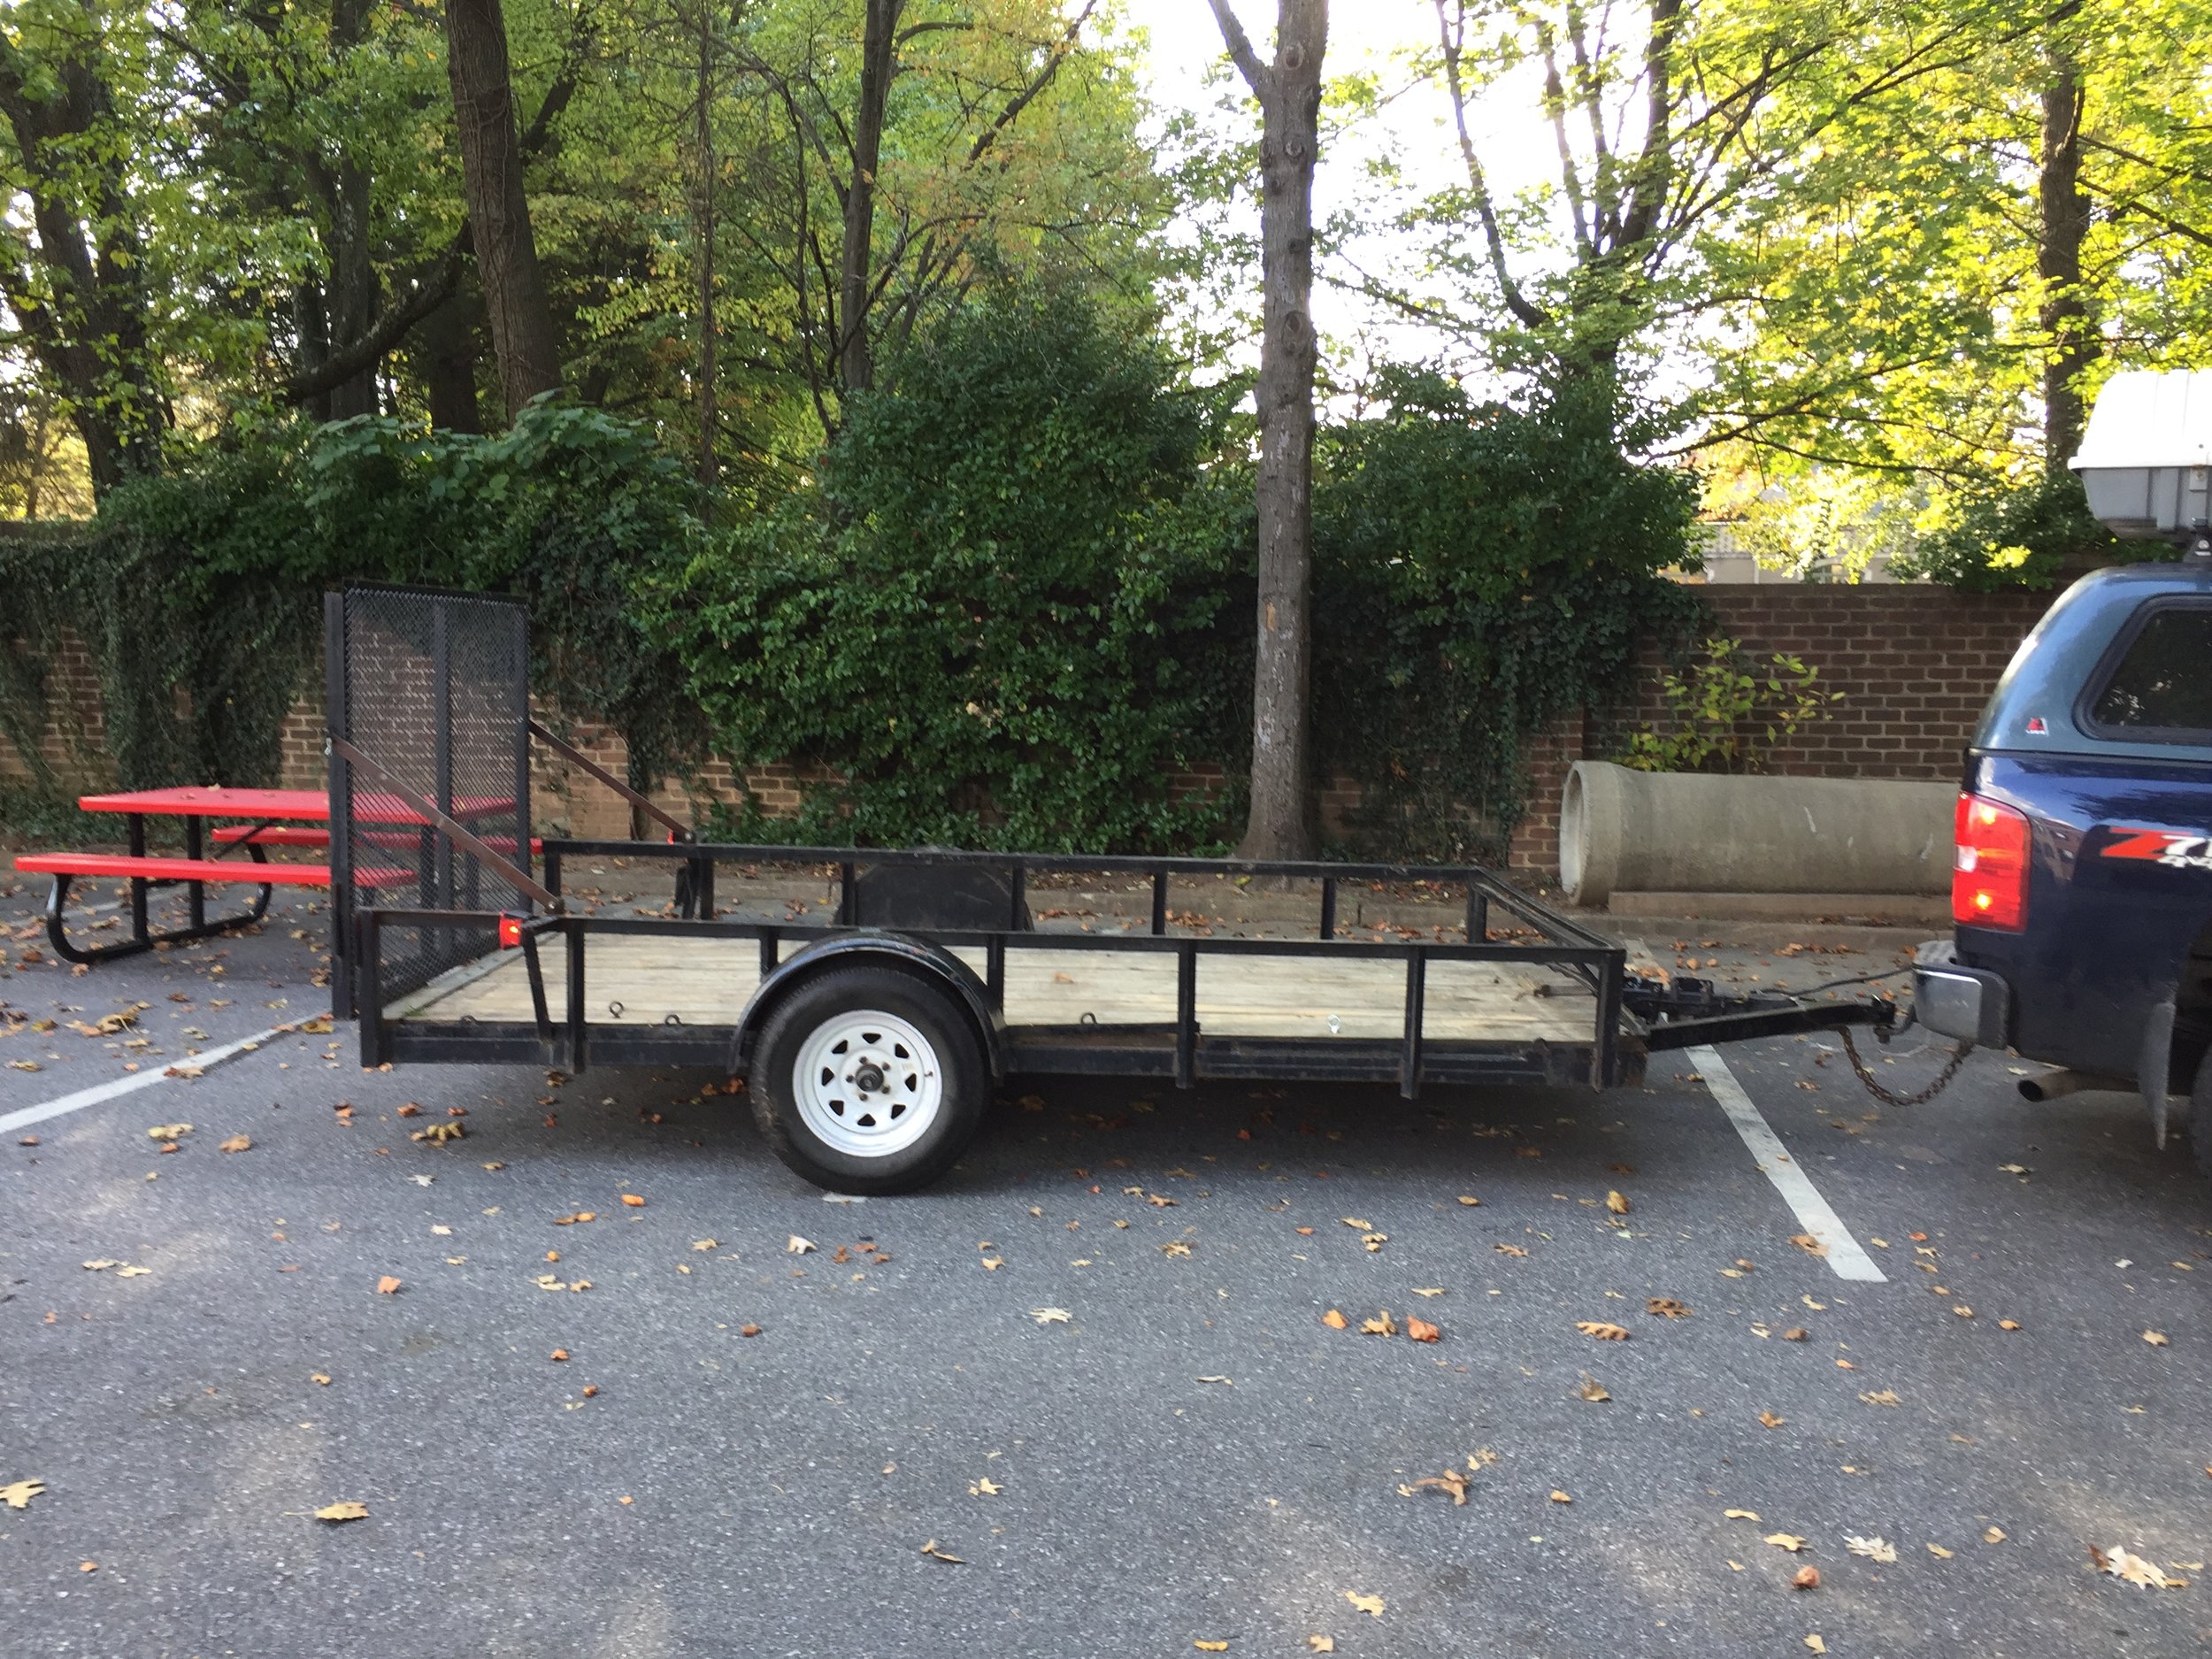
The final steps of completing the trailer were the cosmetics—first spray painting the trailer with a dark red Rust-Oleum primer and once dried, a flat black Rust-Oleum to completely seal the trailer was applied. We then installed the actual light bulbs and light covers for the brake lights, running an extension wire from the lights all the way to the trailer hitch so it can be connected to the truck’s light extension cable.
With this final step completed, we connected the cables and checked to make sure the brake lights worked and after troubleshooting a loose wire, we were fully road operable and ready to take on any amount of cargo here at BlackRock Holdings.
If you have any questions on specifics of how we did something, feel free to drop us a line by email at info@blkrk.com or on our Facebook page.