
This Special Project is much more visual than it is explanatory.
As we’ve started to expand our welding skills, we decided that if we were to make this a regular thing, we should have a dedicated workspace so we can accurately build these projects.
A welding table is a fairly simple concept—it has to be sturdy enough to hold the weight of hundreds of pounds of steel and other metals, it has to be constructed out of non burnable/meltable material and it has to be functional from all sides.
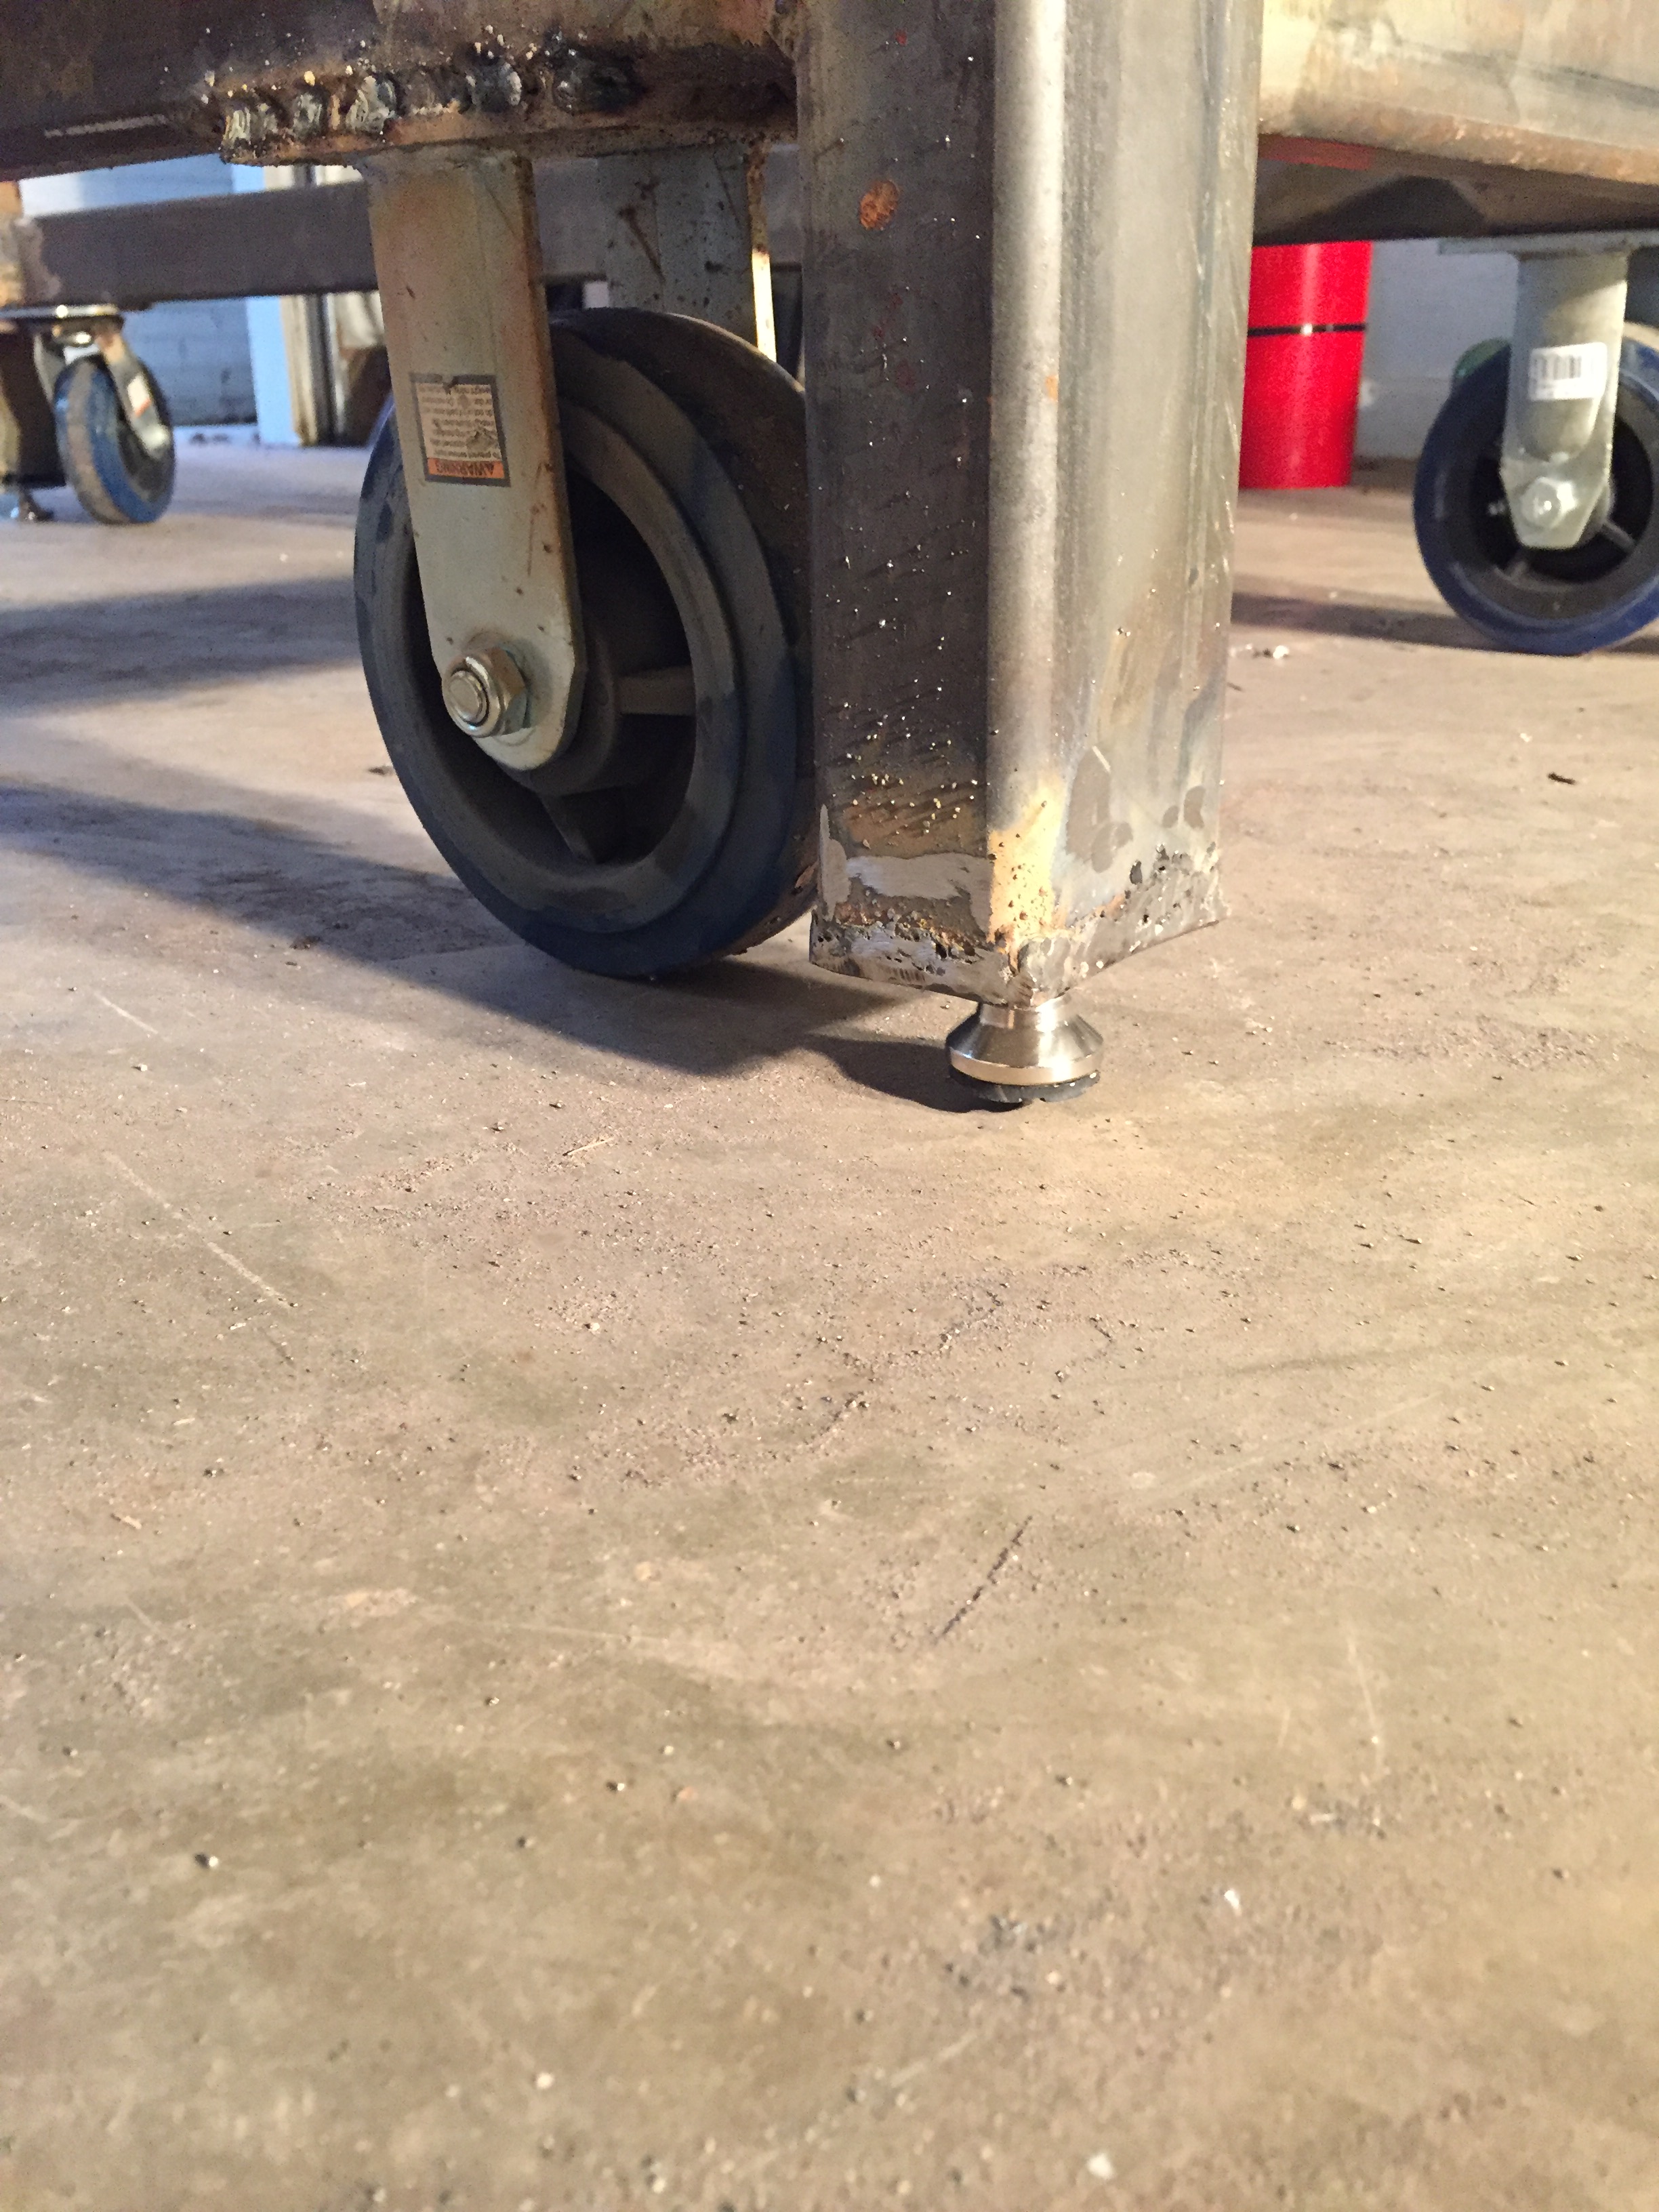
We knew how we needed the basic framework of the table to be built. It needed heavy iron legs, angle iron reinforcement and horizontal bracing between the four legs. We also wanted it to have adjustable stabilizing feet for combating uneven surfaces whenever we had the table in a new location.
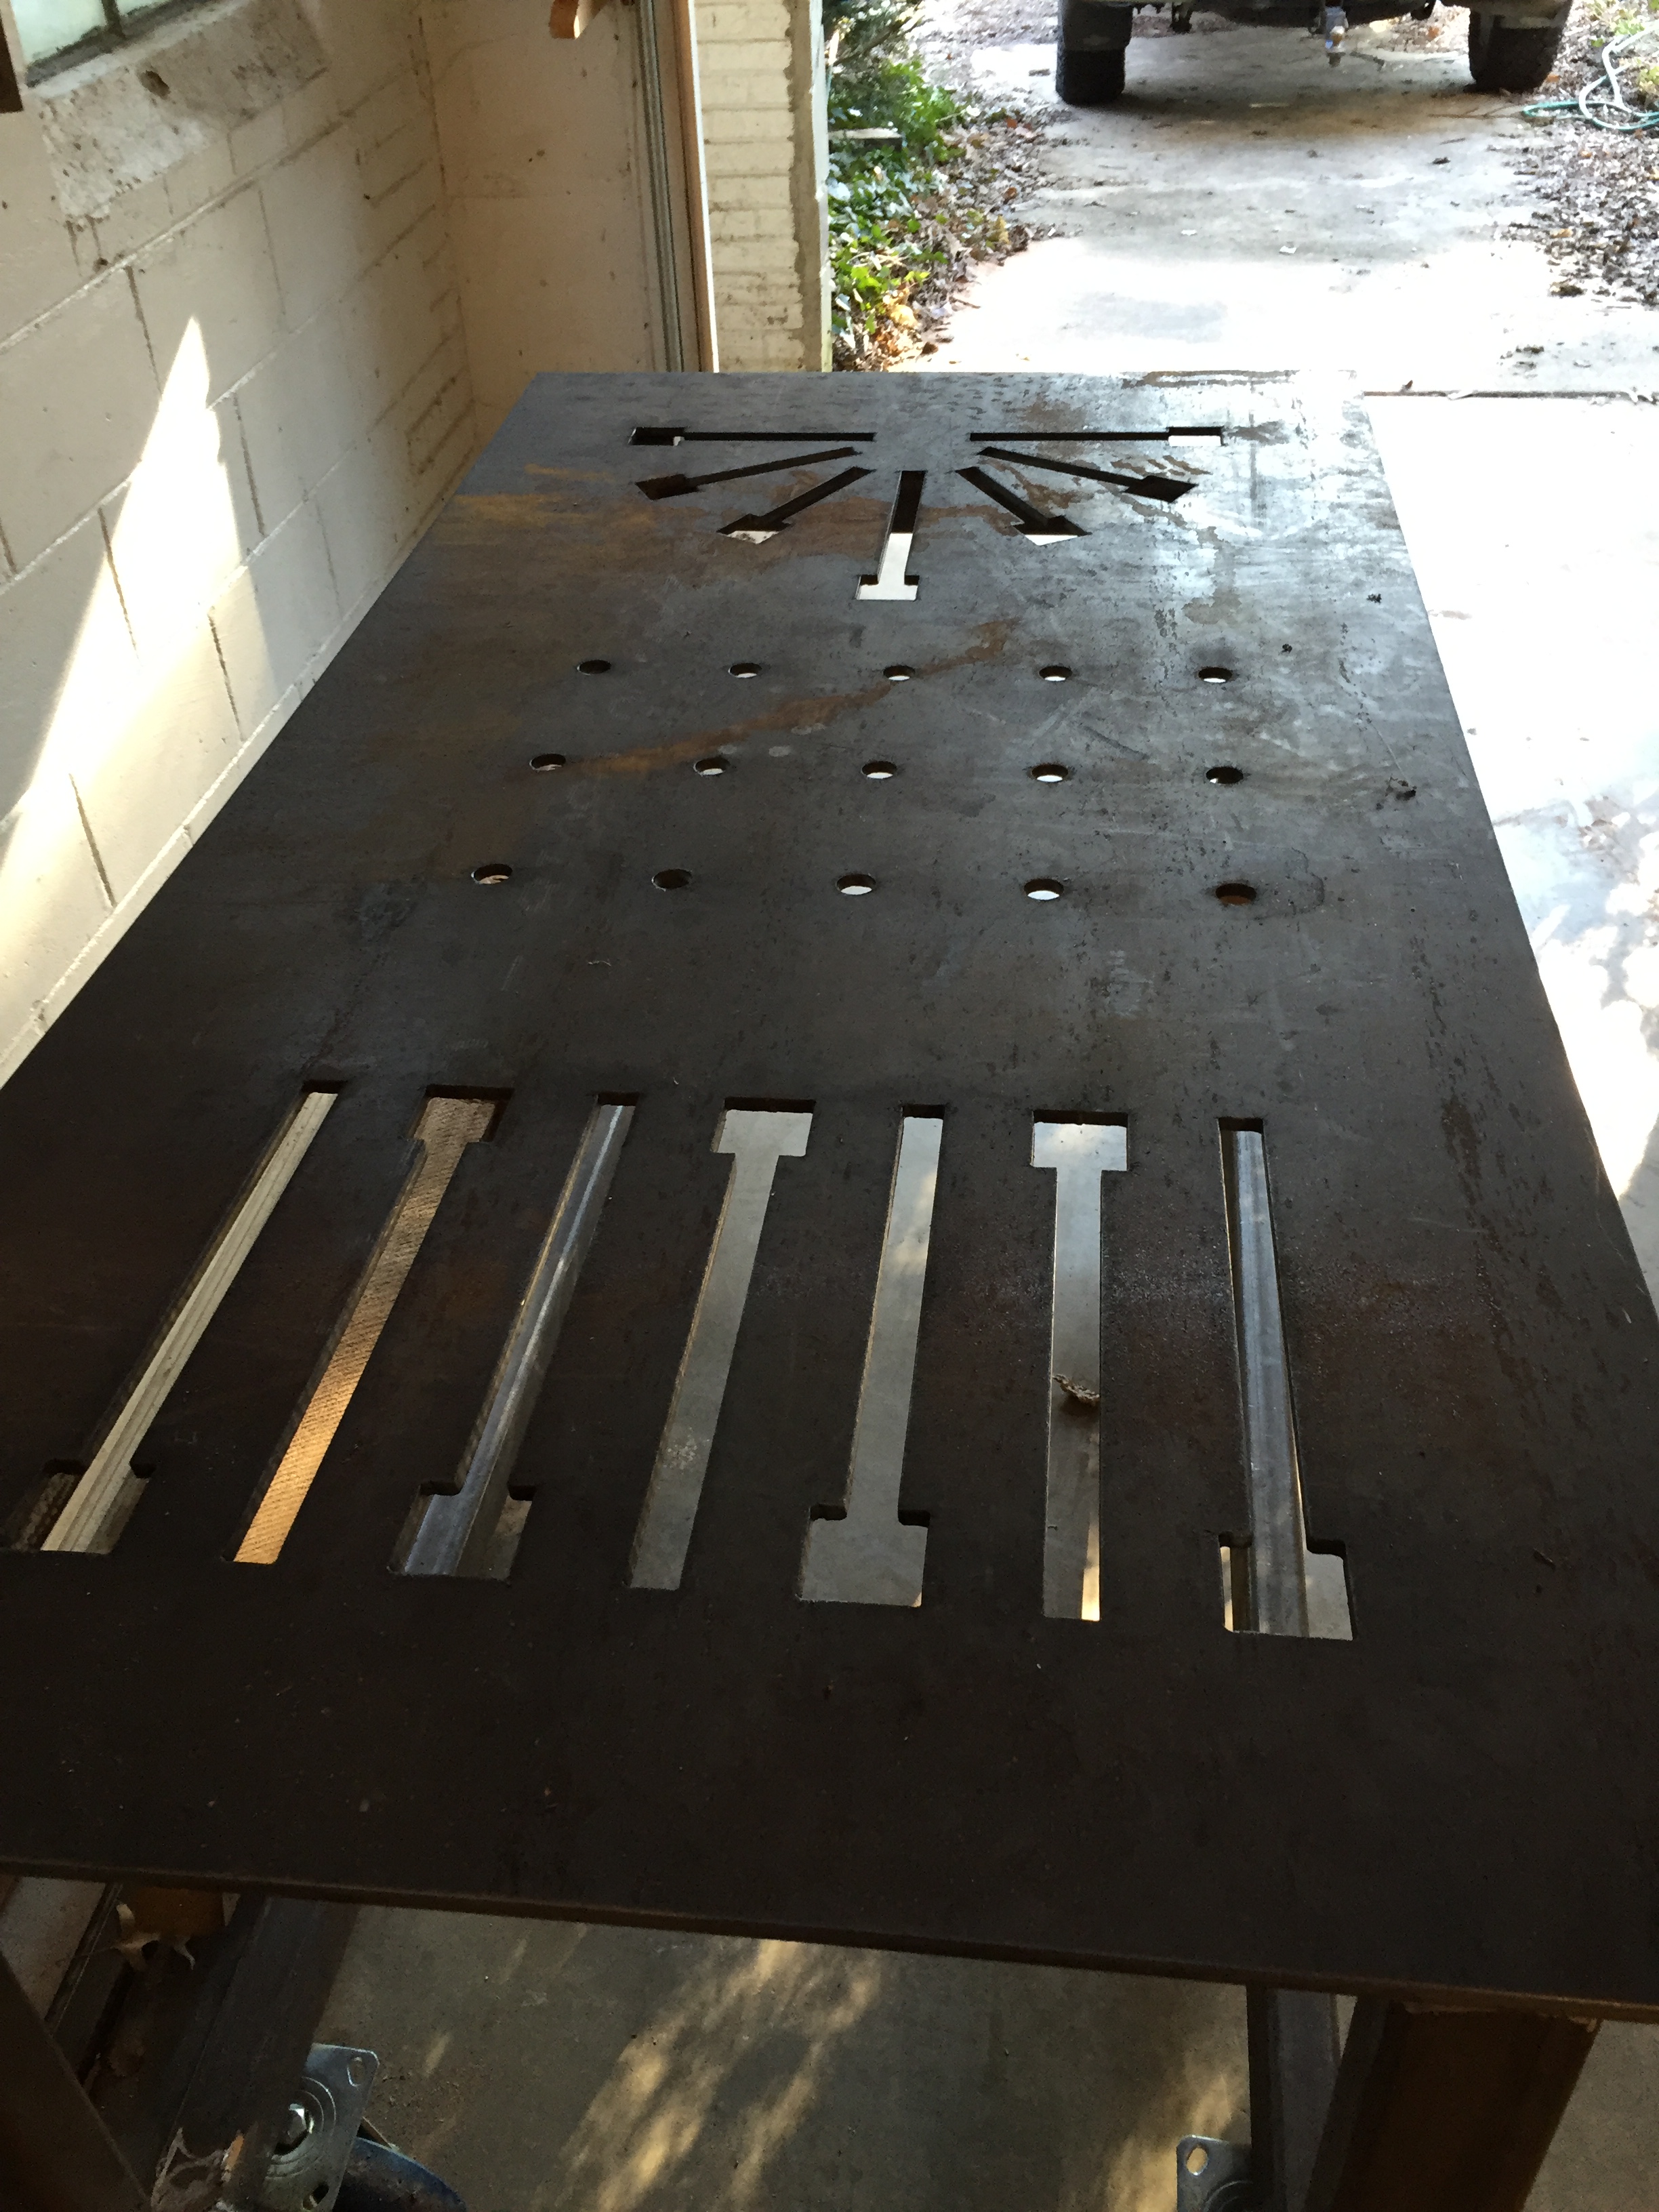
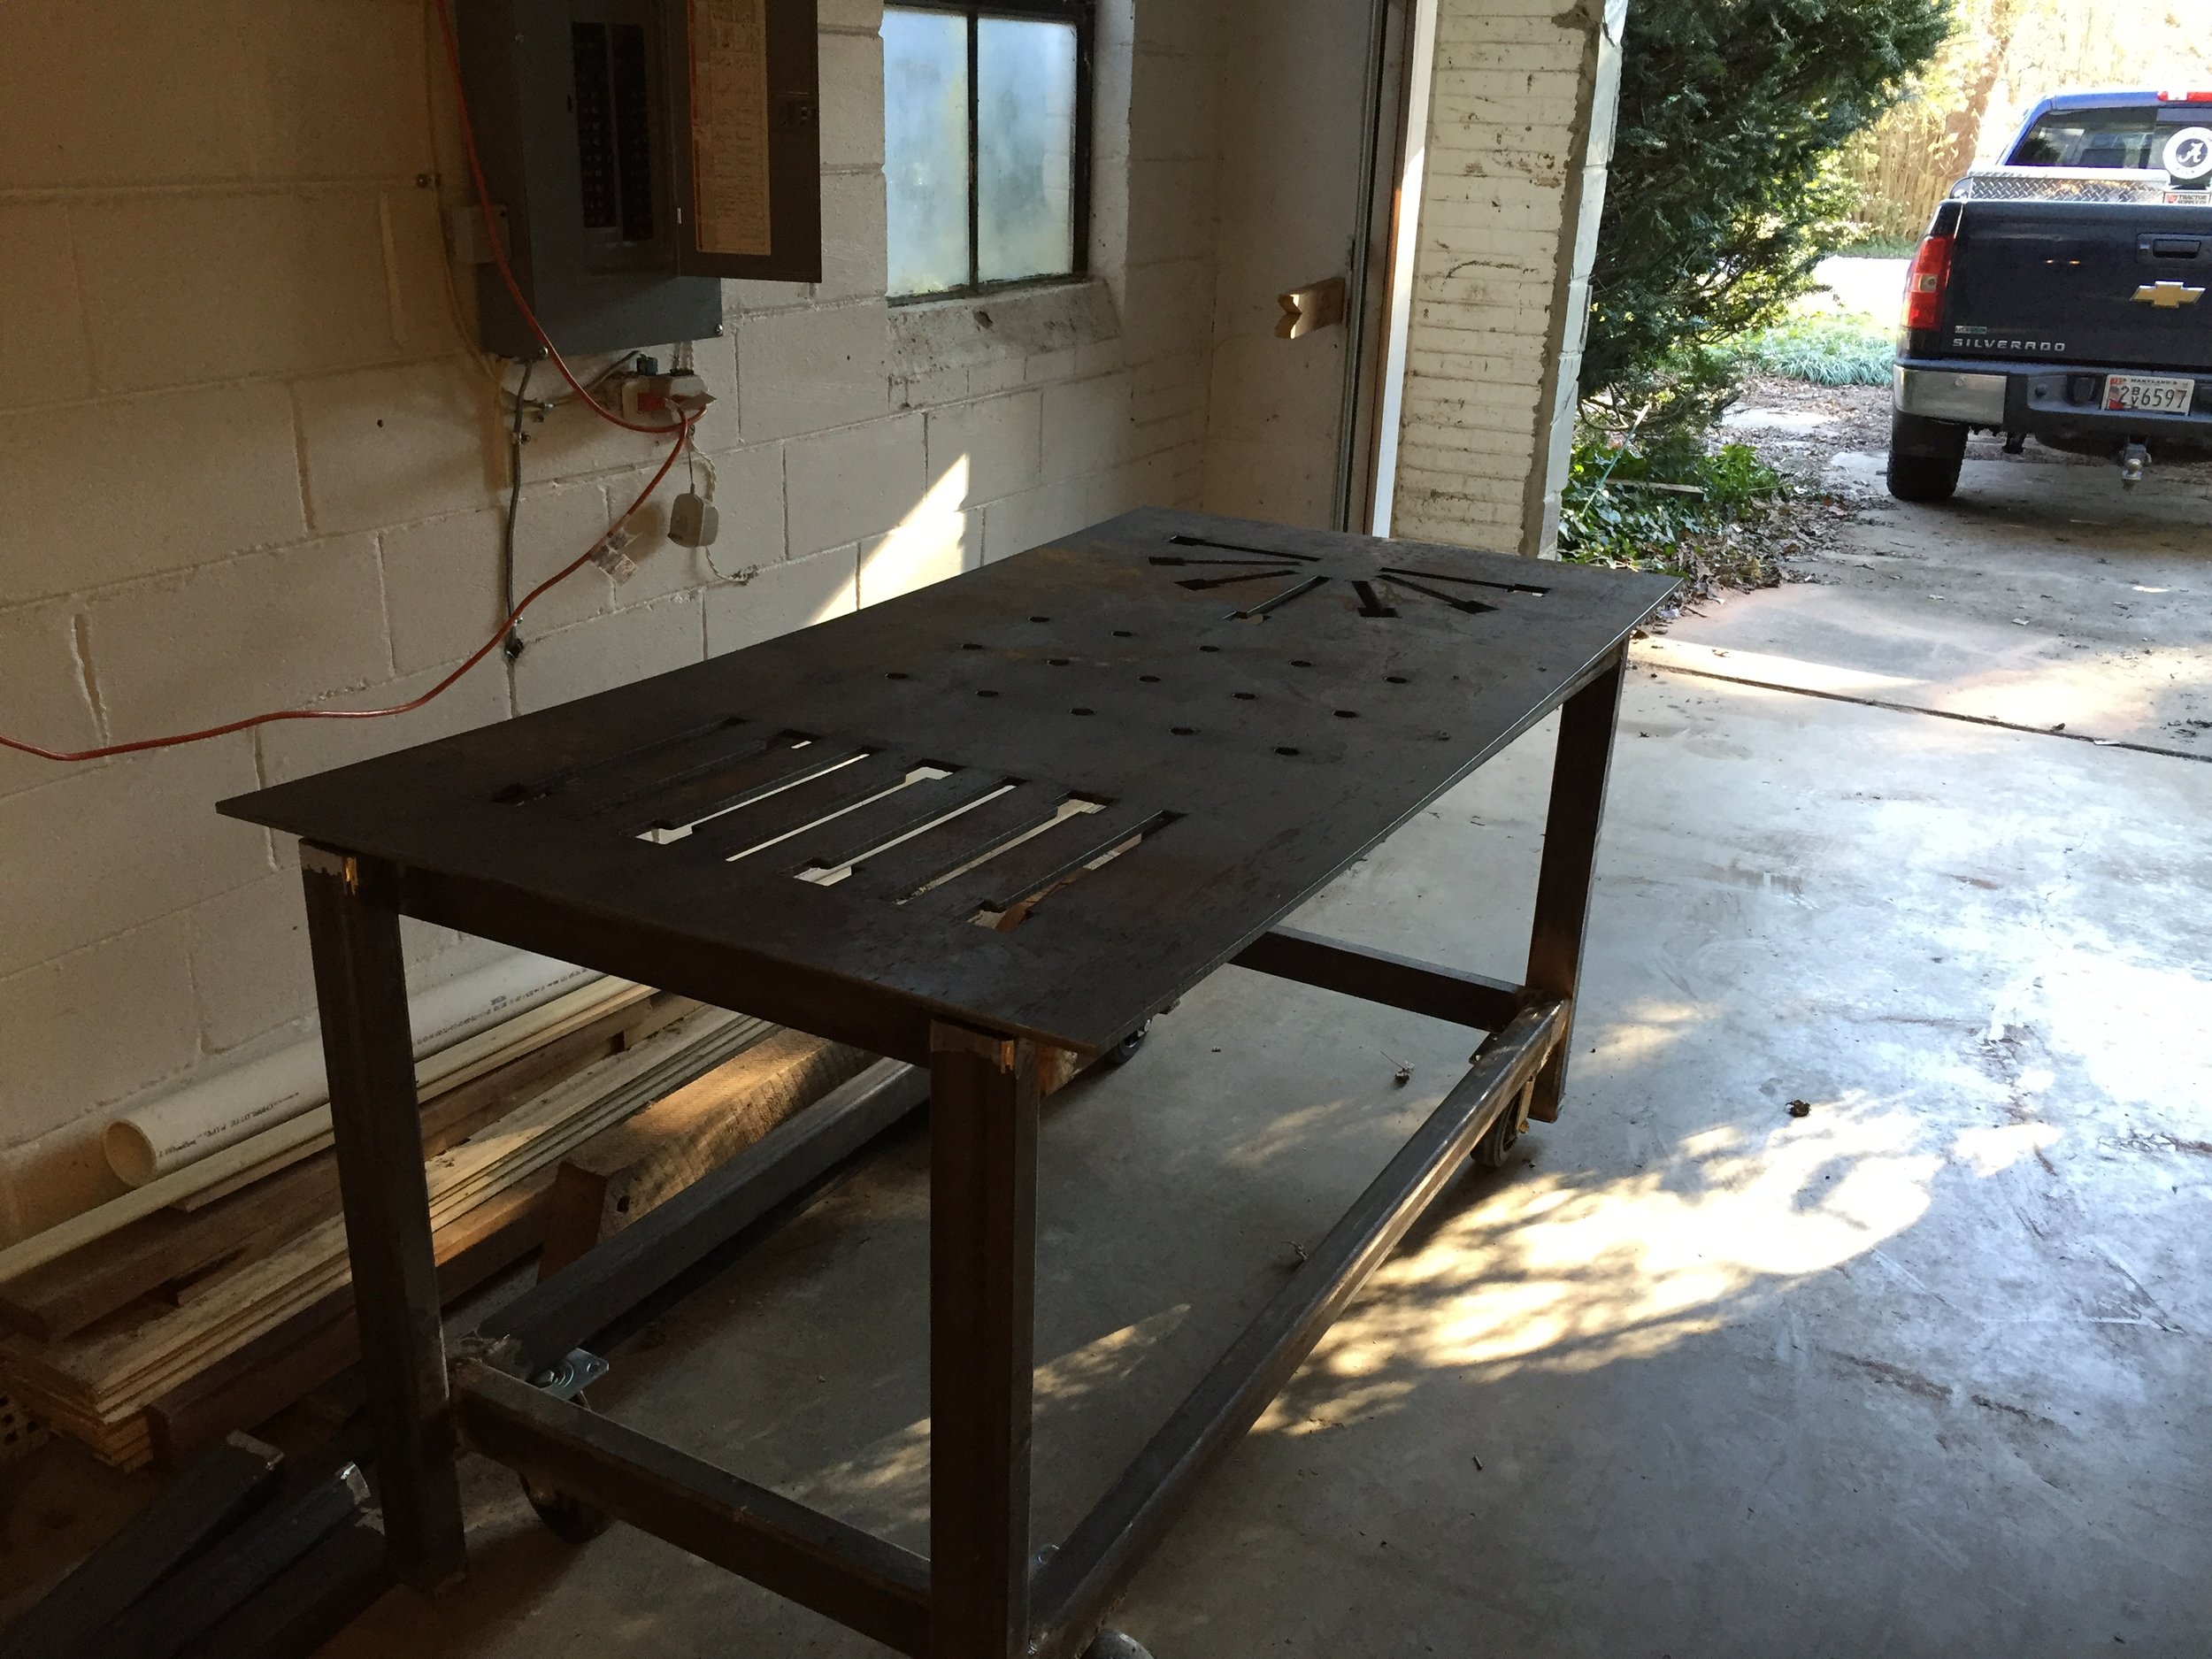
The first step of building this table was creating a rendering of what we wanted the tabletop to look like in Google Sketchup. We knew it needed to have a few various types and patterns of holes to better clamp down materials while working. We divided the tabletop into thirds and design a different pattern for each third.

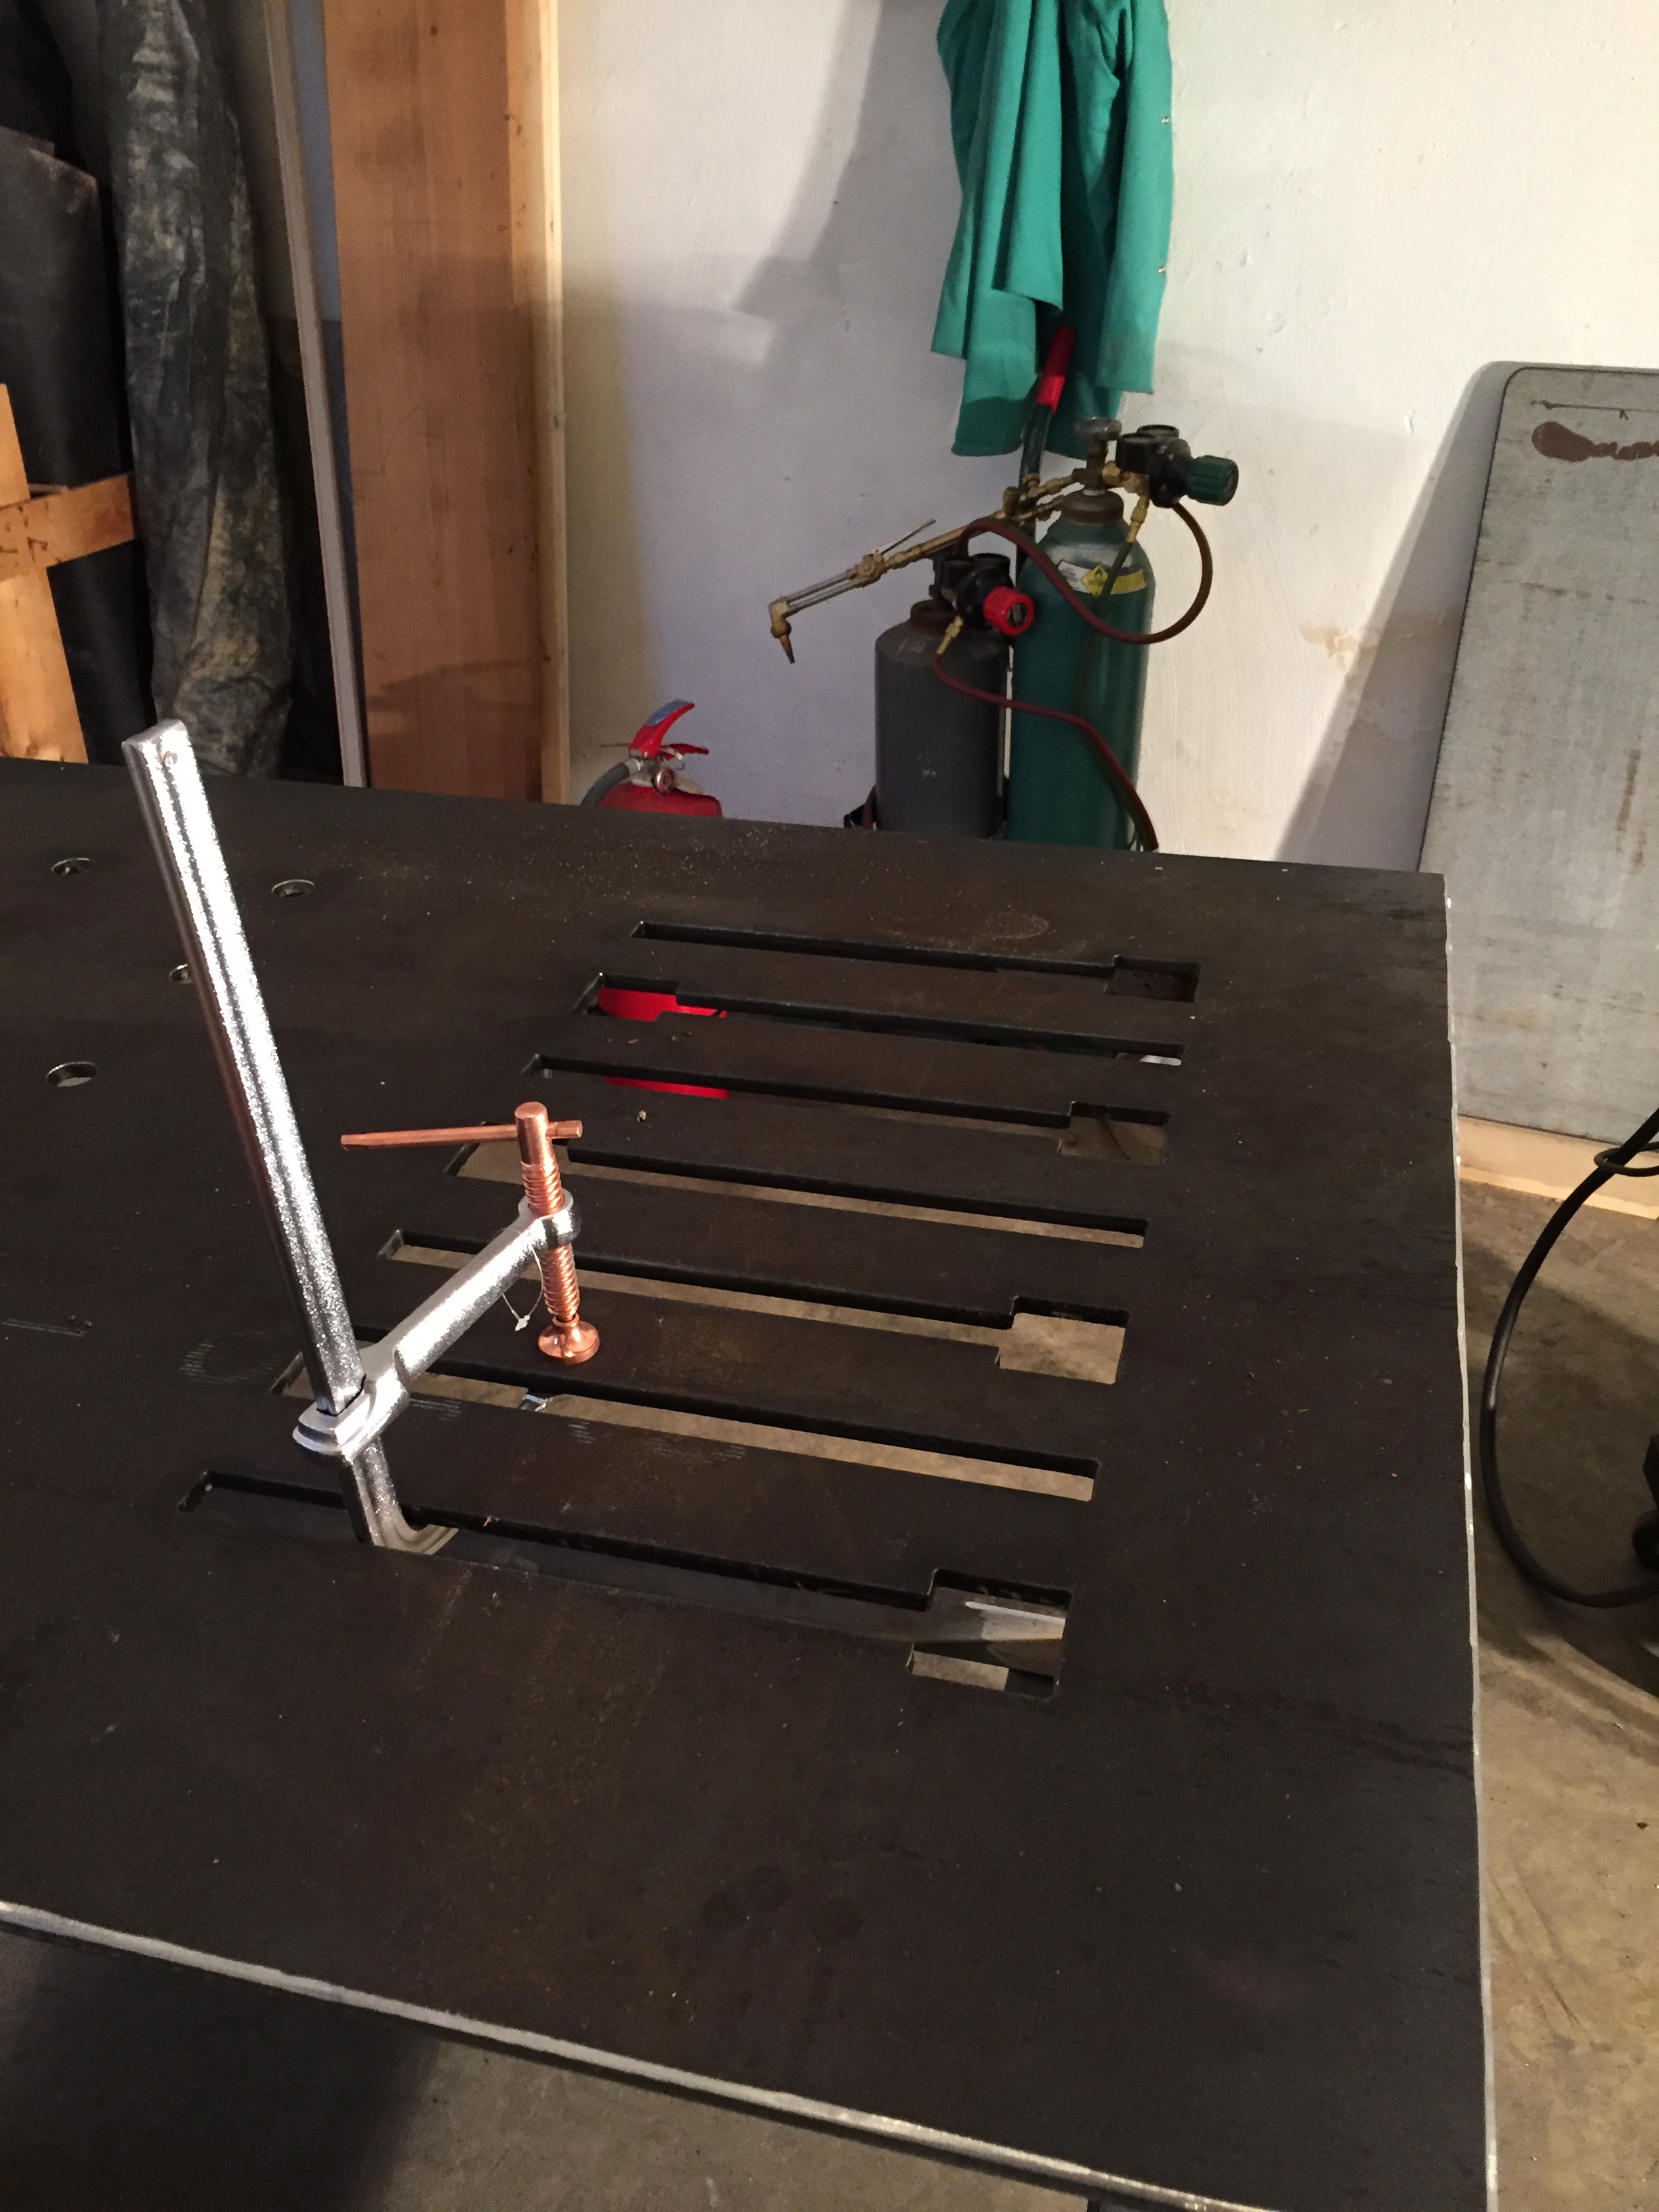
The first was a fanned half-circle shape with slats large enough to slide in the large part of the clamp at one end and maneuver it to the end of the slats.
The middle third is a series of holes that are conducive to another type of clamp that screws through the top and uses a nut to secure it from underneath.
The third segment was a series of horizontal slats with the same size and shape of the first third, just in a parallel series.
All of these holes and slats were carefully designed and measured to fit the specific clamps we knew we had in our warehouse.
The next step was sending the design to the plasma cutting metal shop who would take our drawing and replicate it onto a 3’ x 6’ piece of flat steel. Within a week, they had it complete and went to pick it up. Needless to say this was an extremely heavy piece of metal, which is why it took a miniature crane just to load it onto the truck.
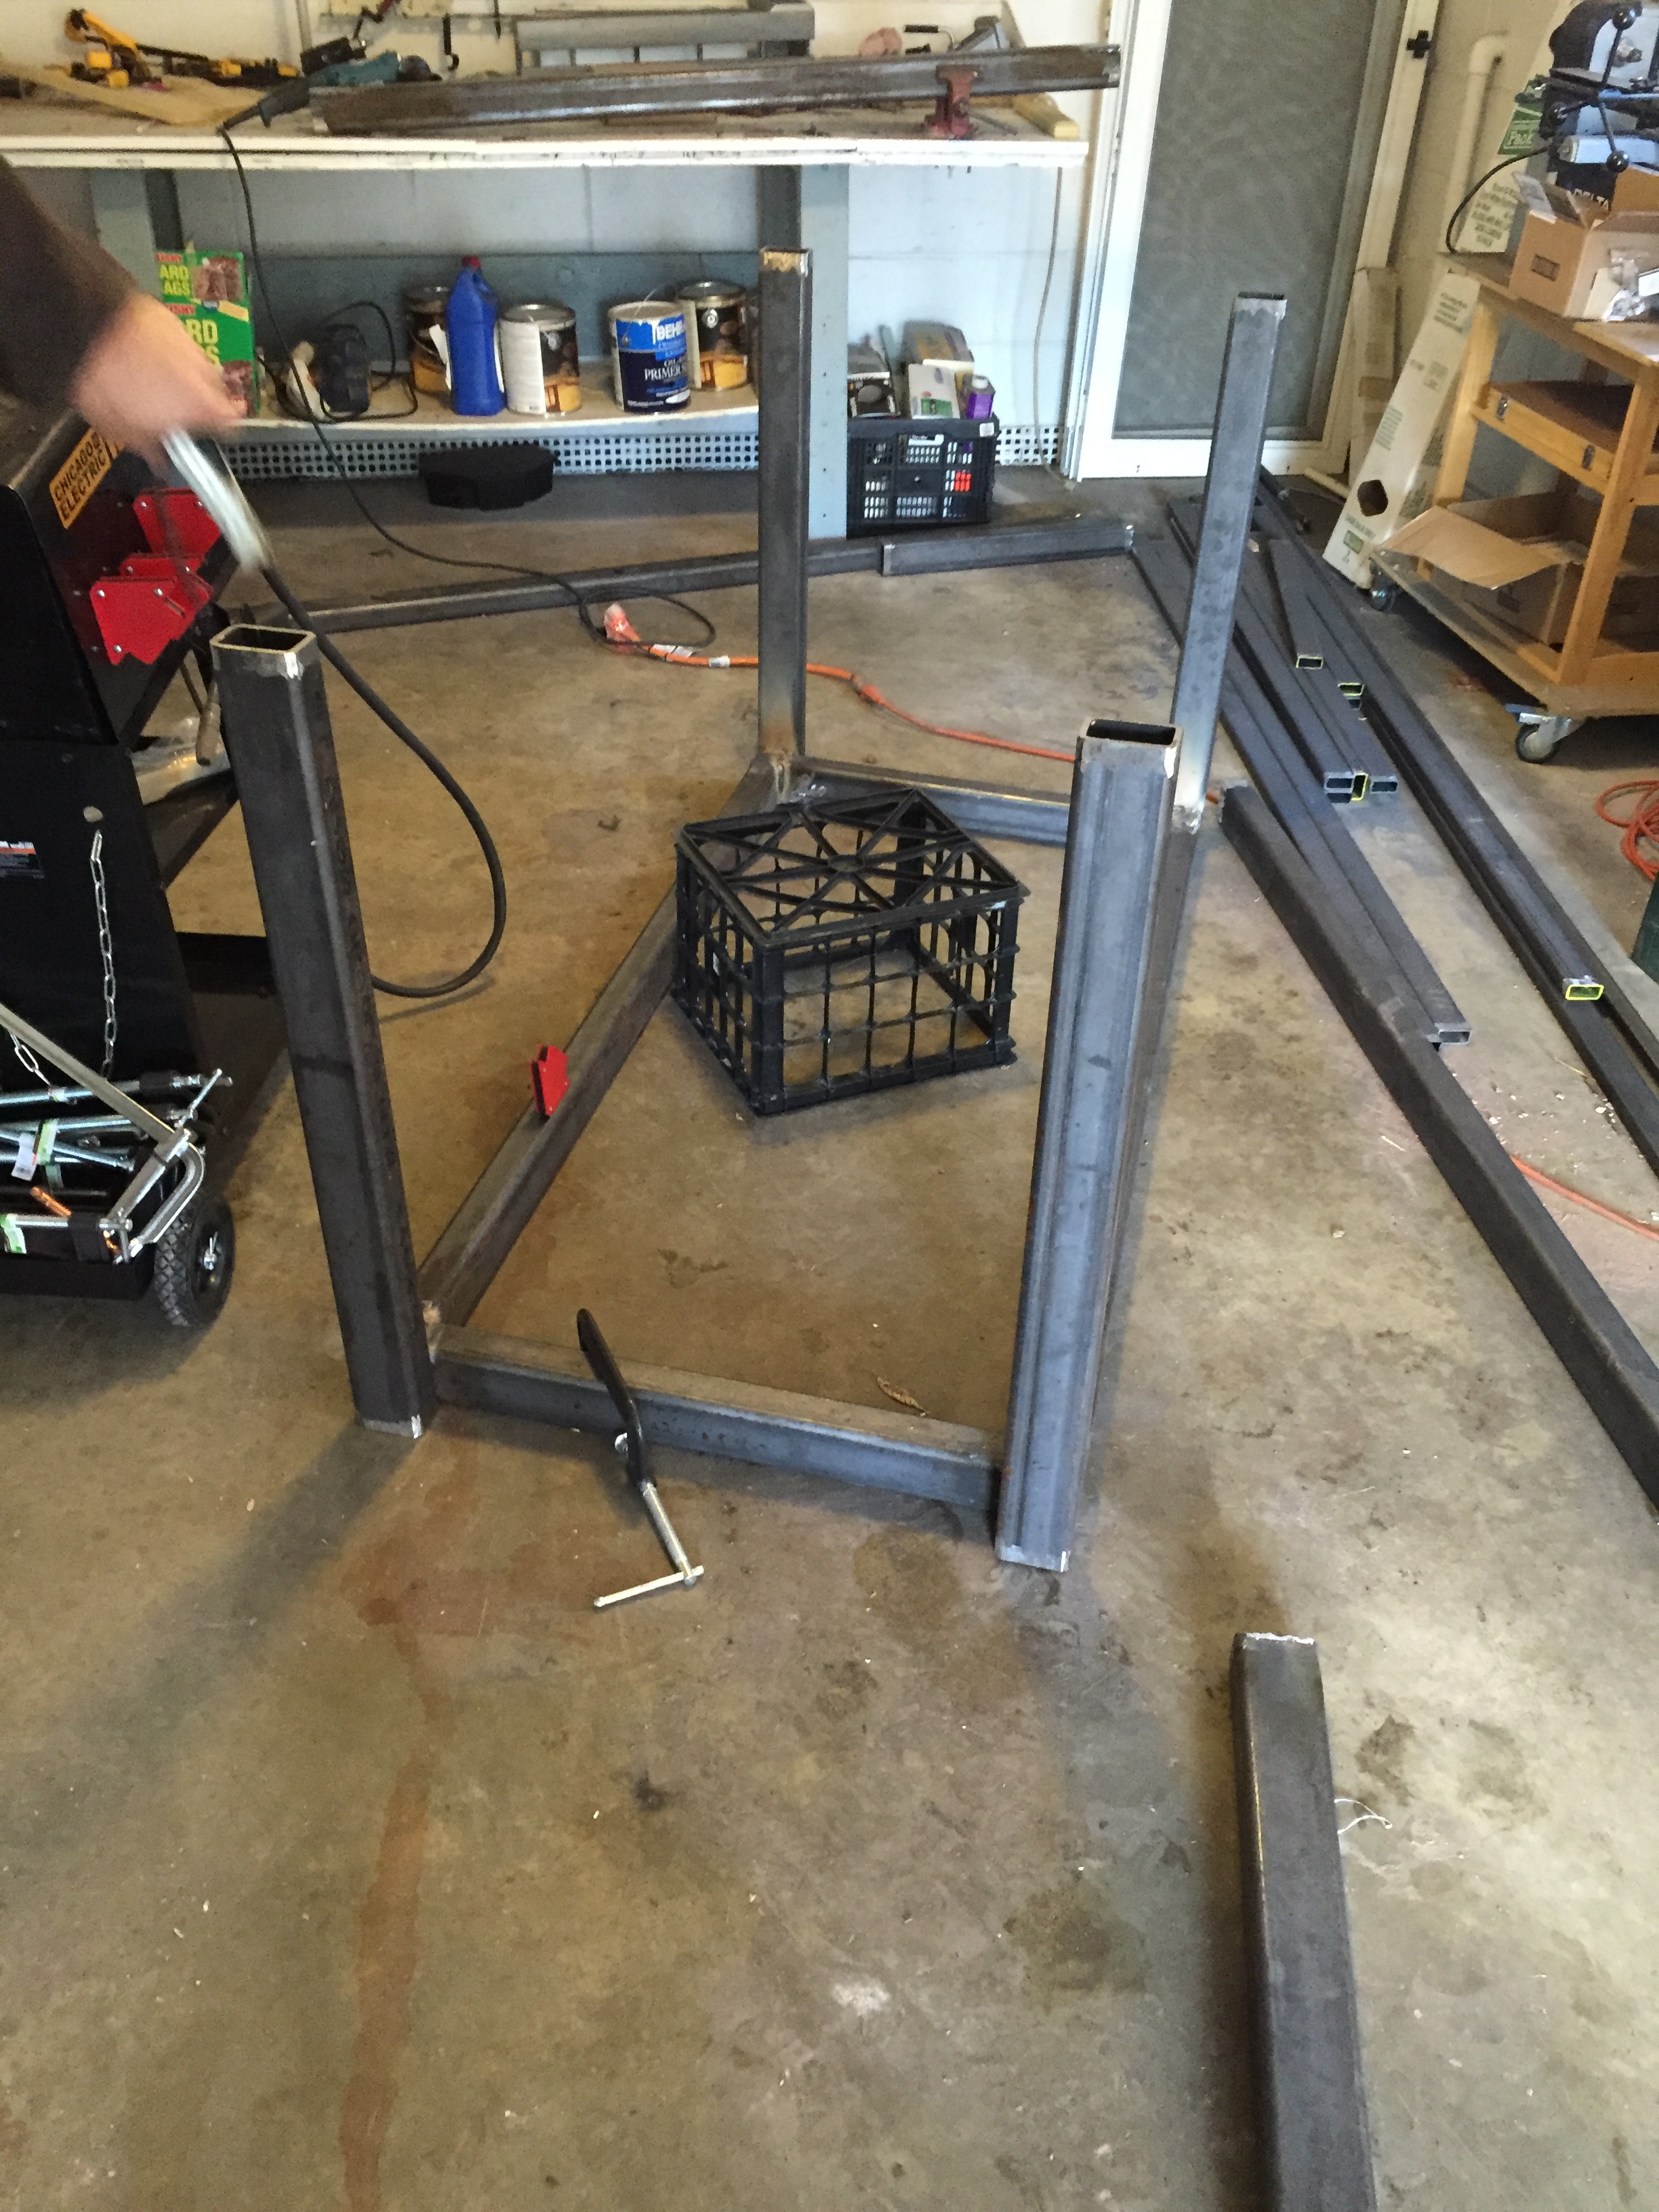
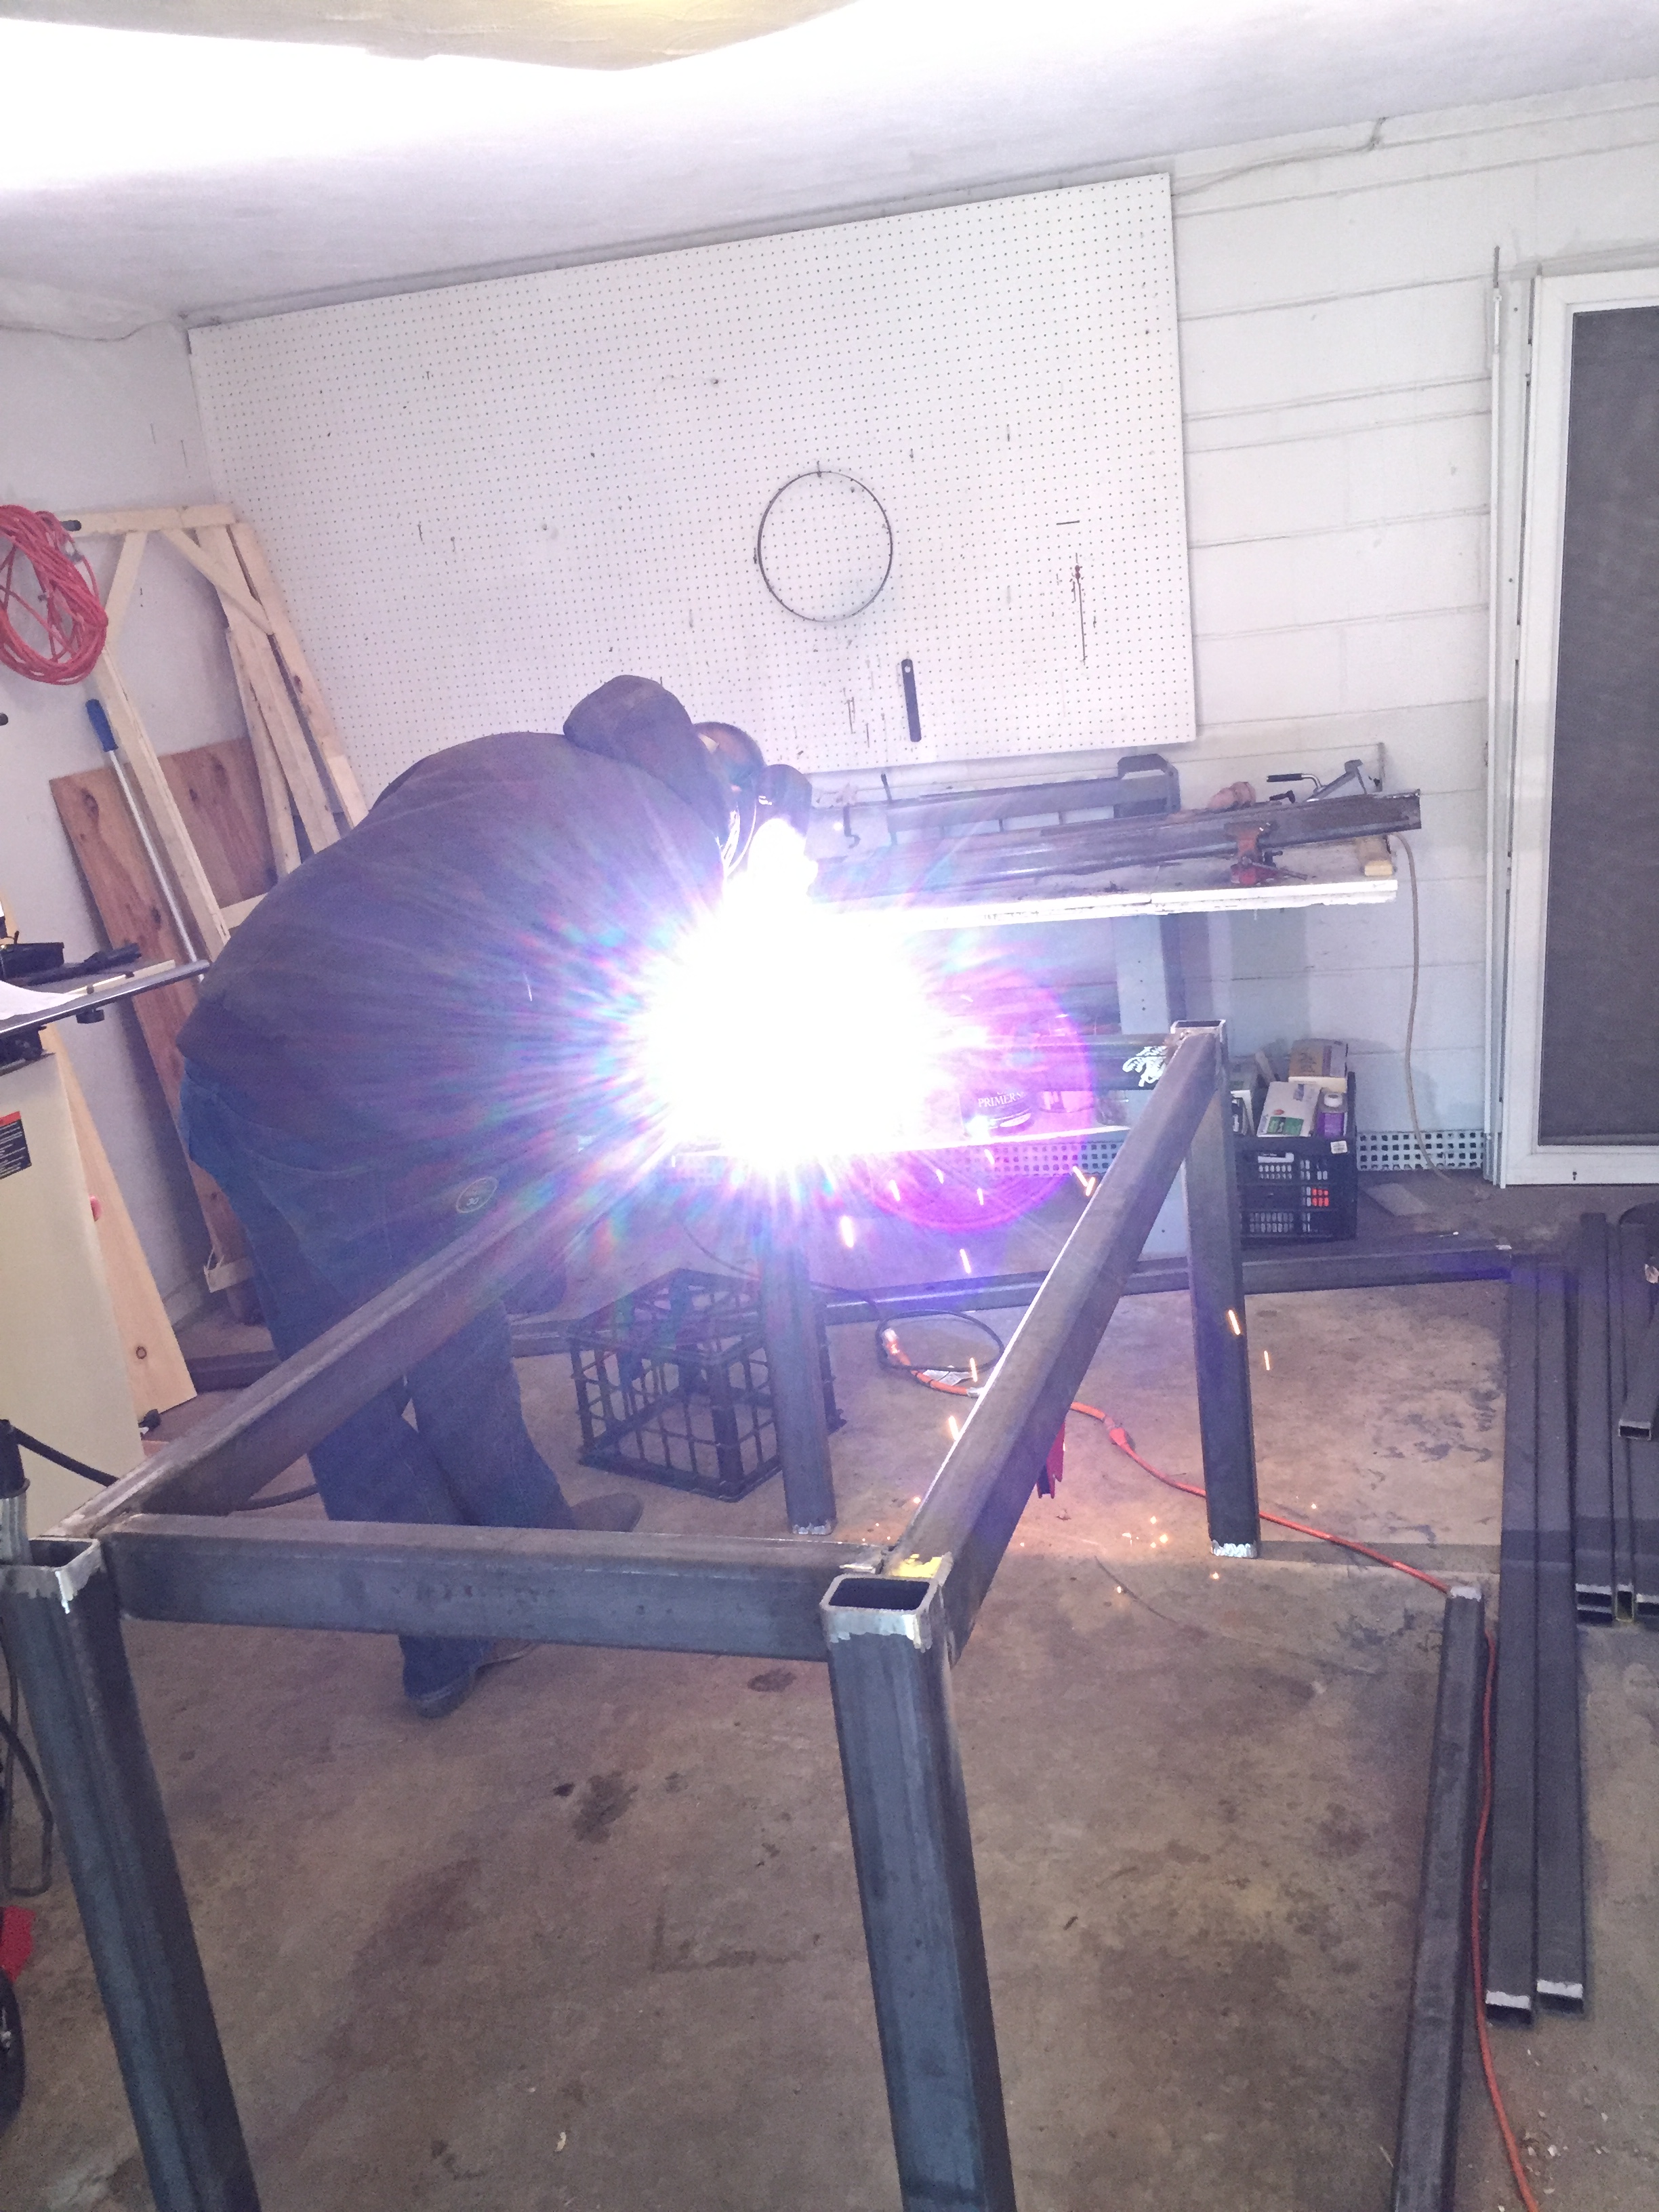
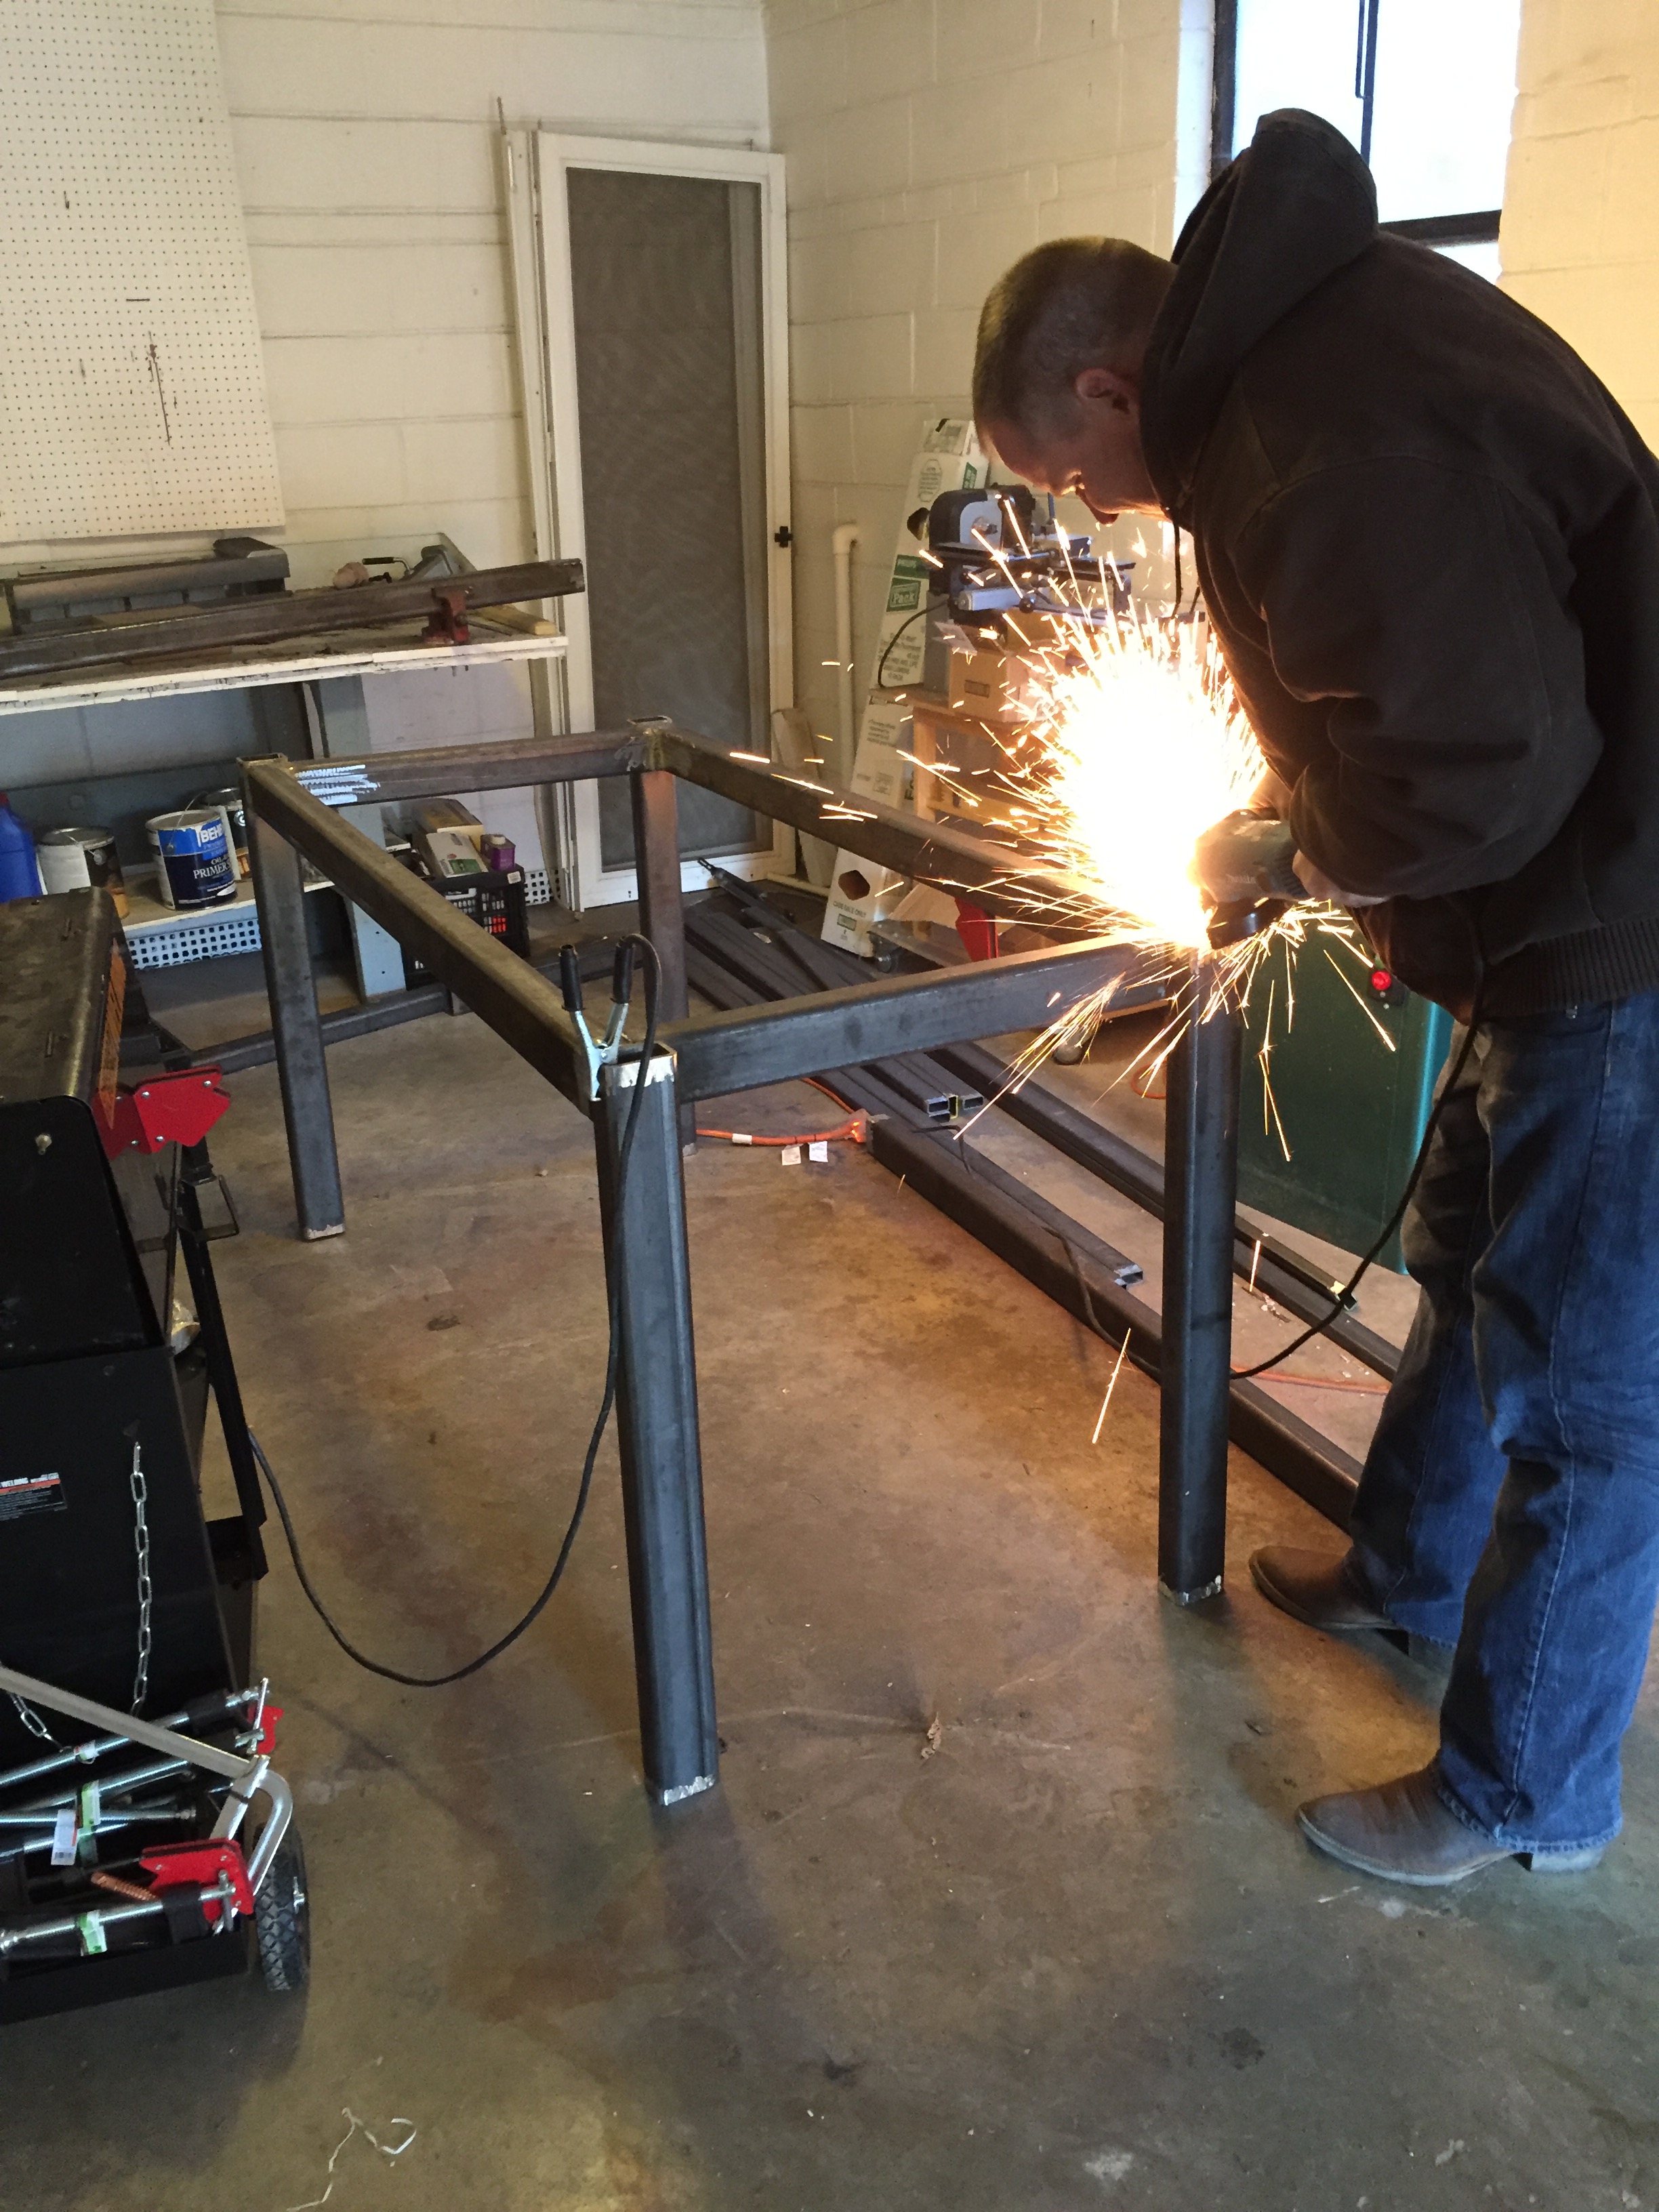
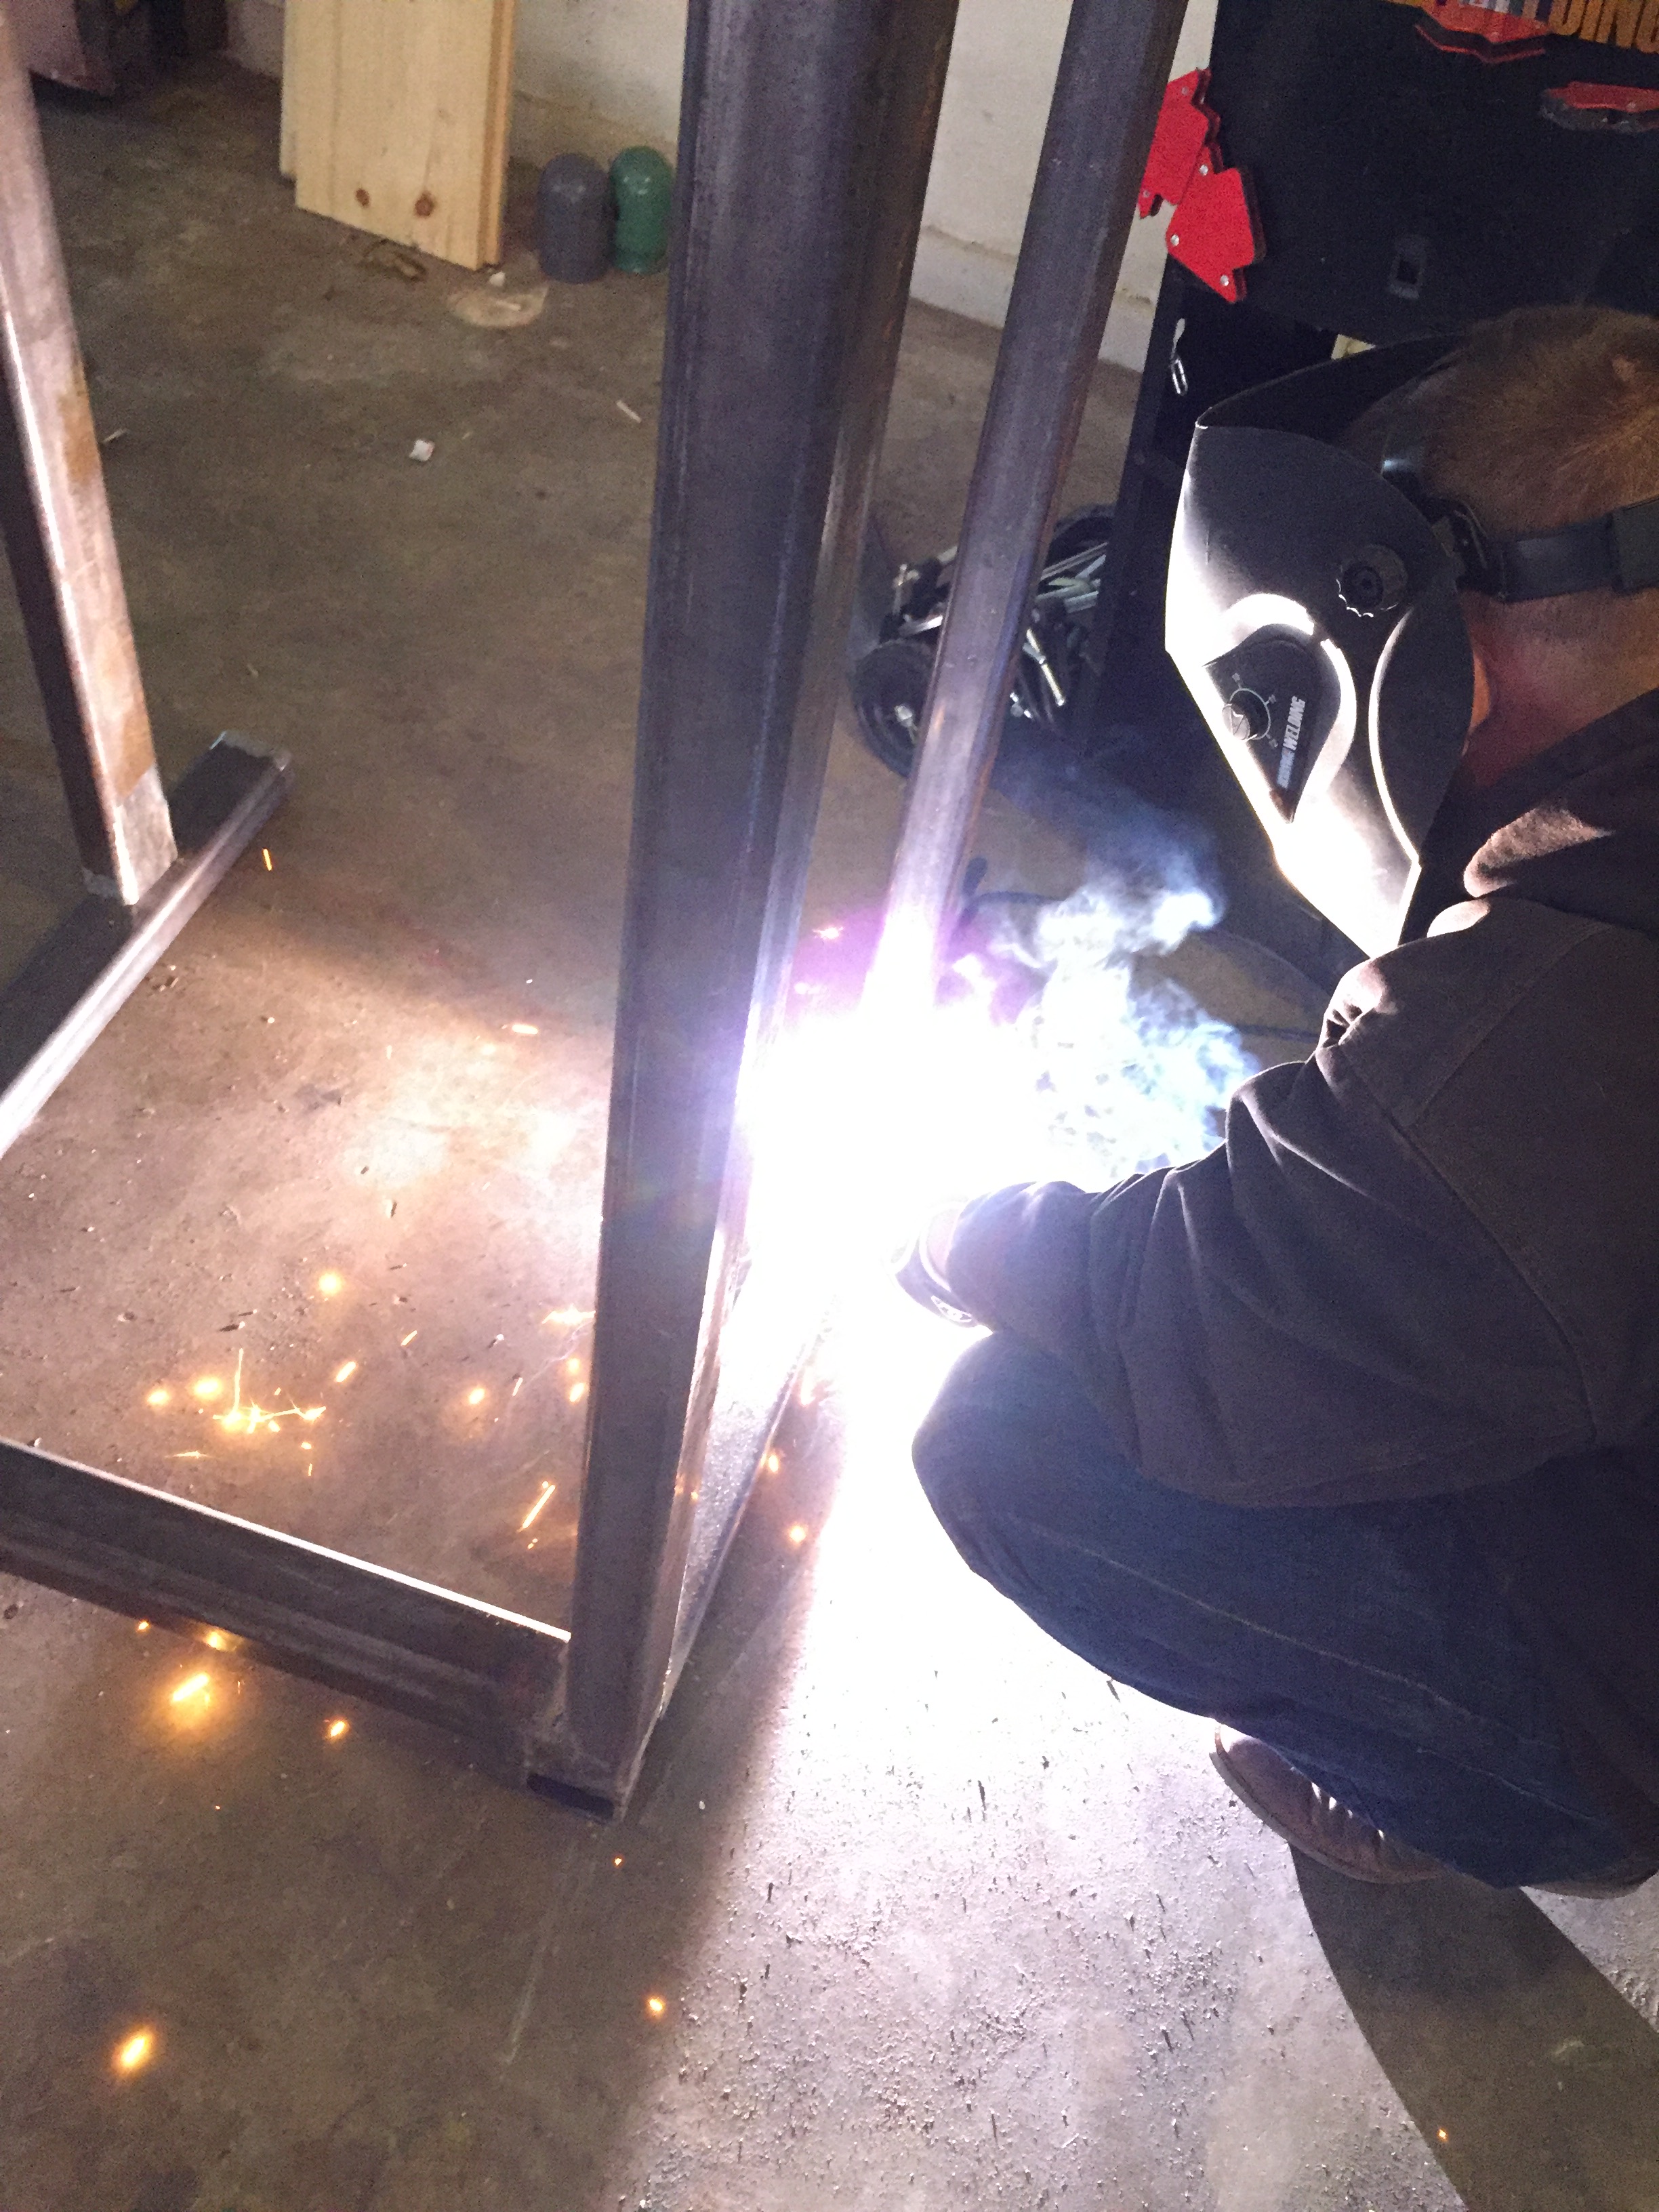
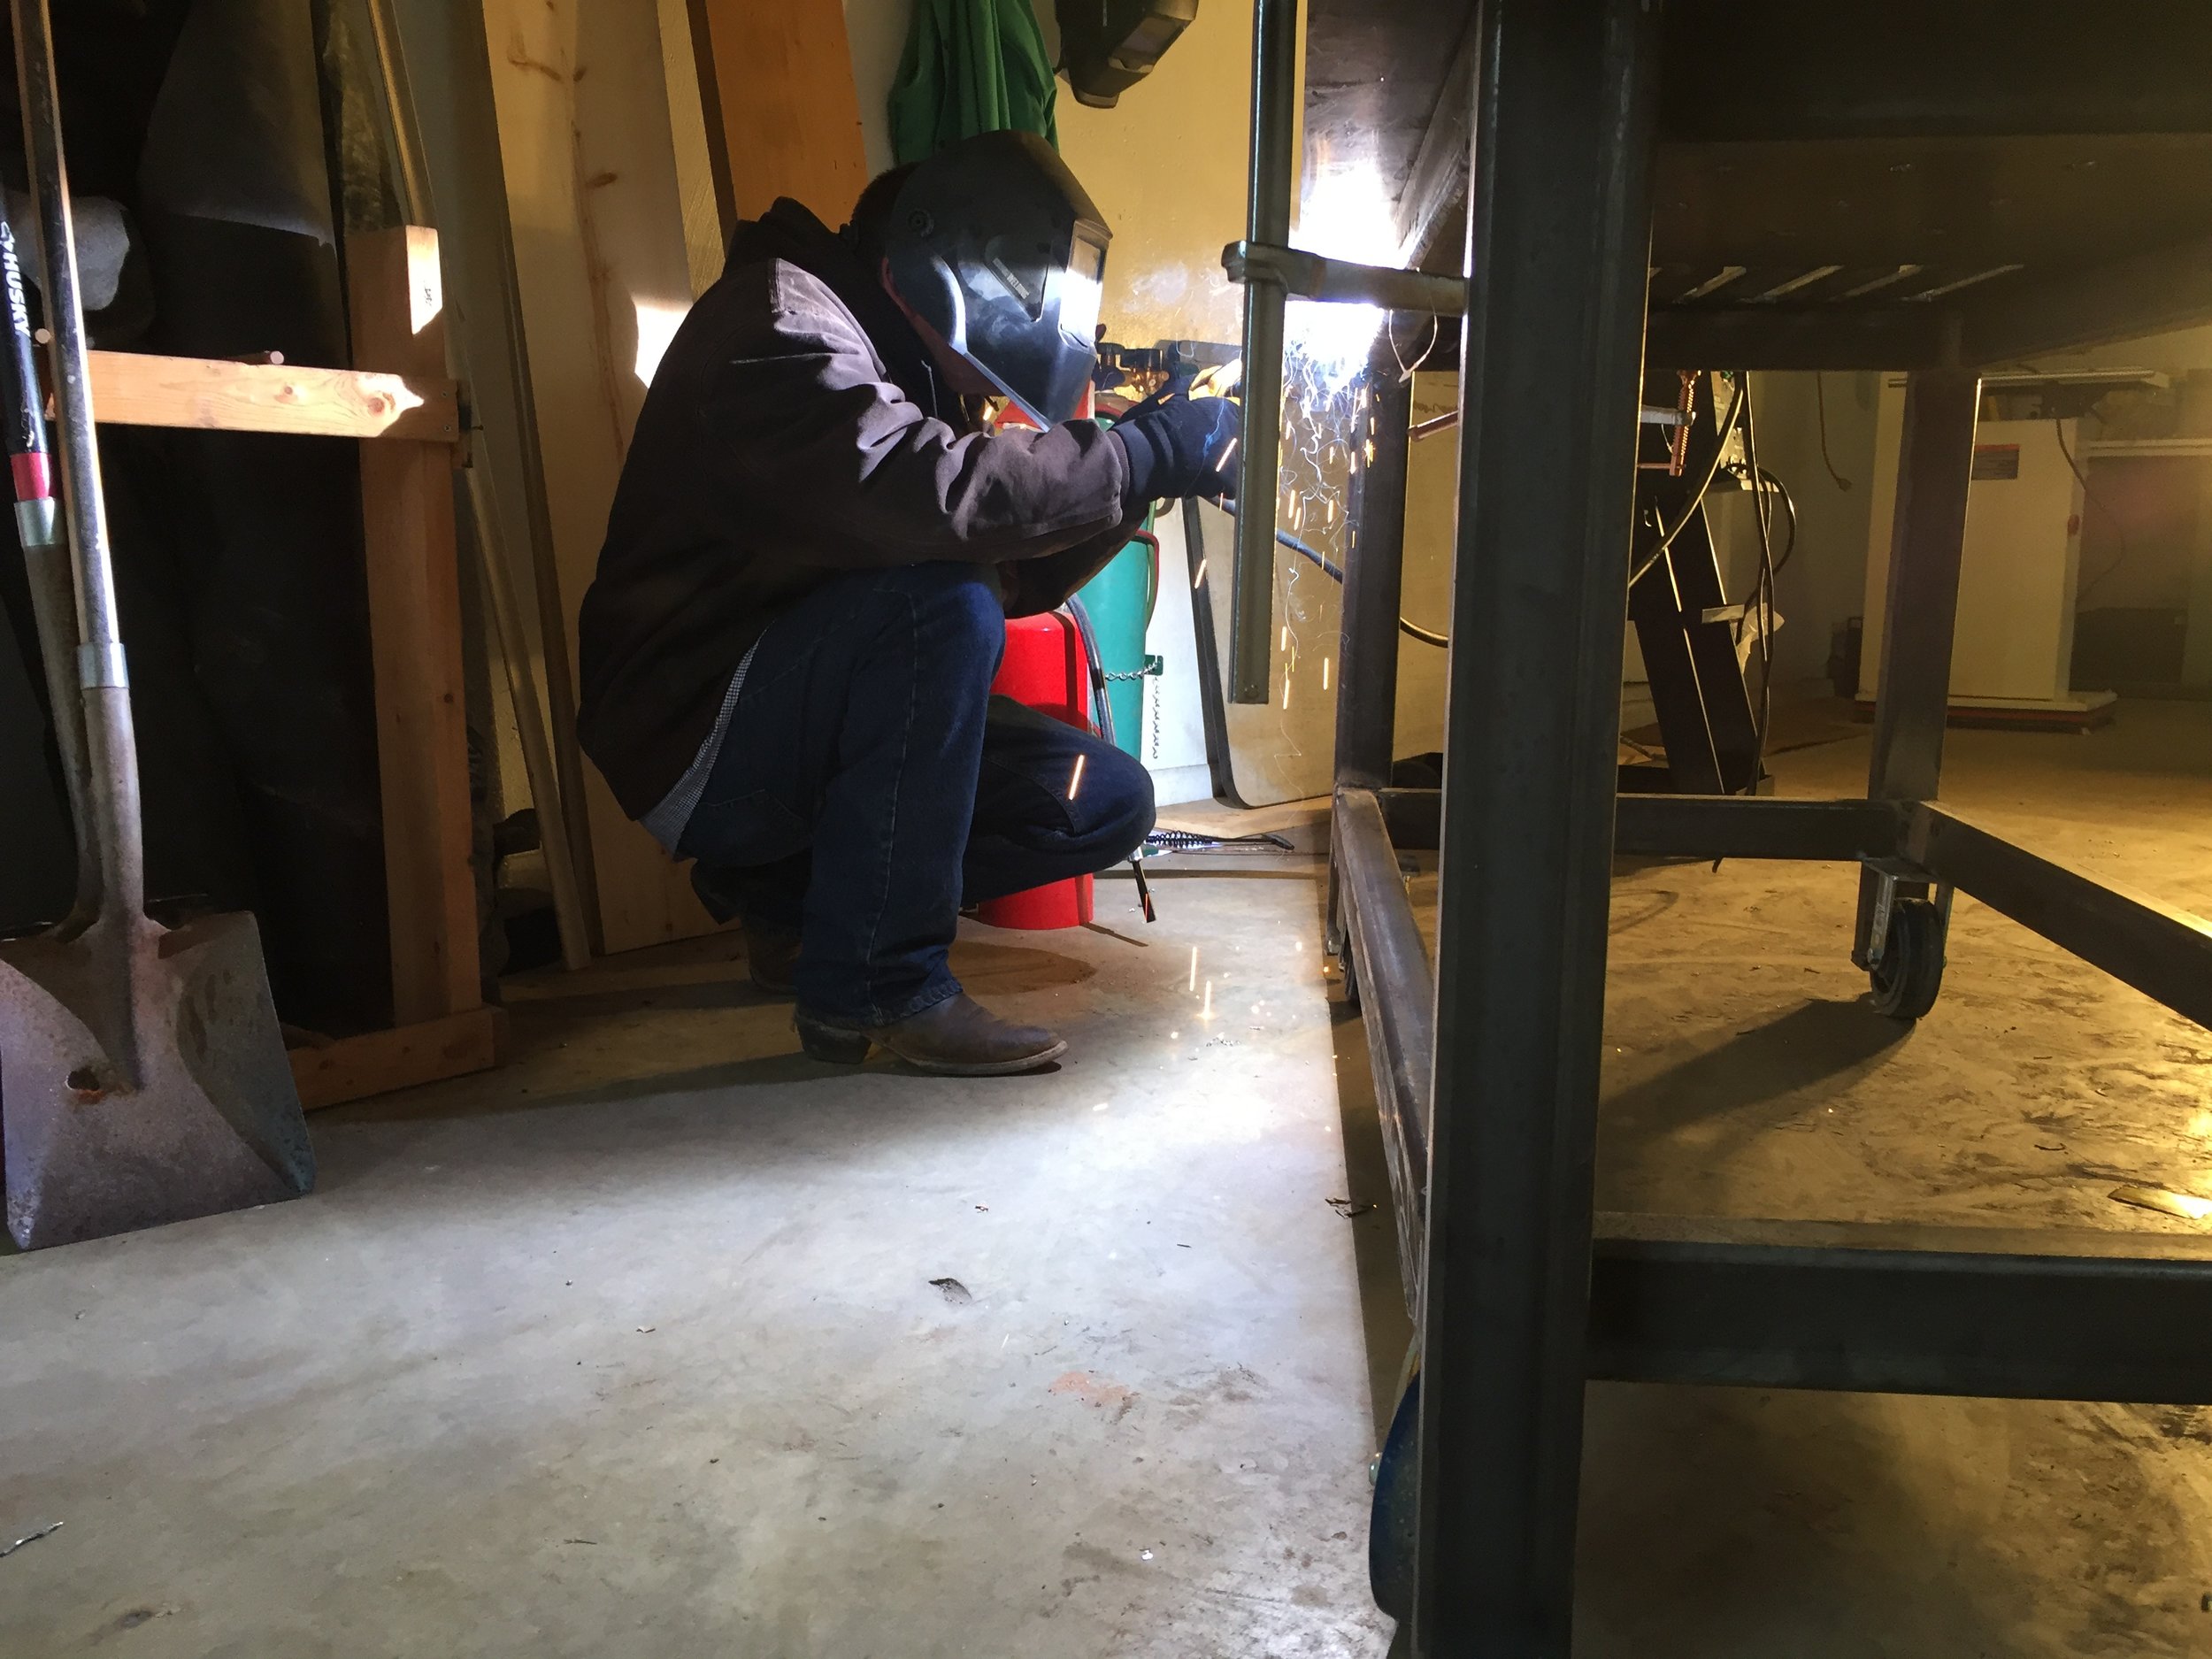
Once we had the top and all of the steel rails we needed, it was time to begin building it up. First came the frame—we built the bottom rectangular supports first, then attached the corner vertical rails to give it height and then to complete the frame we added the second rectangular portion in which the tabletop would be attached.
We flipped the construct upside-down to attach the adjustable feet, which was already a struggle due to it’s extreme heaviness.
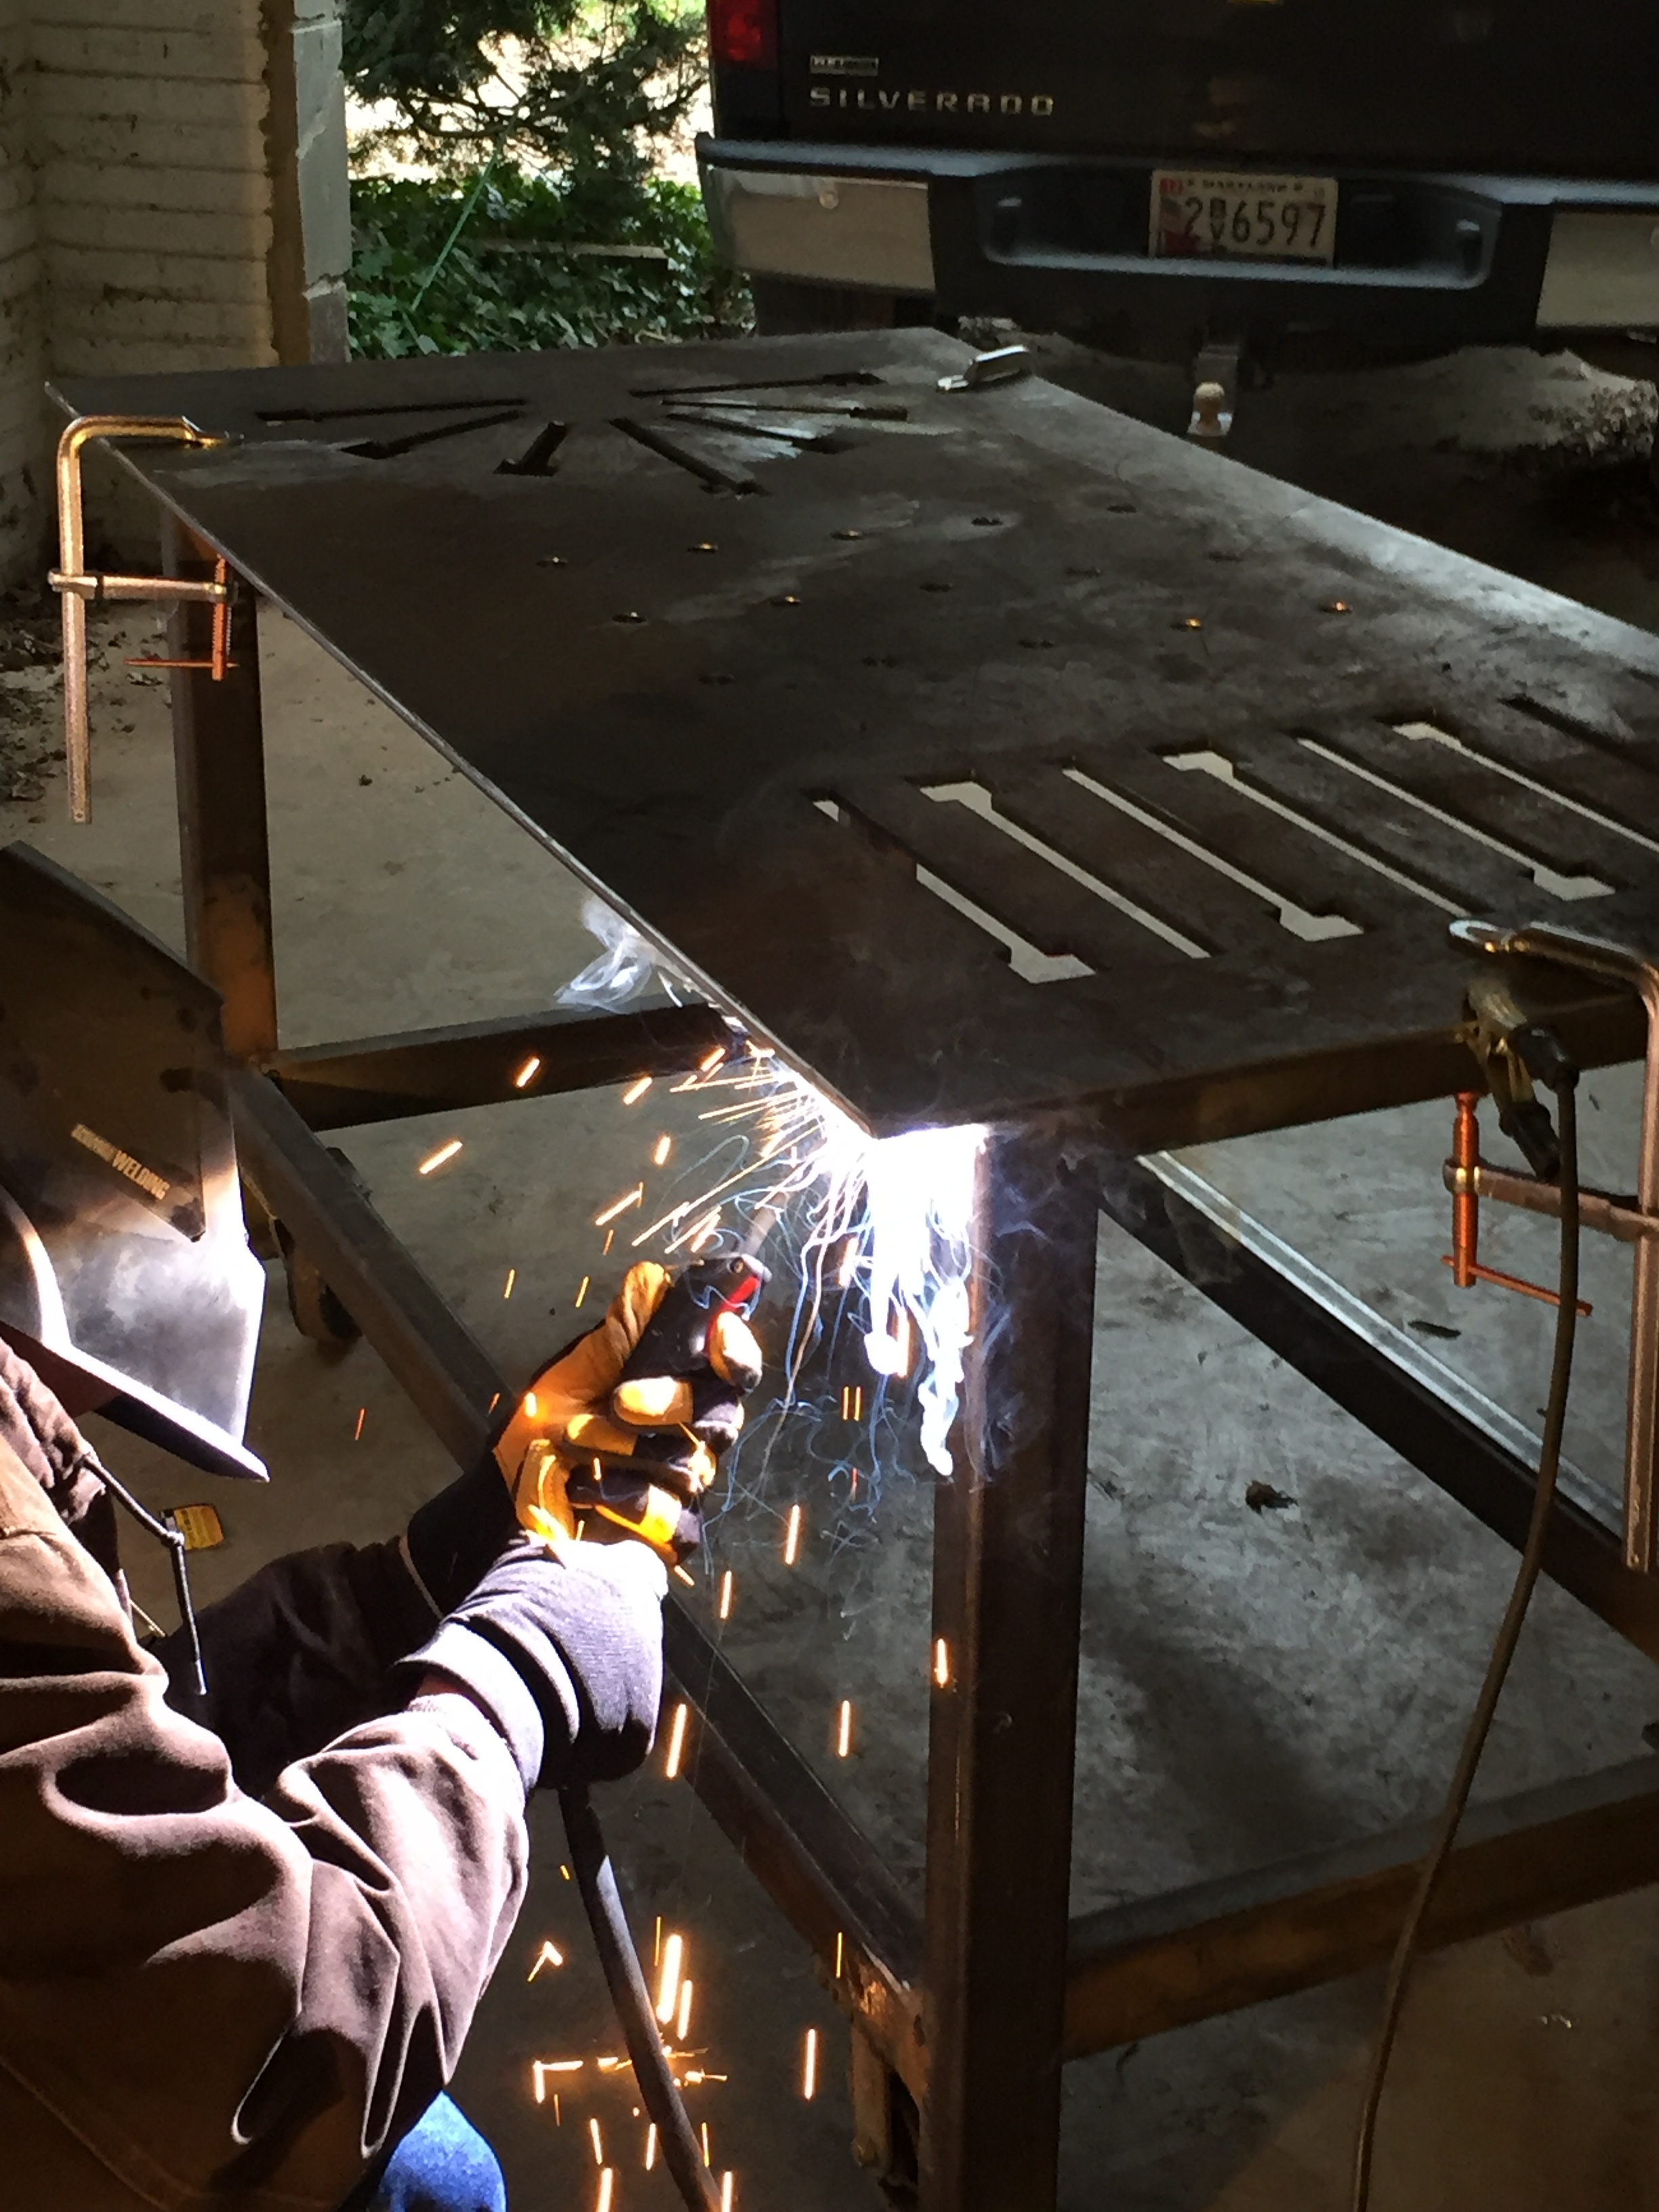
Finally was the attachment of the tabletop to the steel frame. We made sure to center it properly on the frame to avoid any side being too lopsided and then welded it into place.
The final step to the tabletop attachment was to take a metal de-burring tool and run it along the inside of all of the parts where our design was plasma cut.
This was done so there would be no accidental metal slivers to get into our hands while clamping down while we worked.
Now that we have the table complete, it’s time to start putting it to use. We’ll keep you updated with projects we make with it. Some ideas on the horizon are a steel frame for a kitchen island as well as fabricating a steel porch railing.
(IF YOU'D LIKE AN AUTOCAD OR GOOGLE SKETCHUP FILE FOR OUR TABLETOP DESIGN, FEEL FREE TO EMAIL MCORRELL@BLKRK.COM )