This is the second post in our ‘From Tree to Table’ series. If you missed the first blog post, take a look here and then come back and read the follow-up.
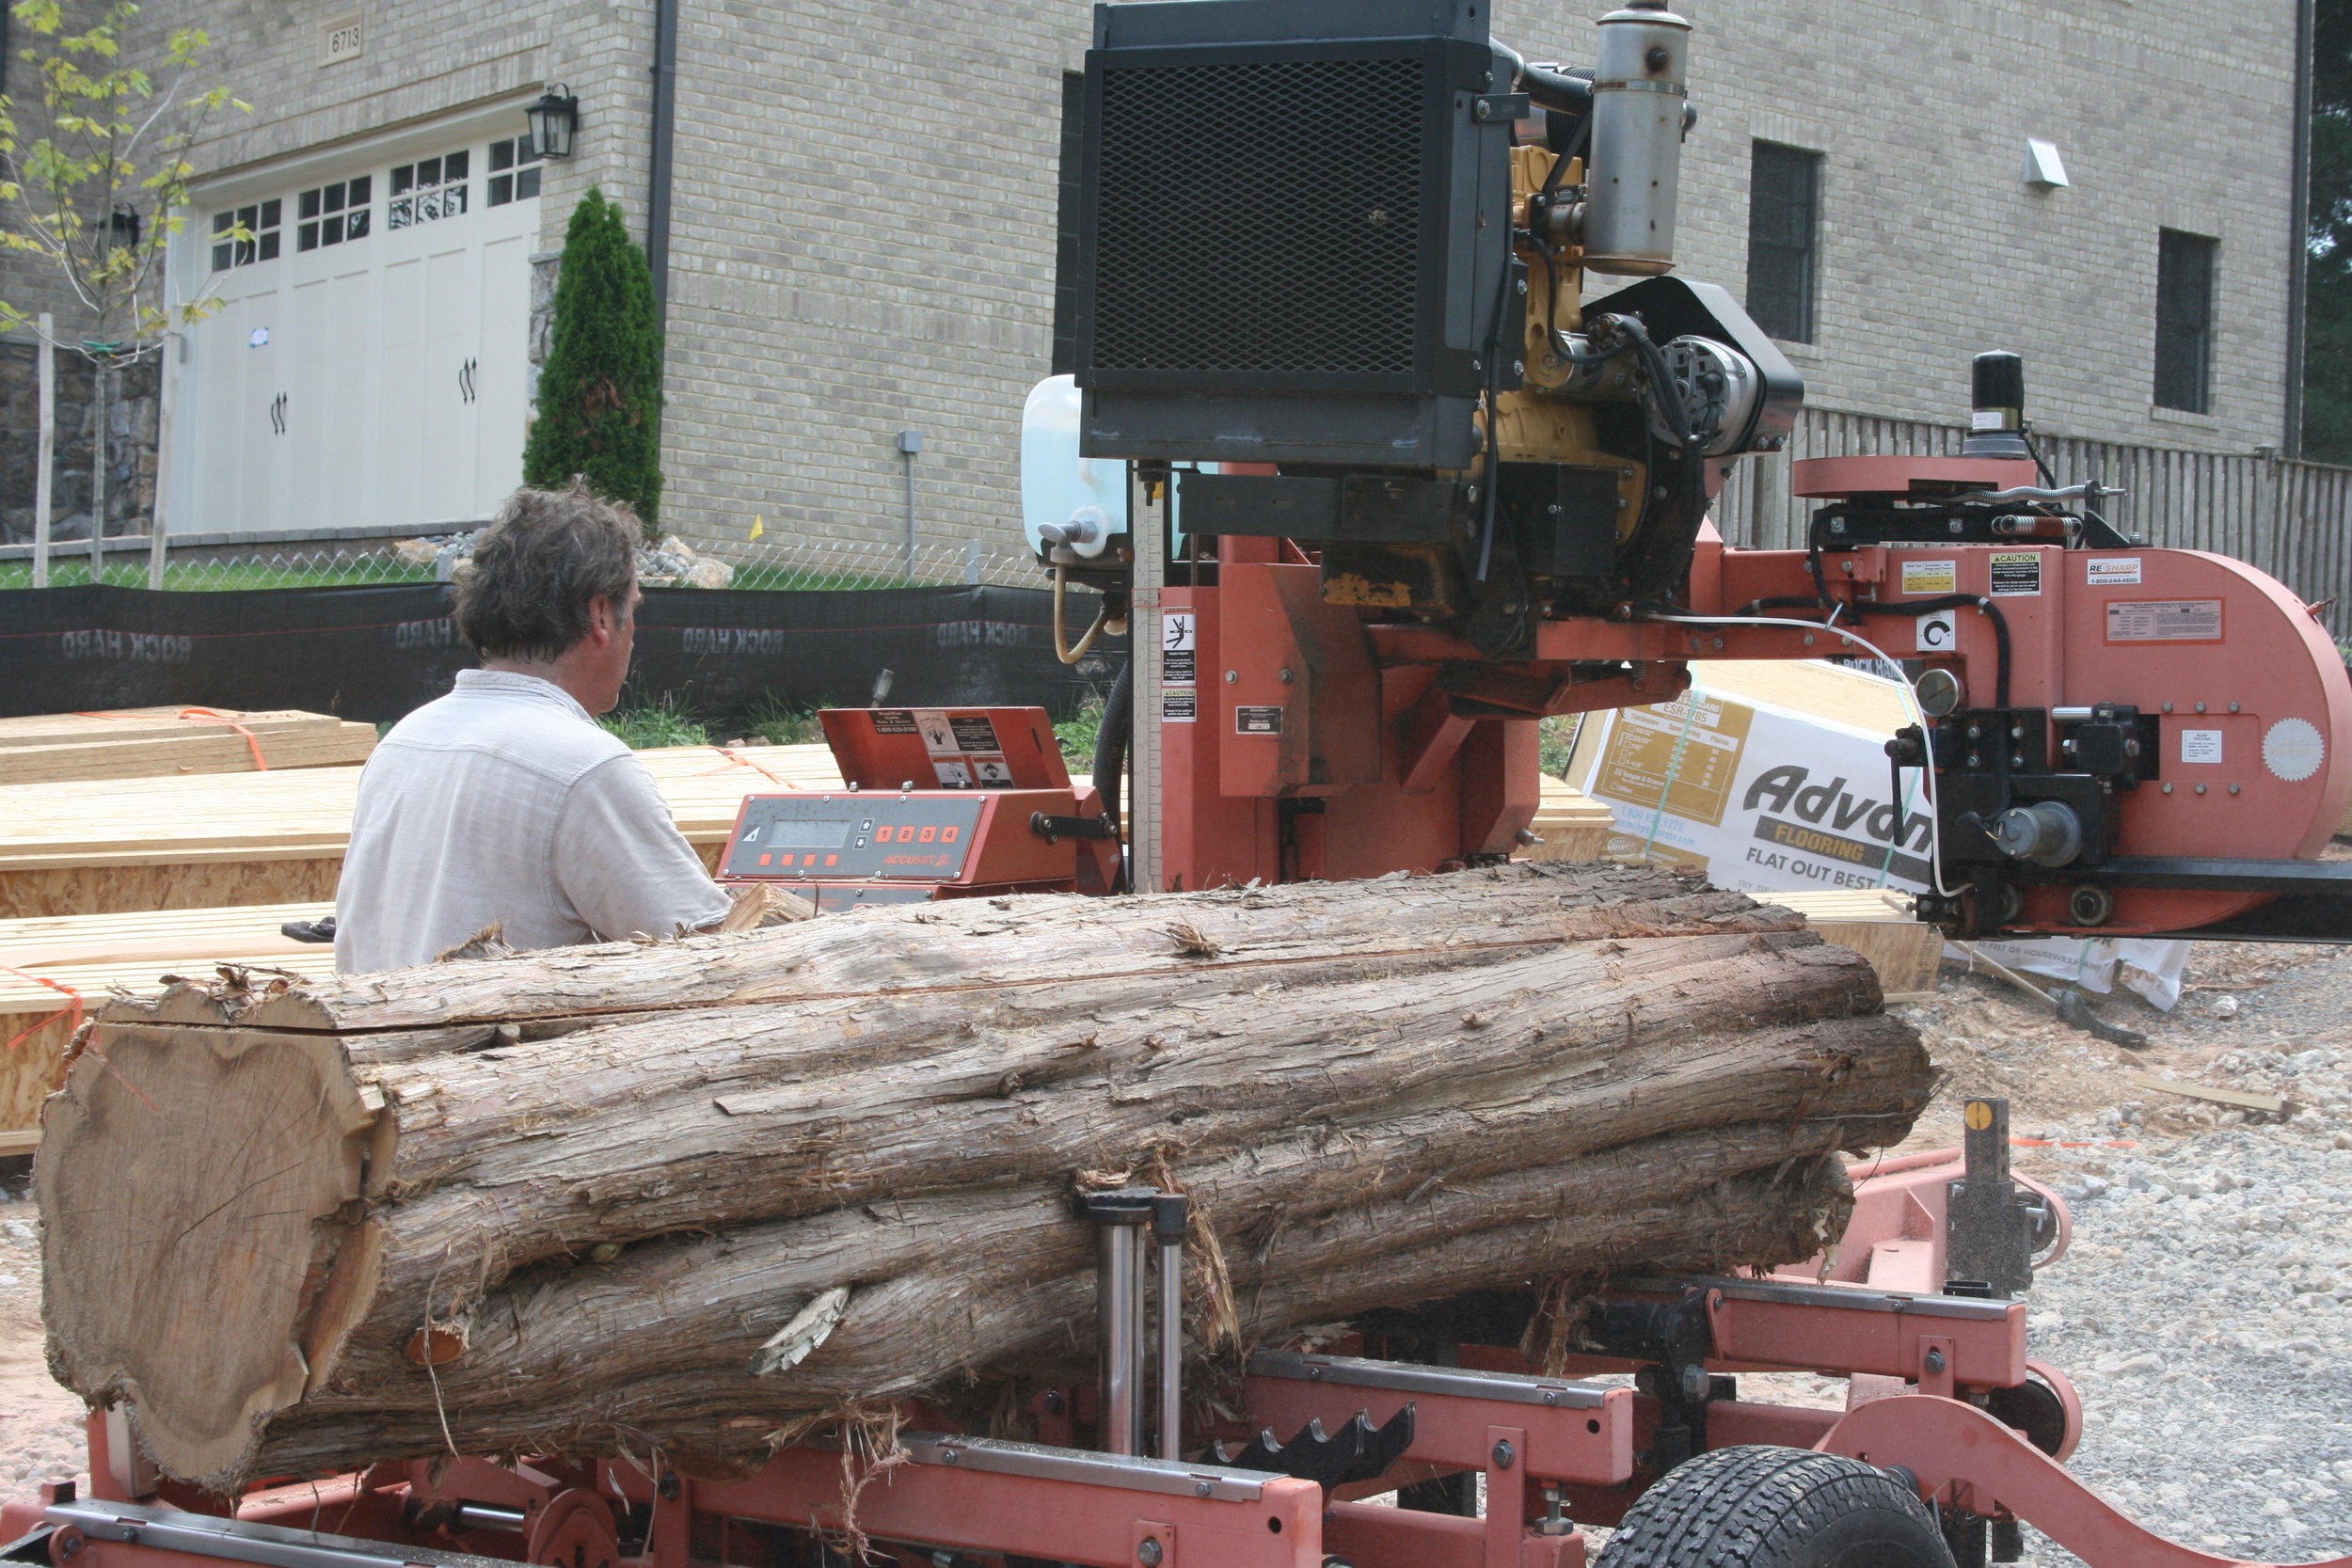
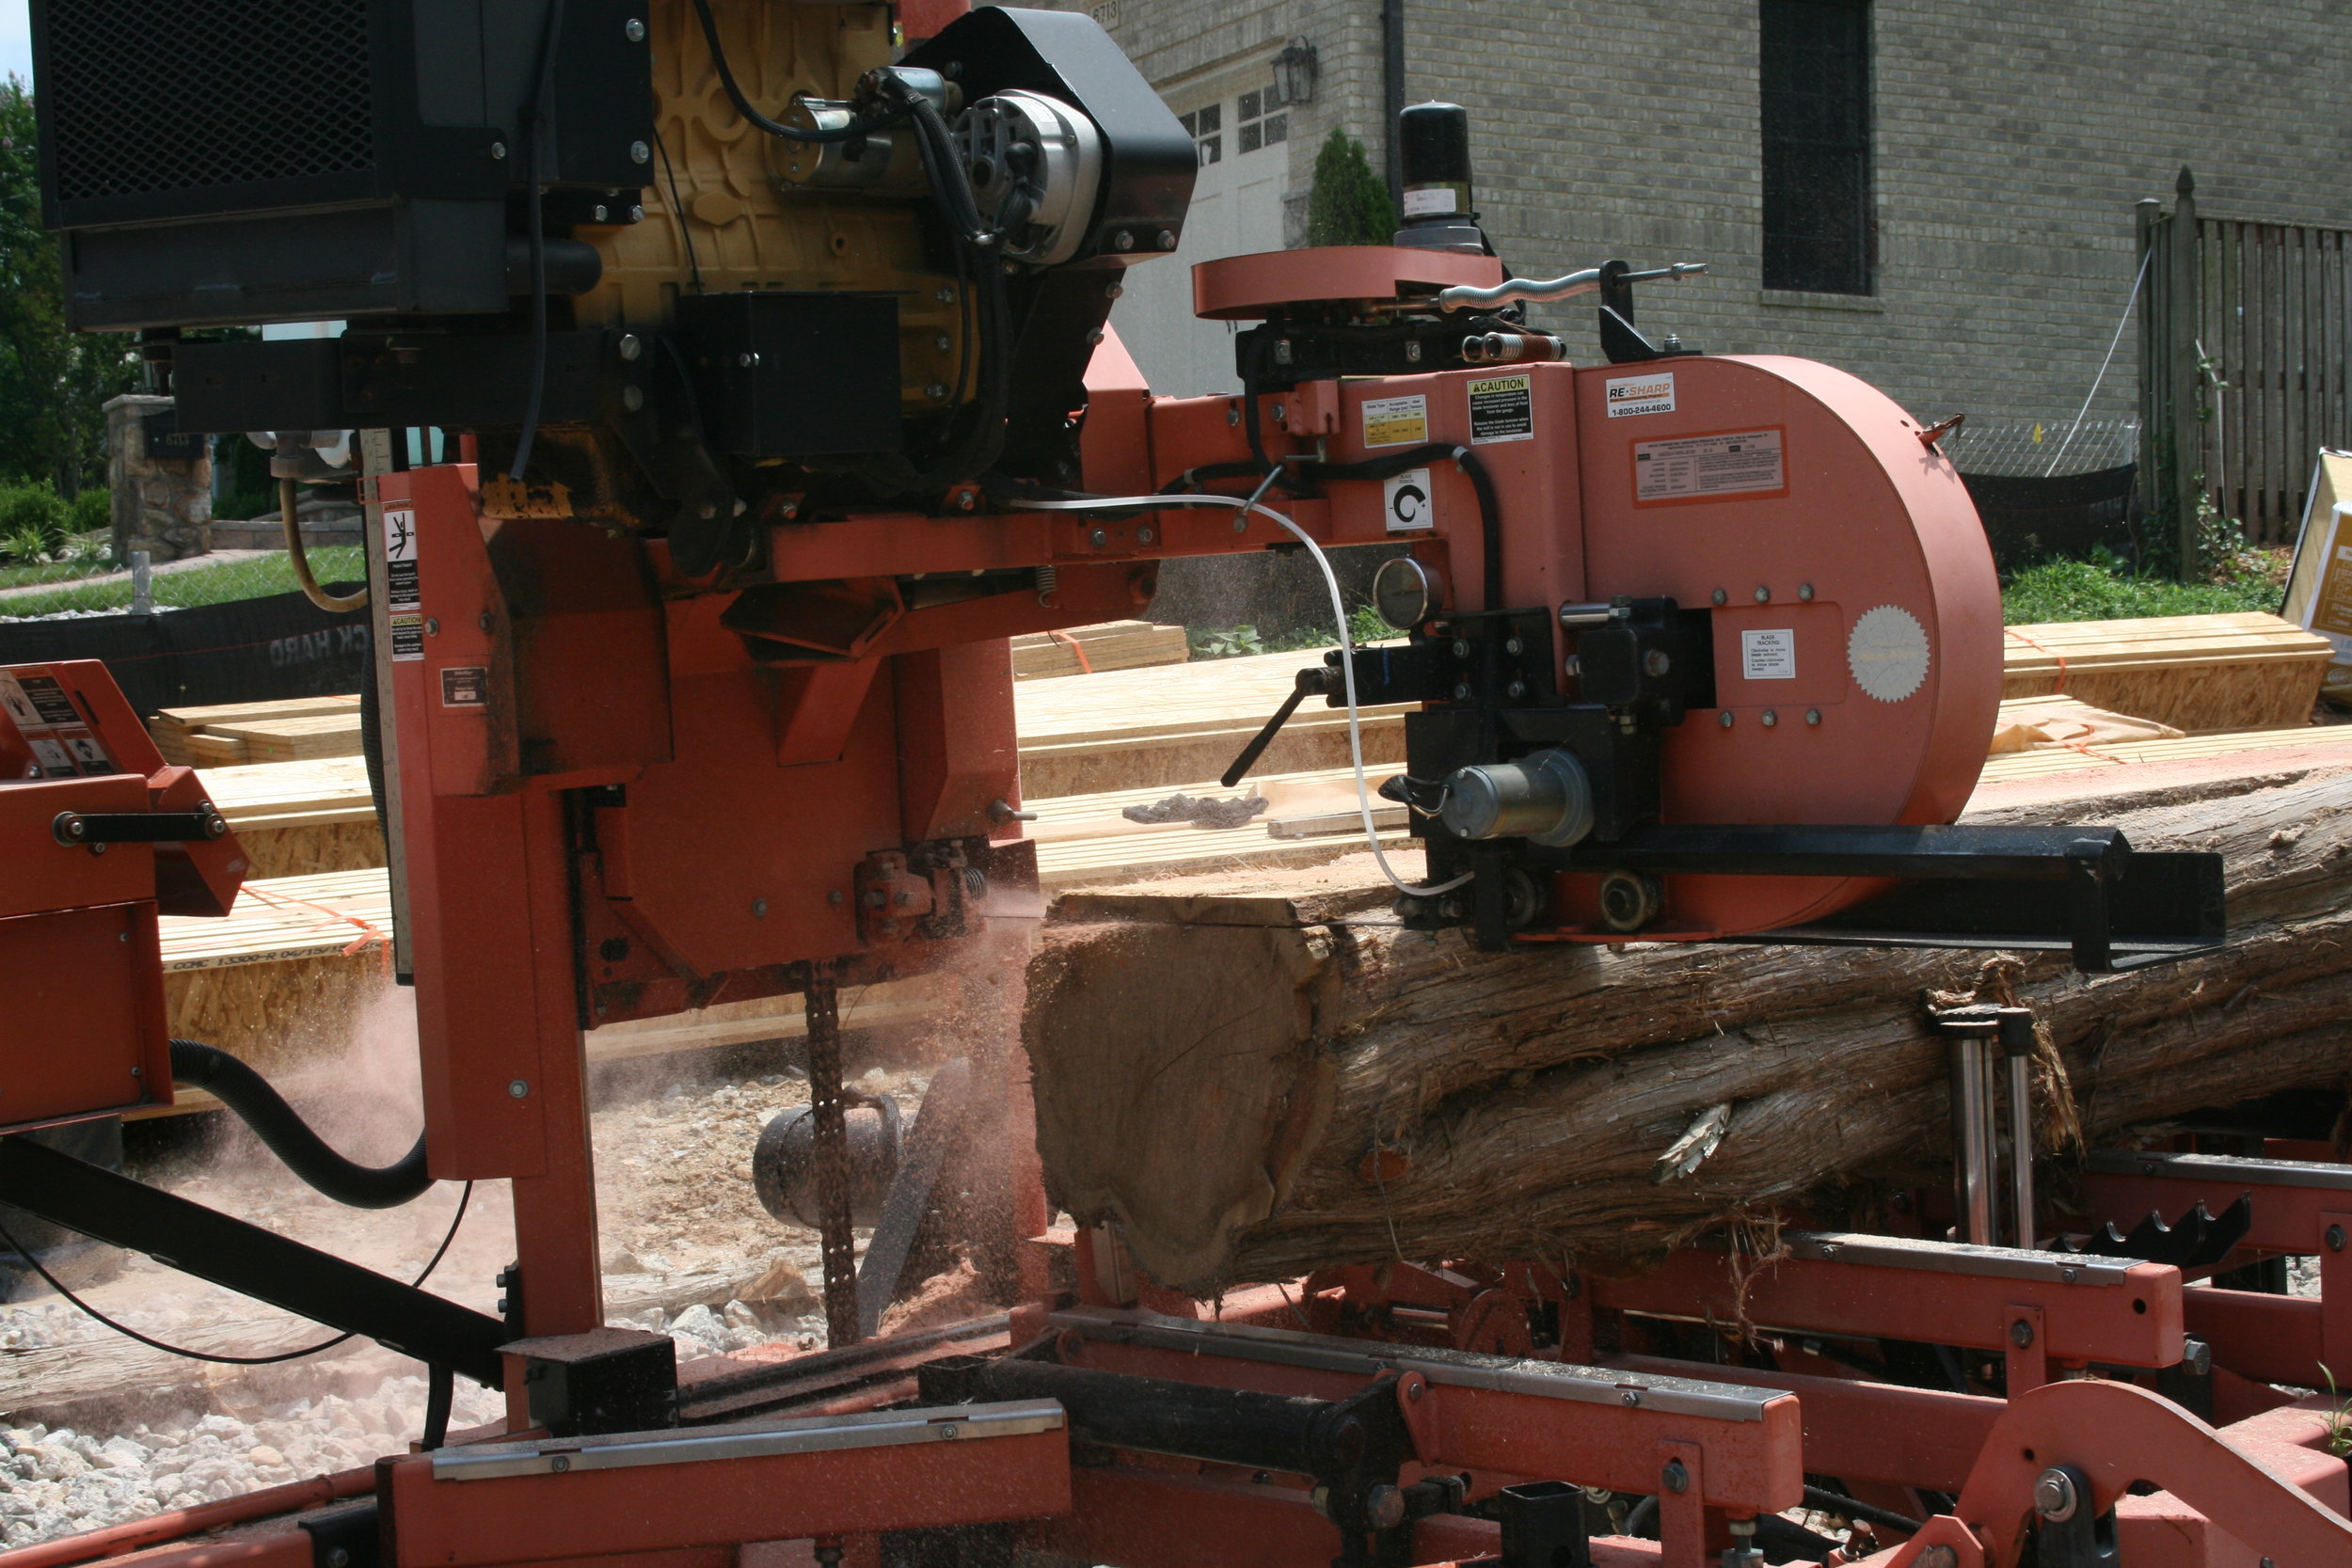
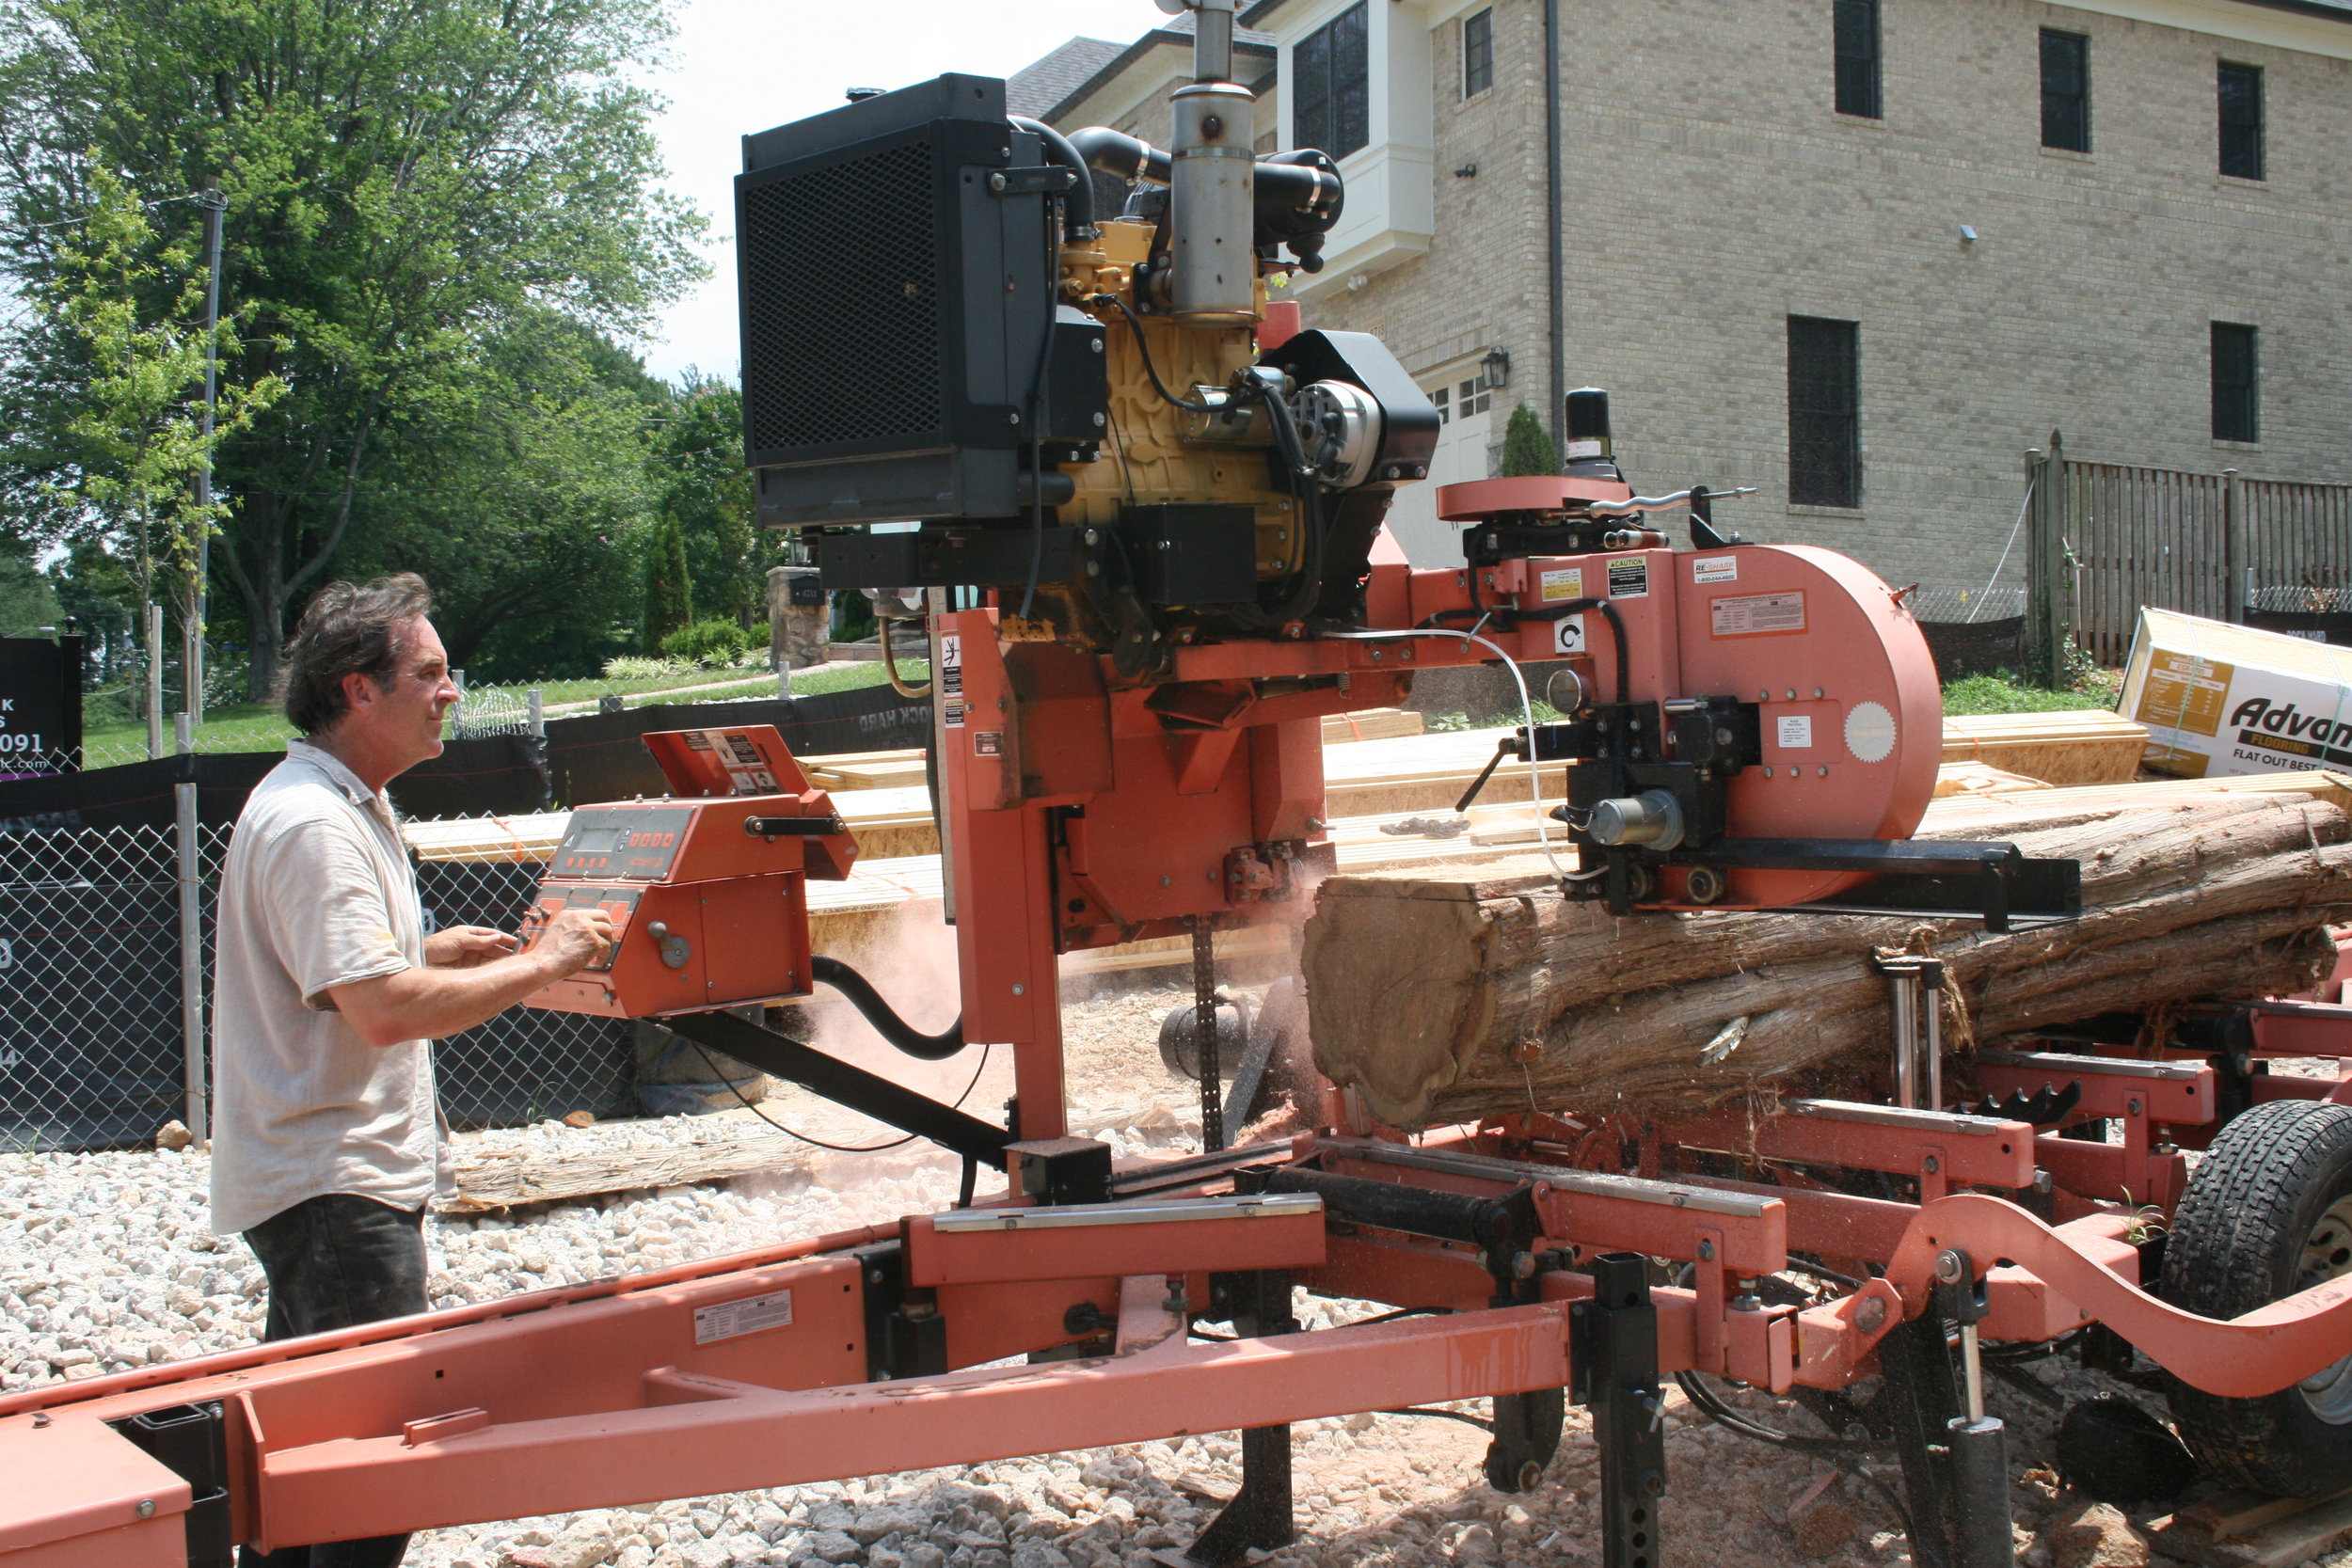
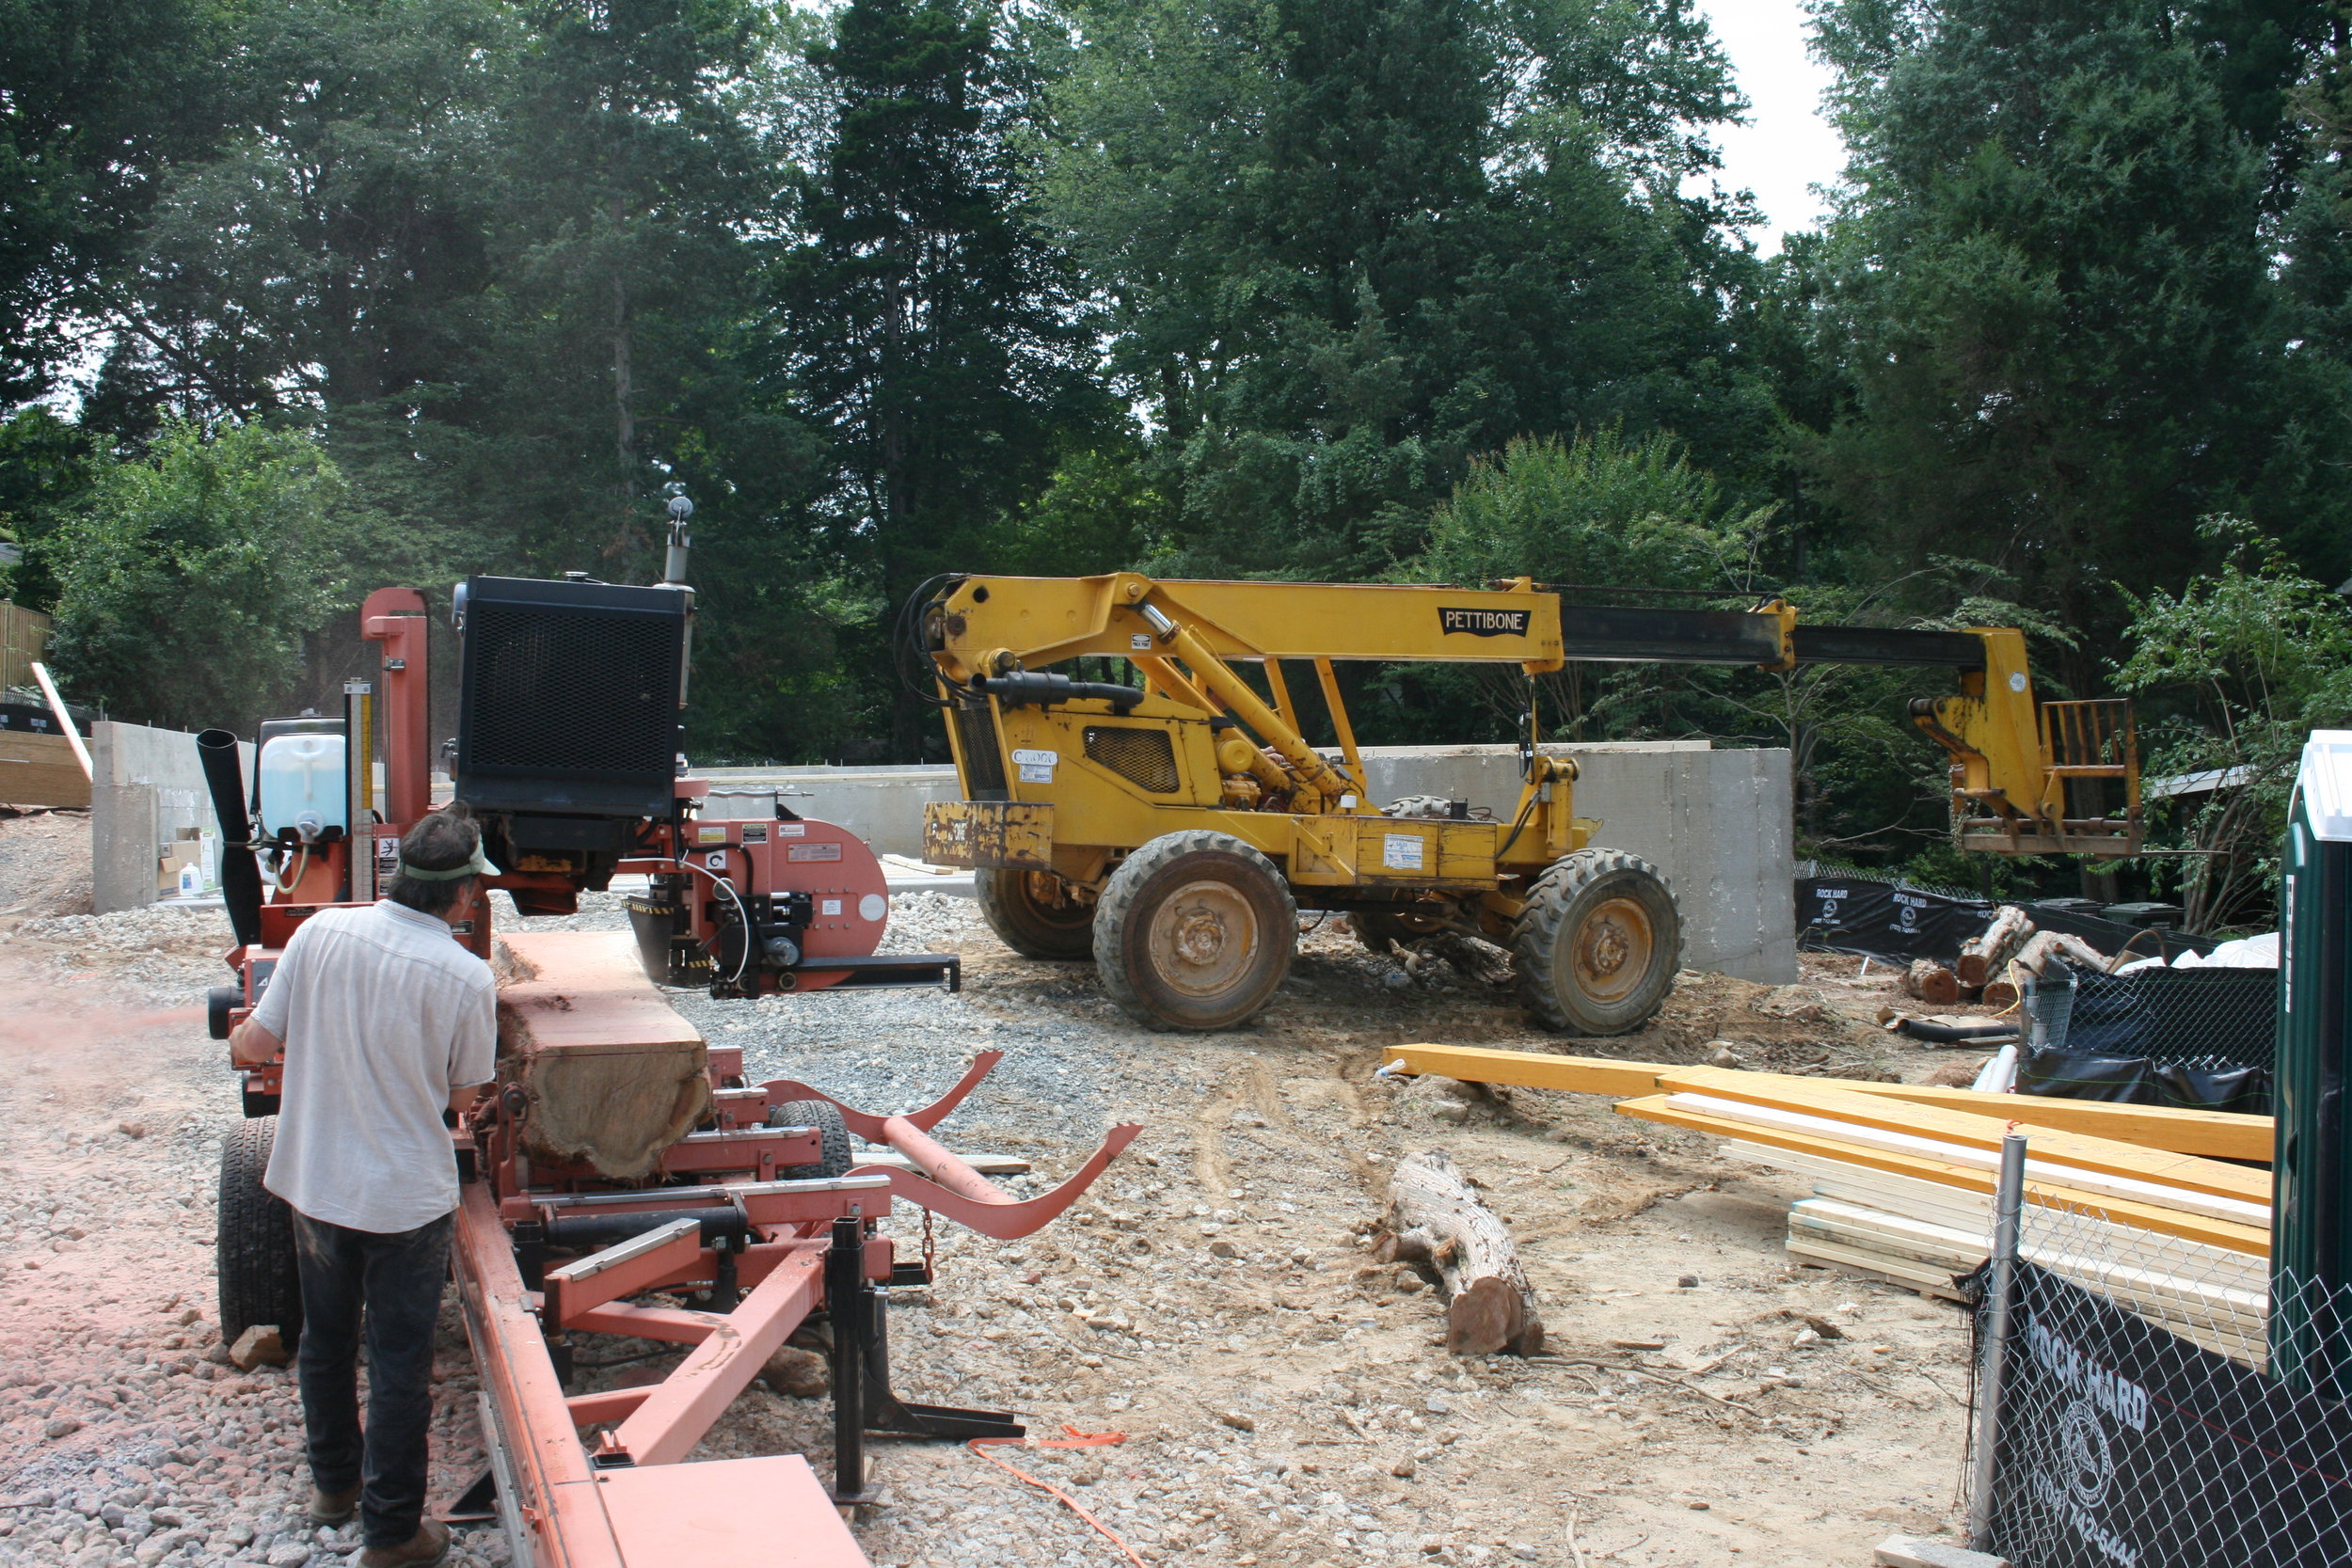
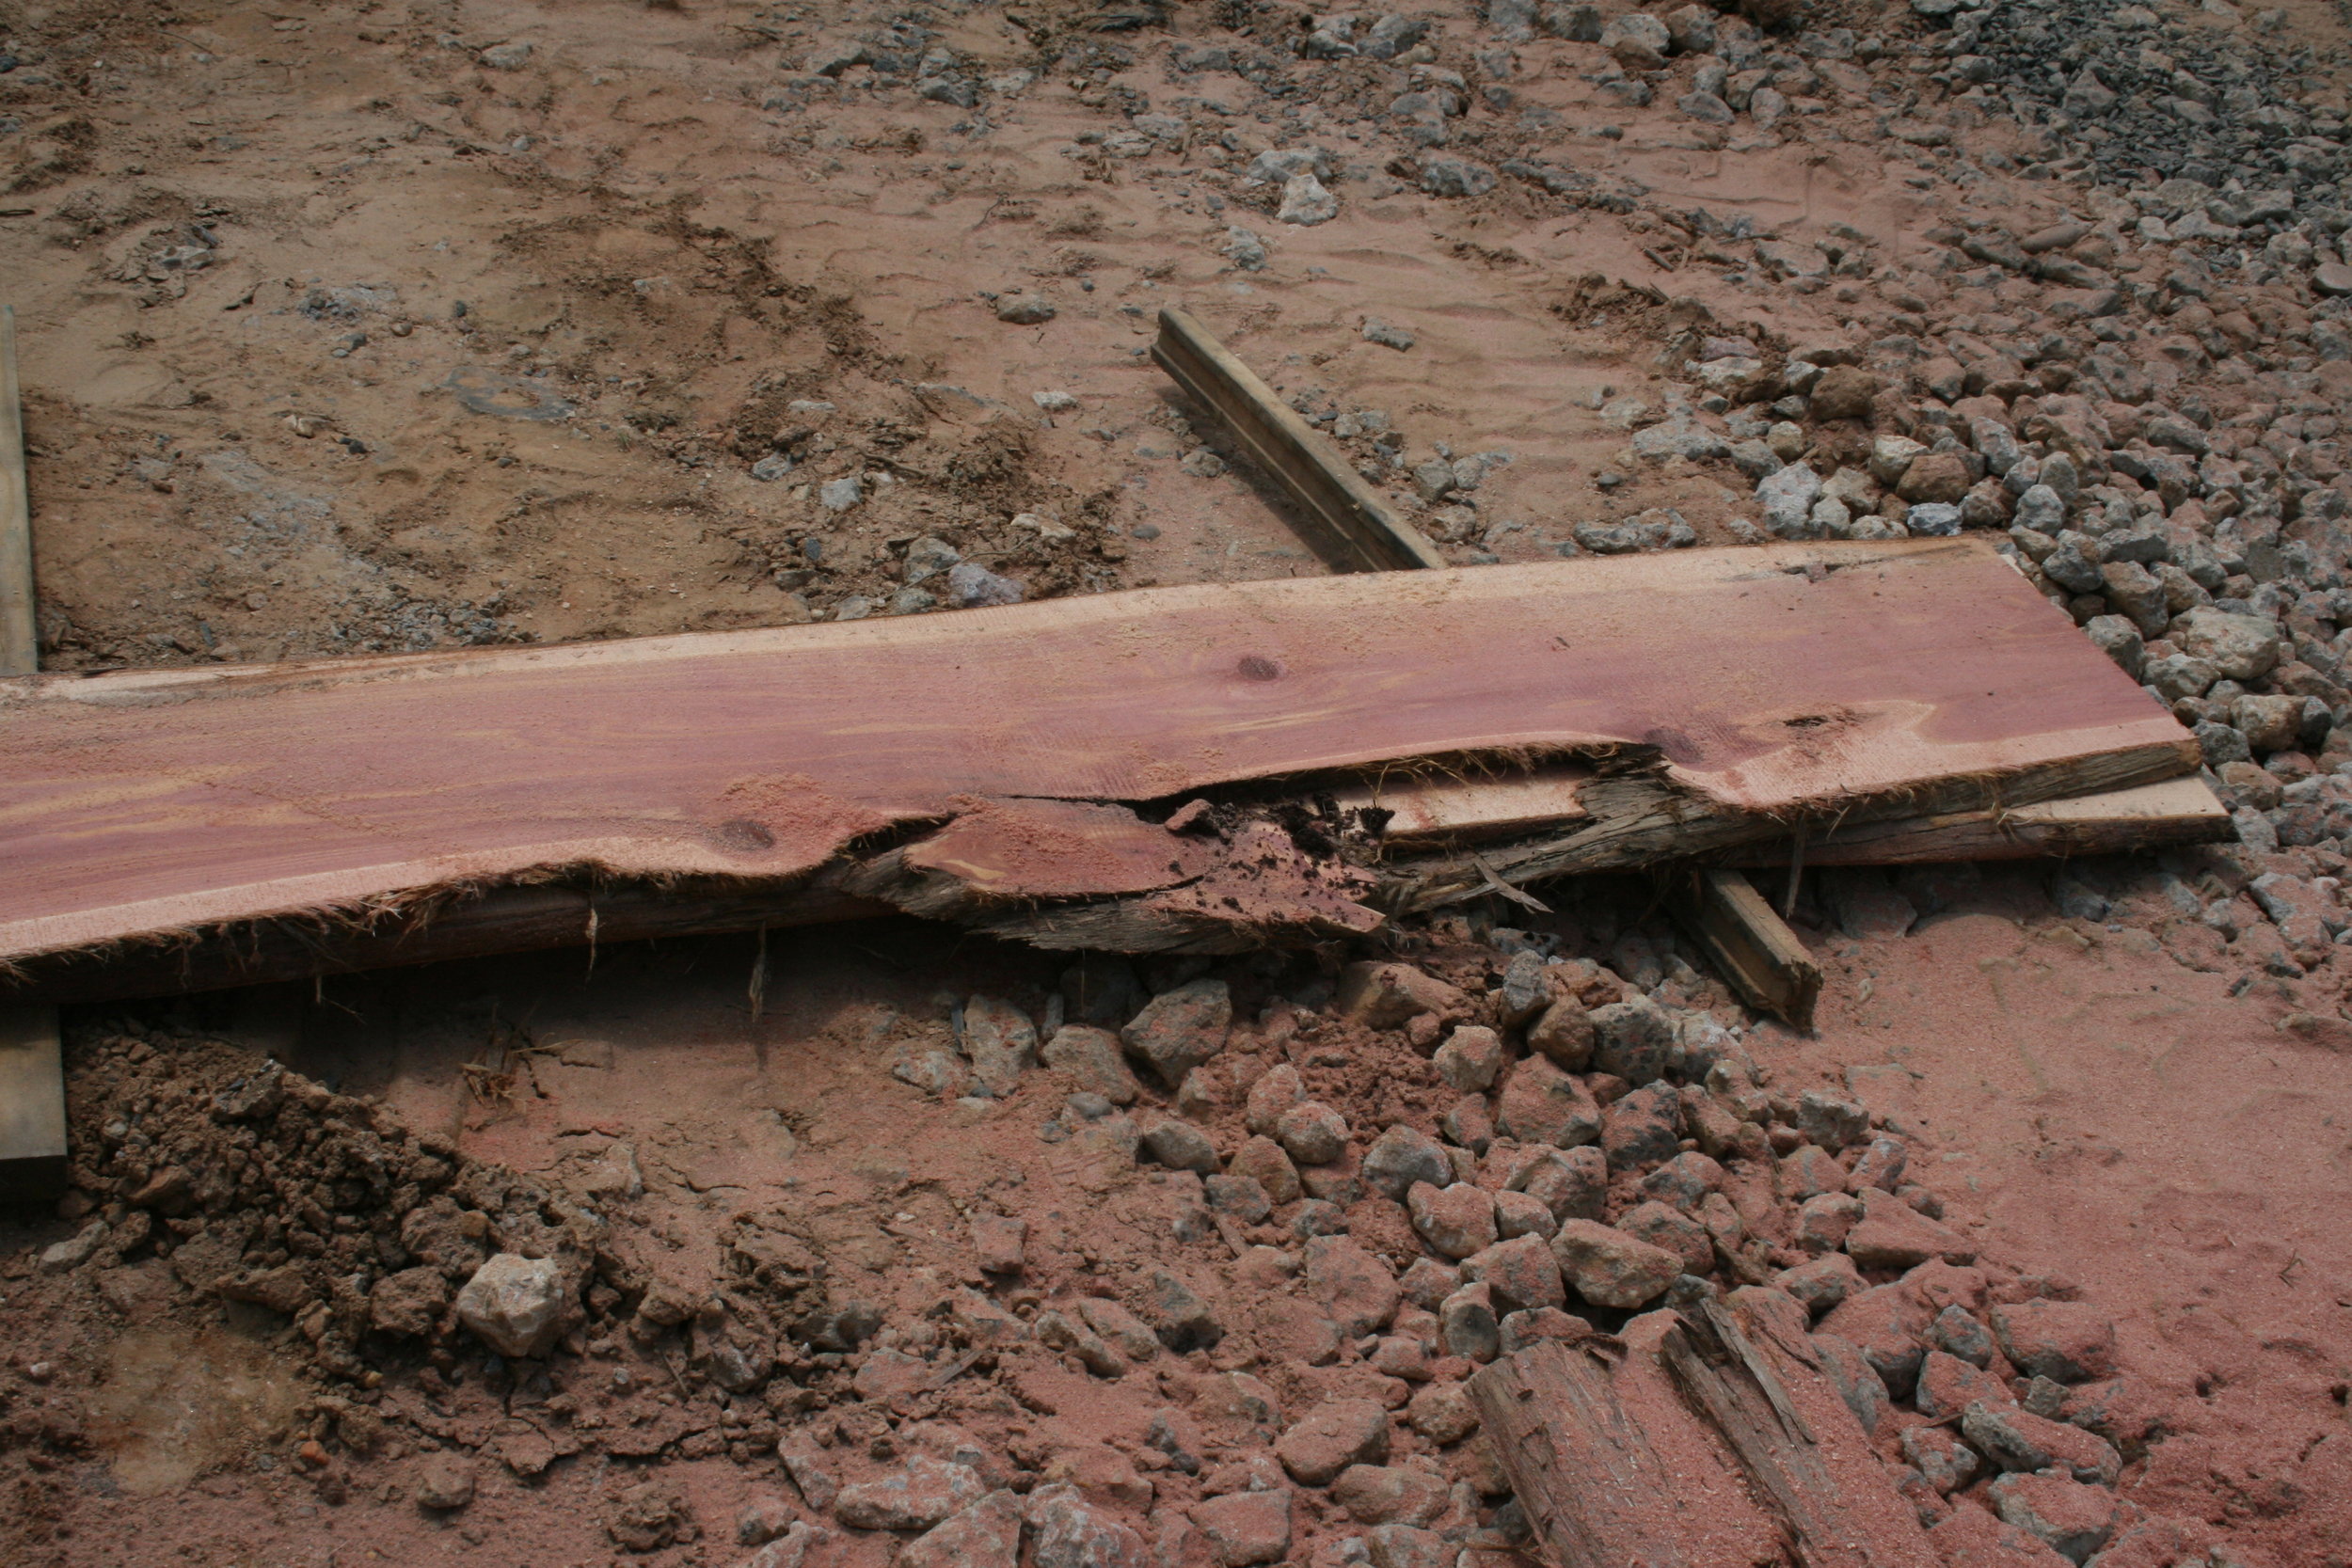
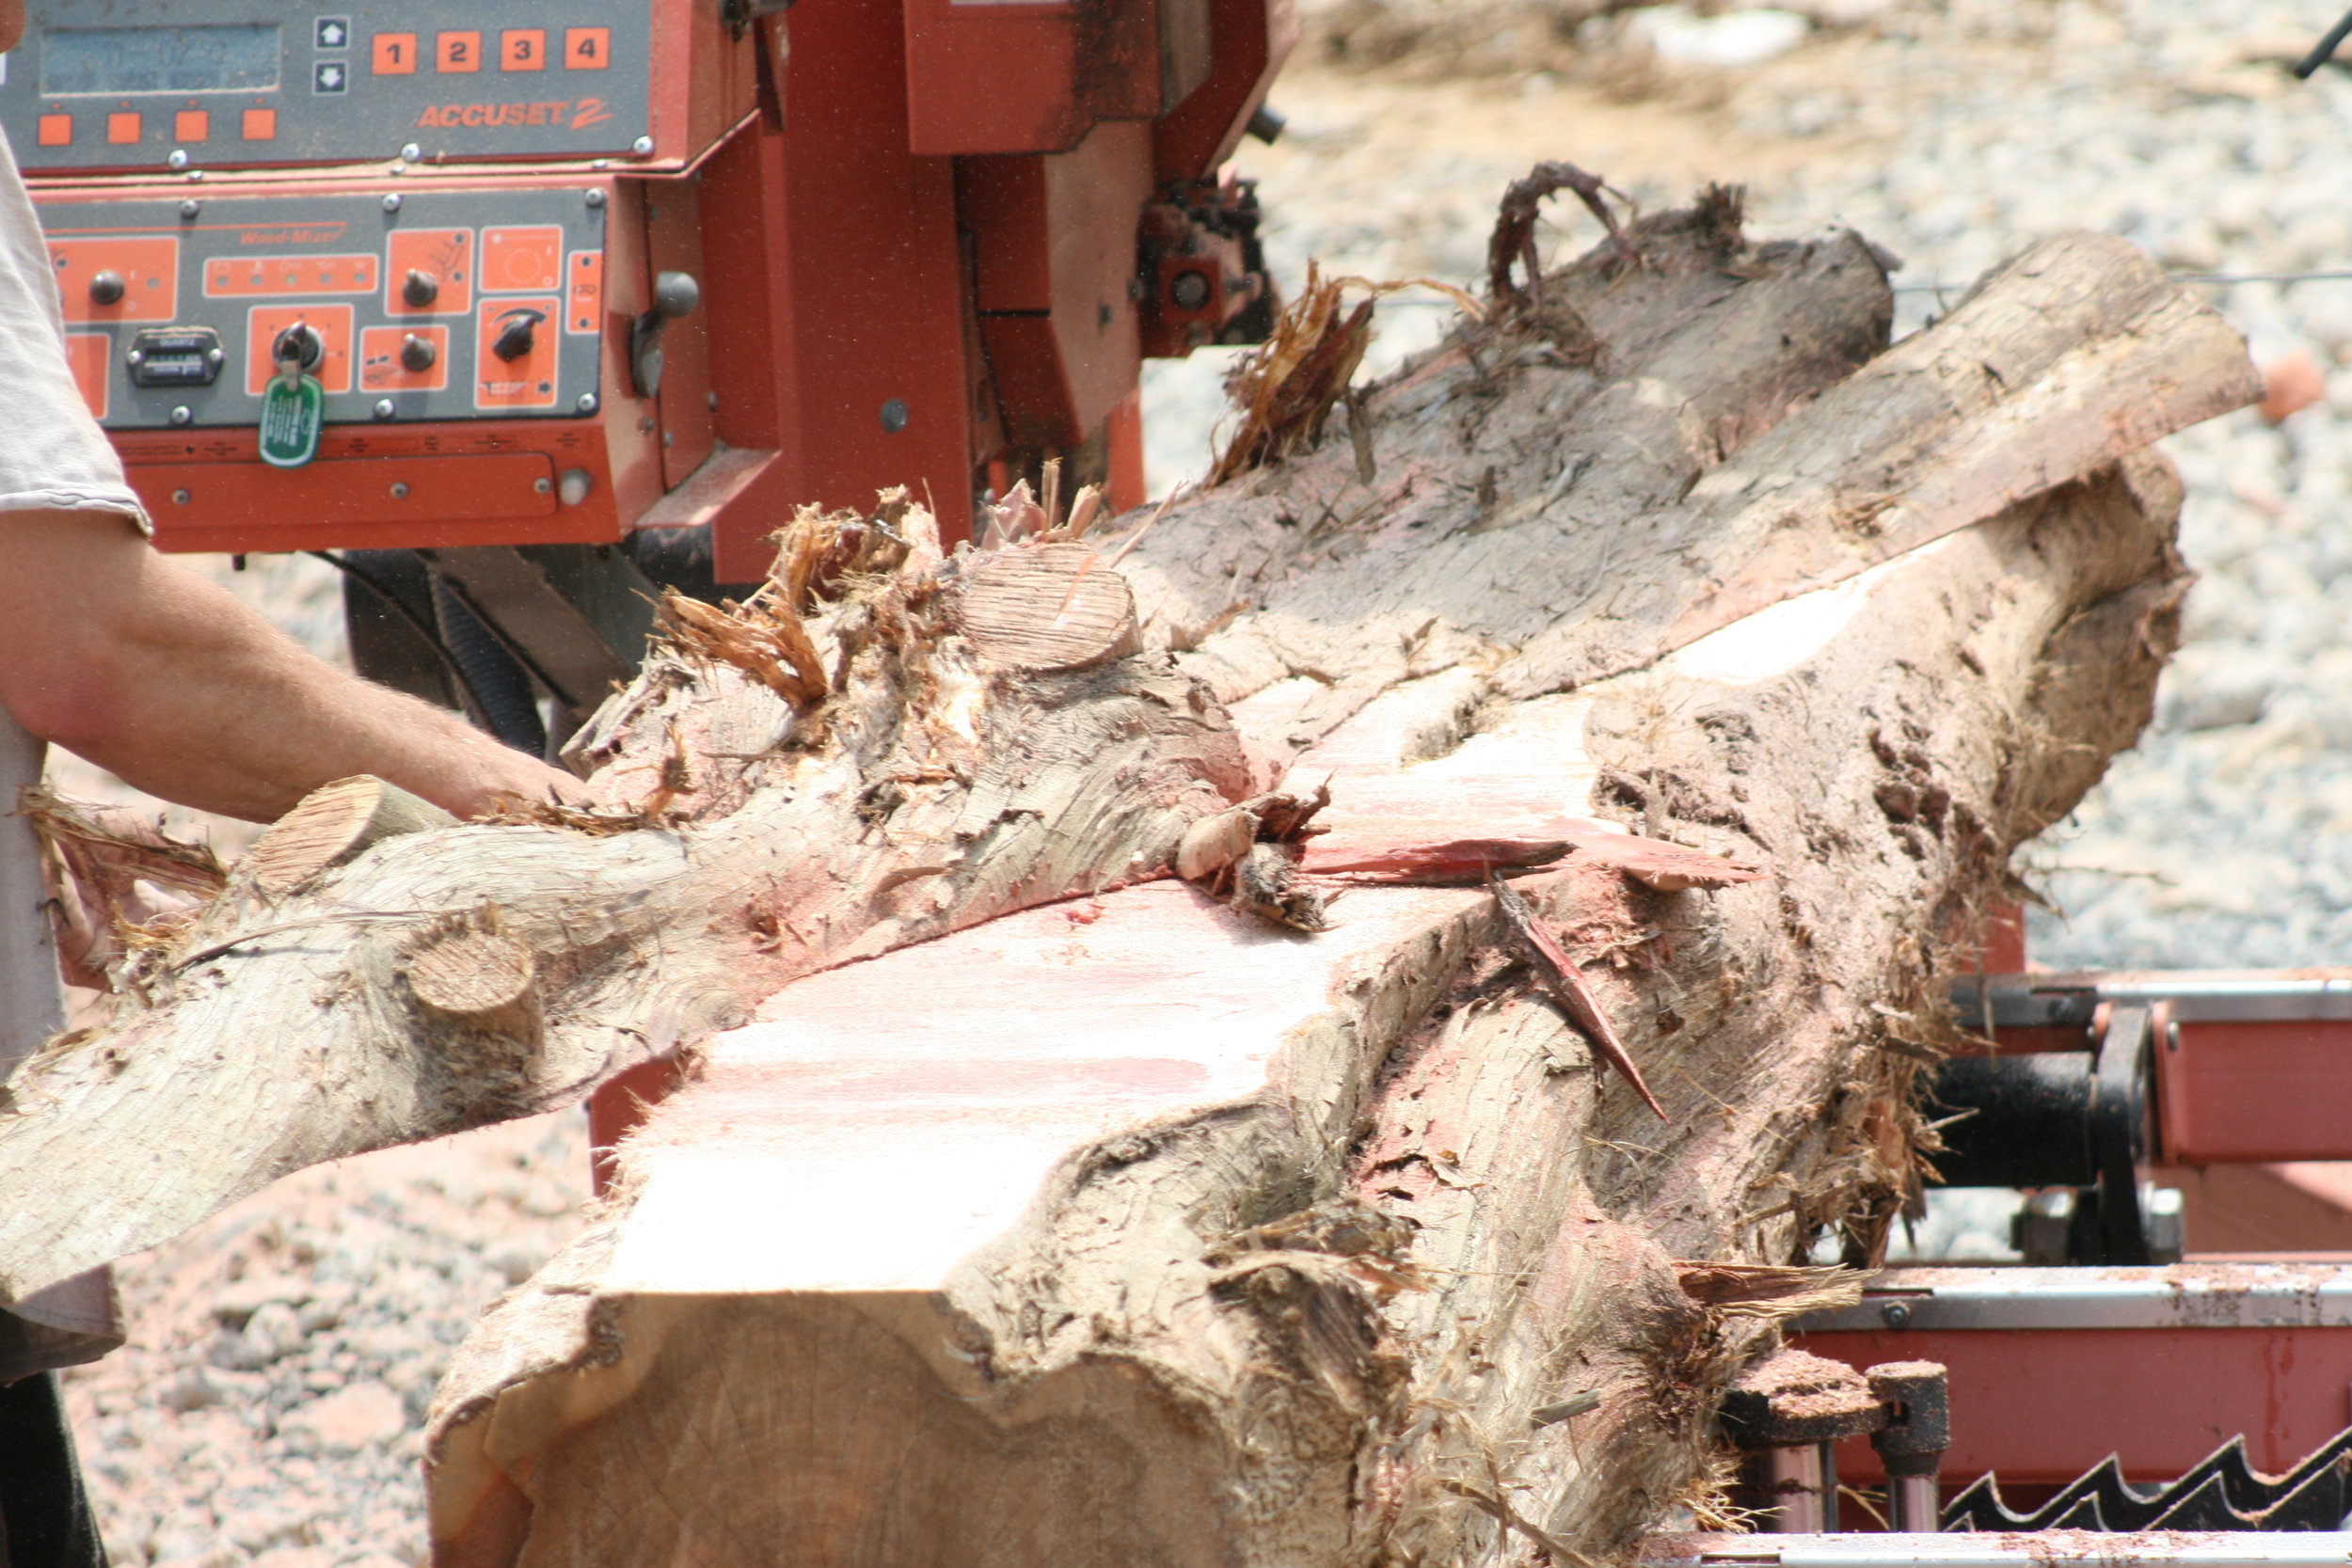
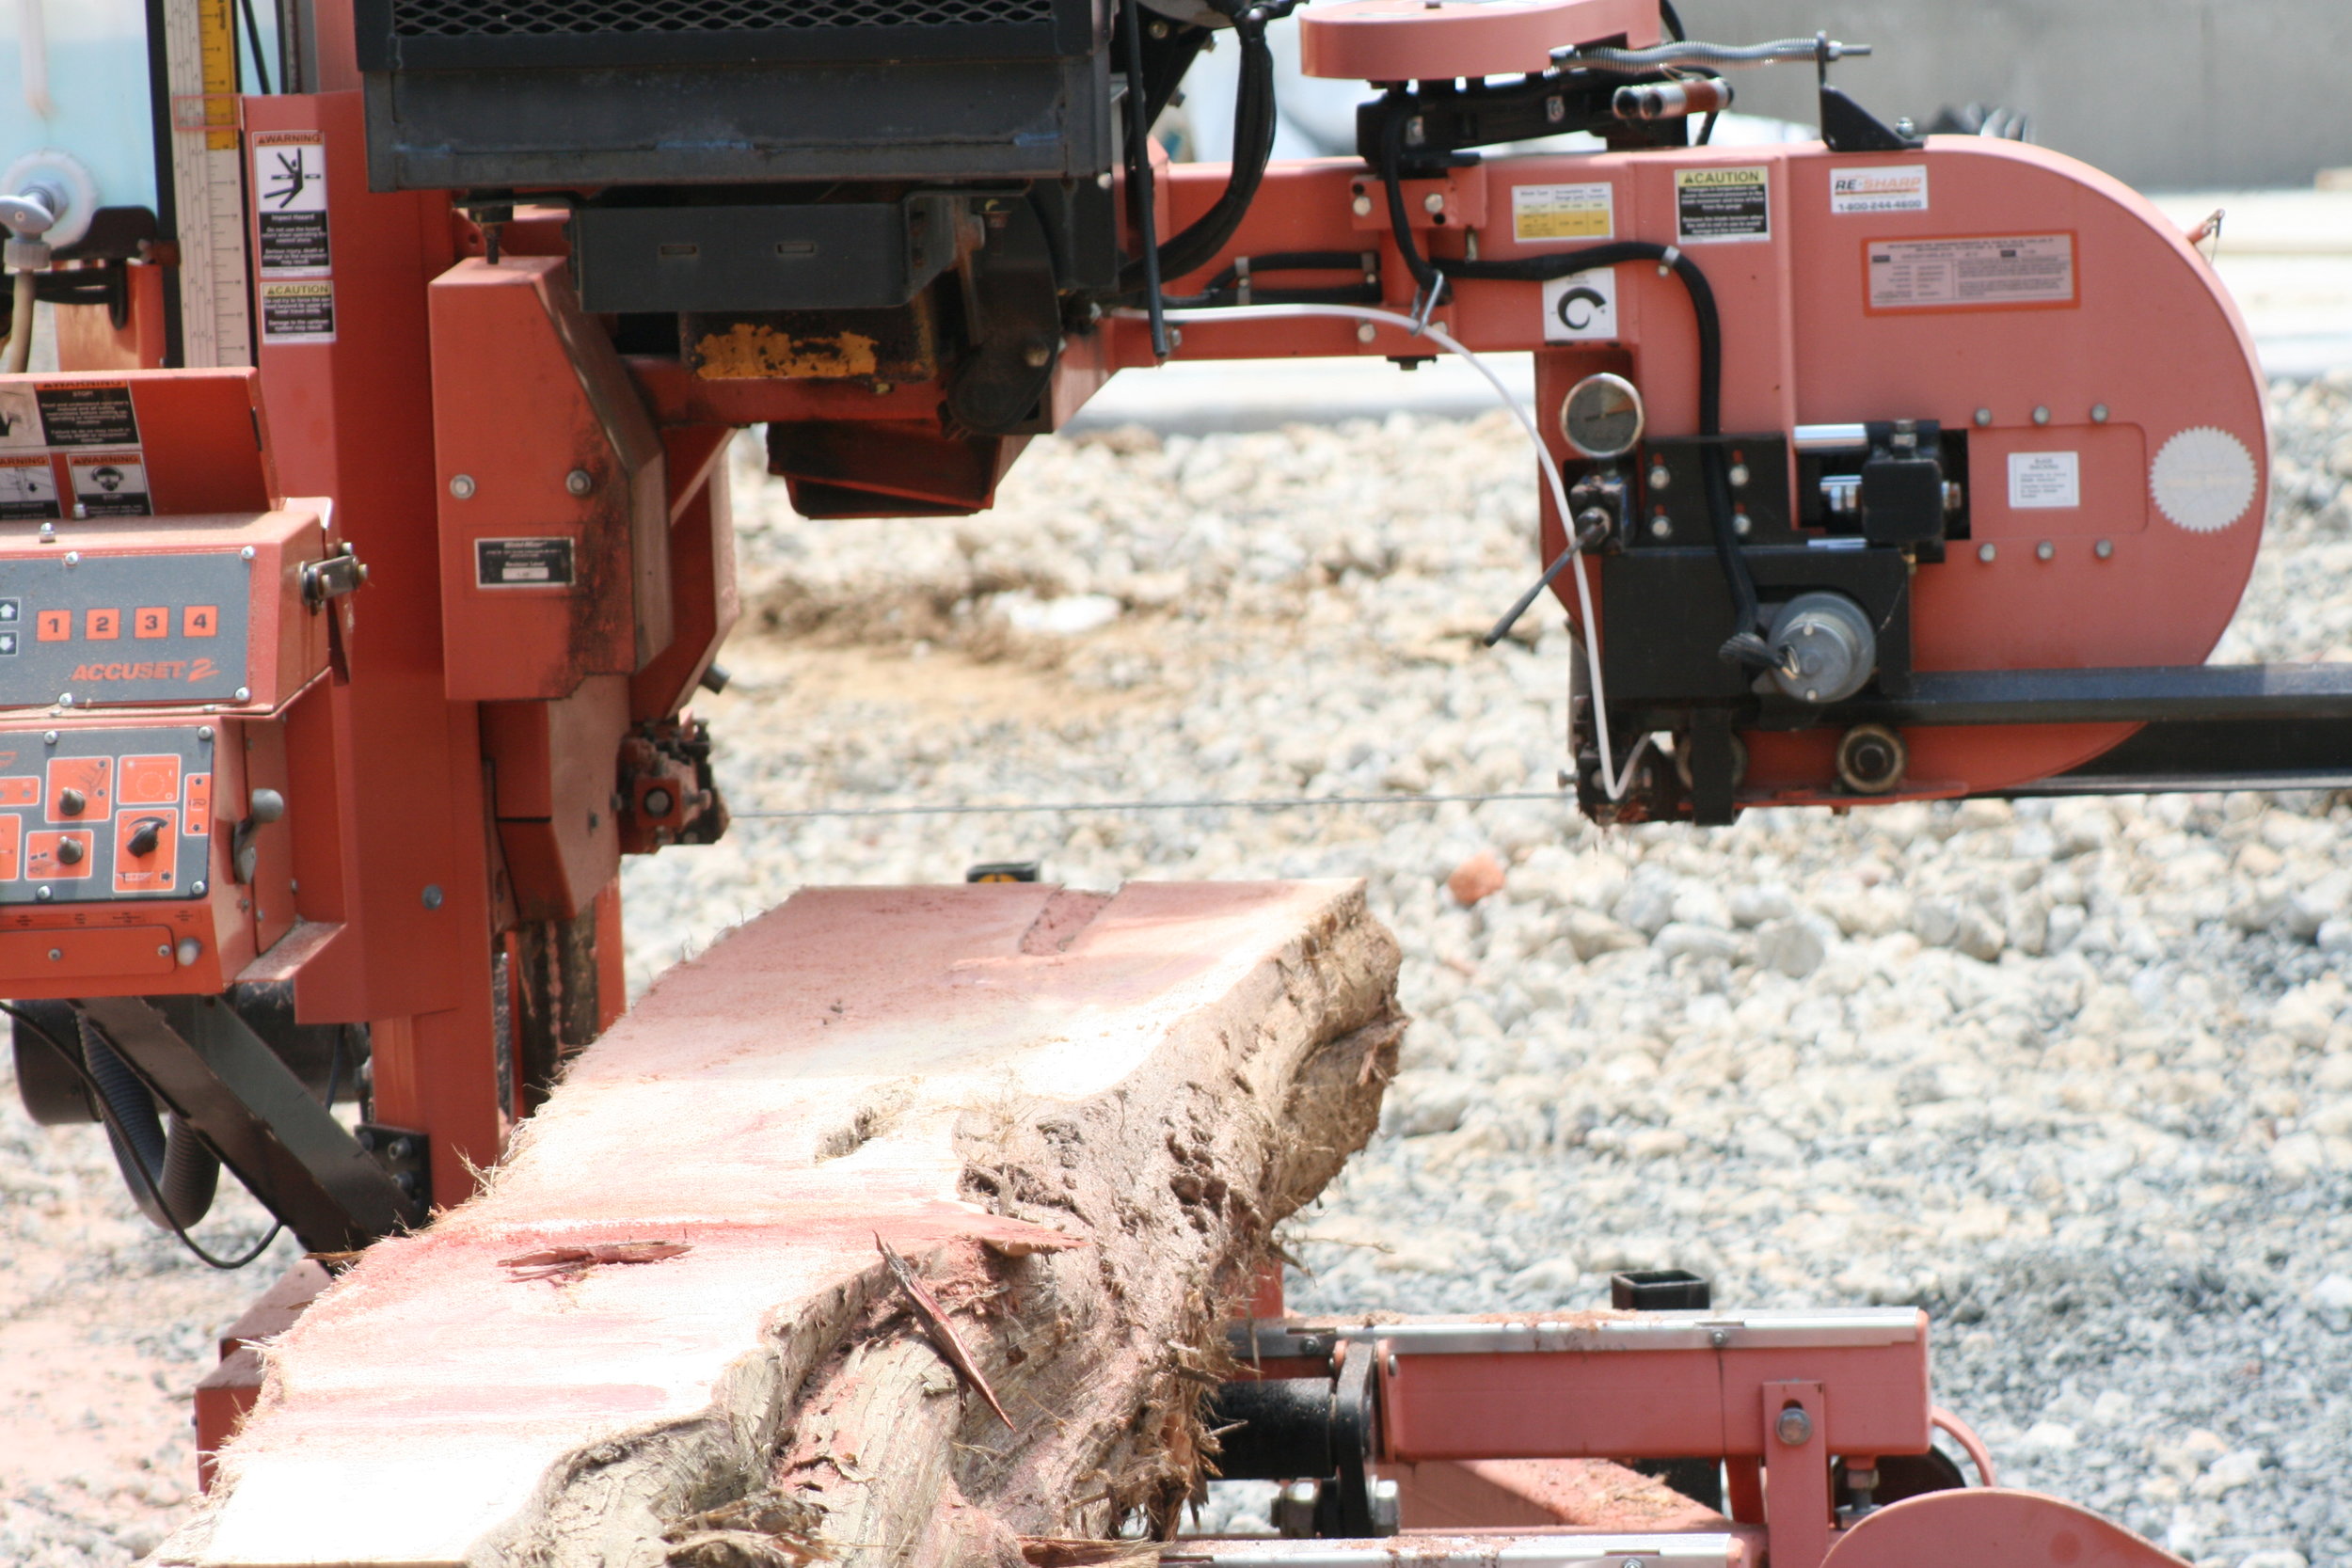
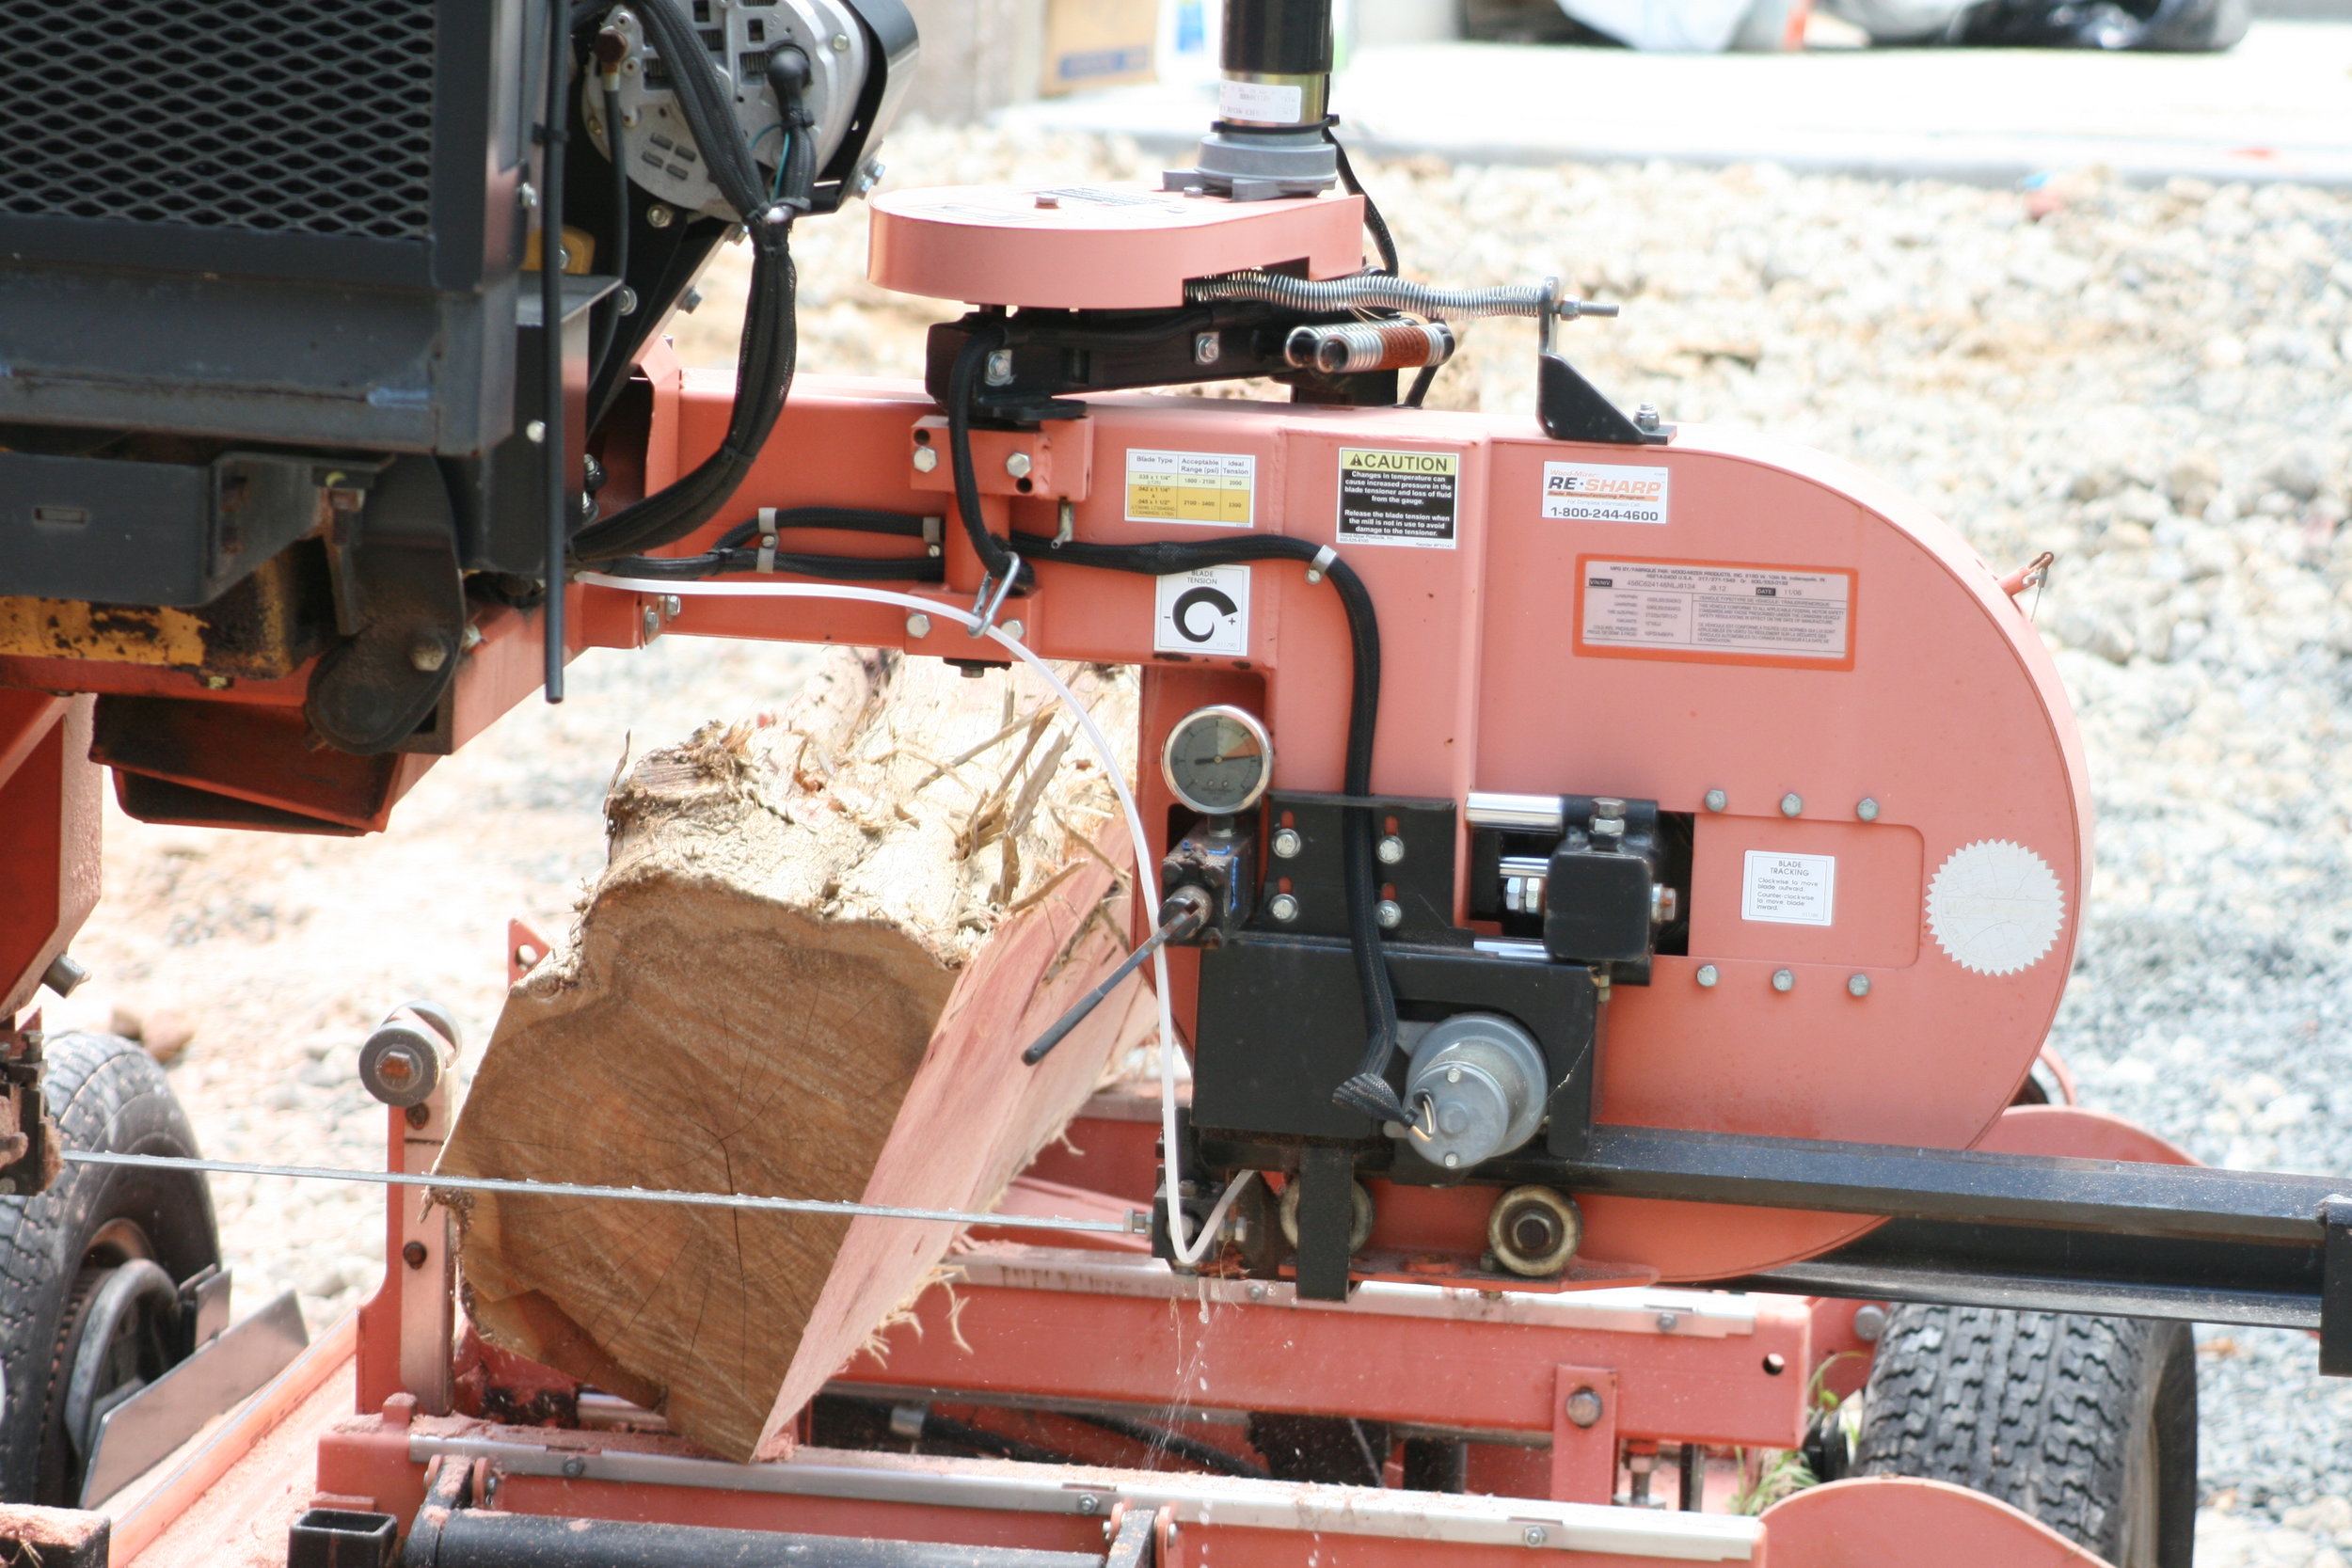
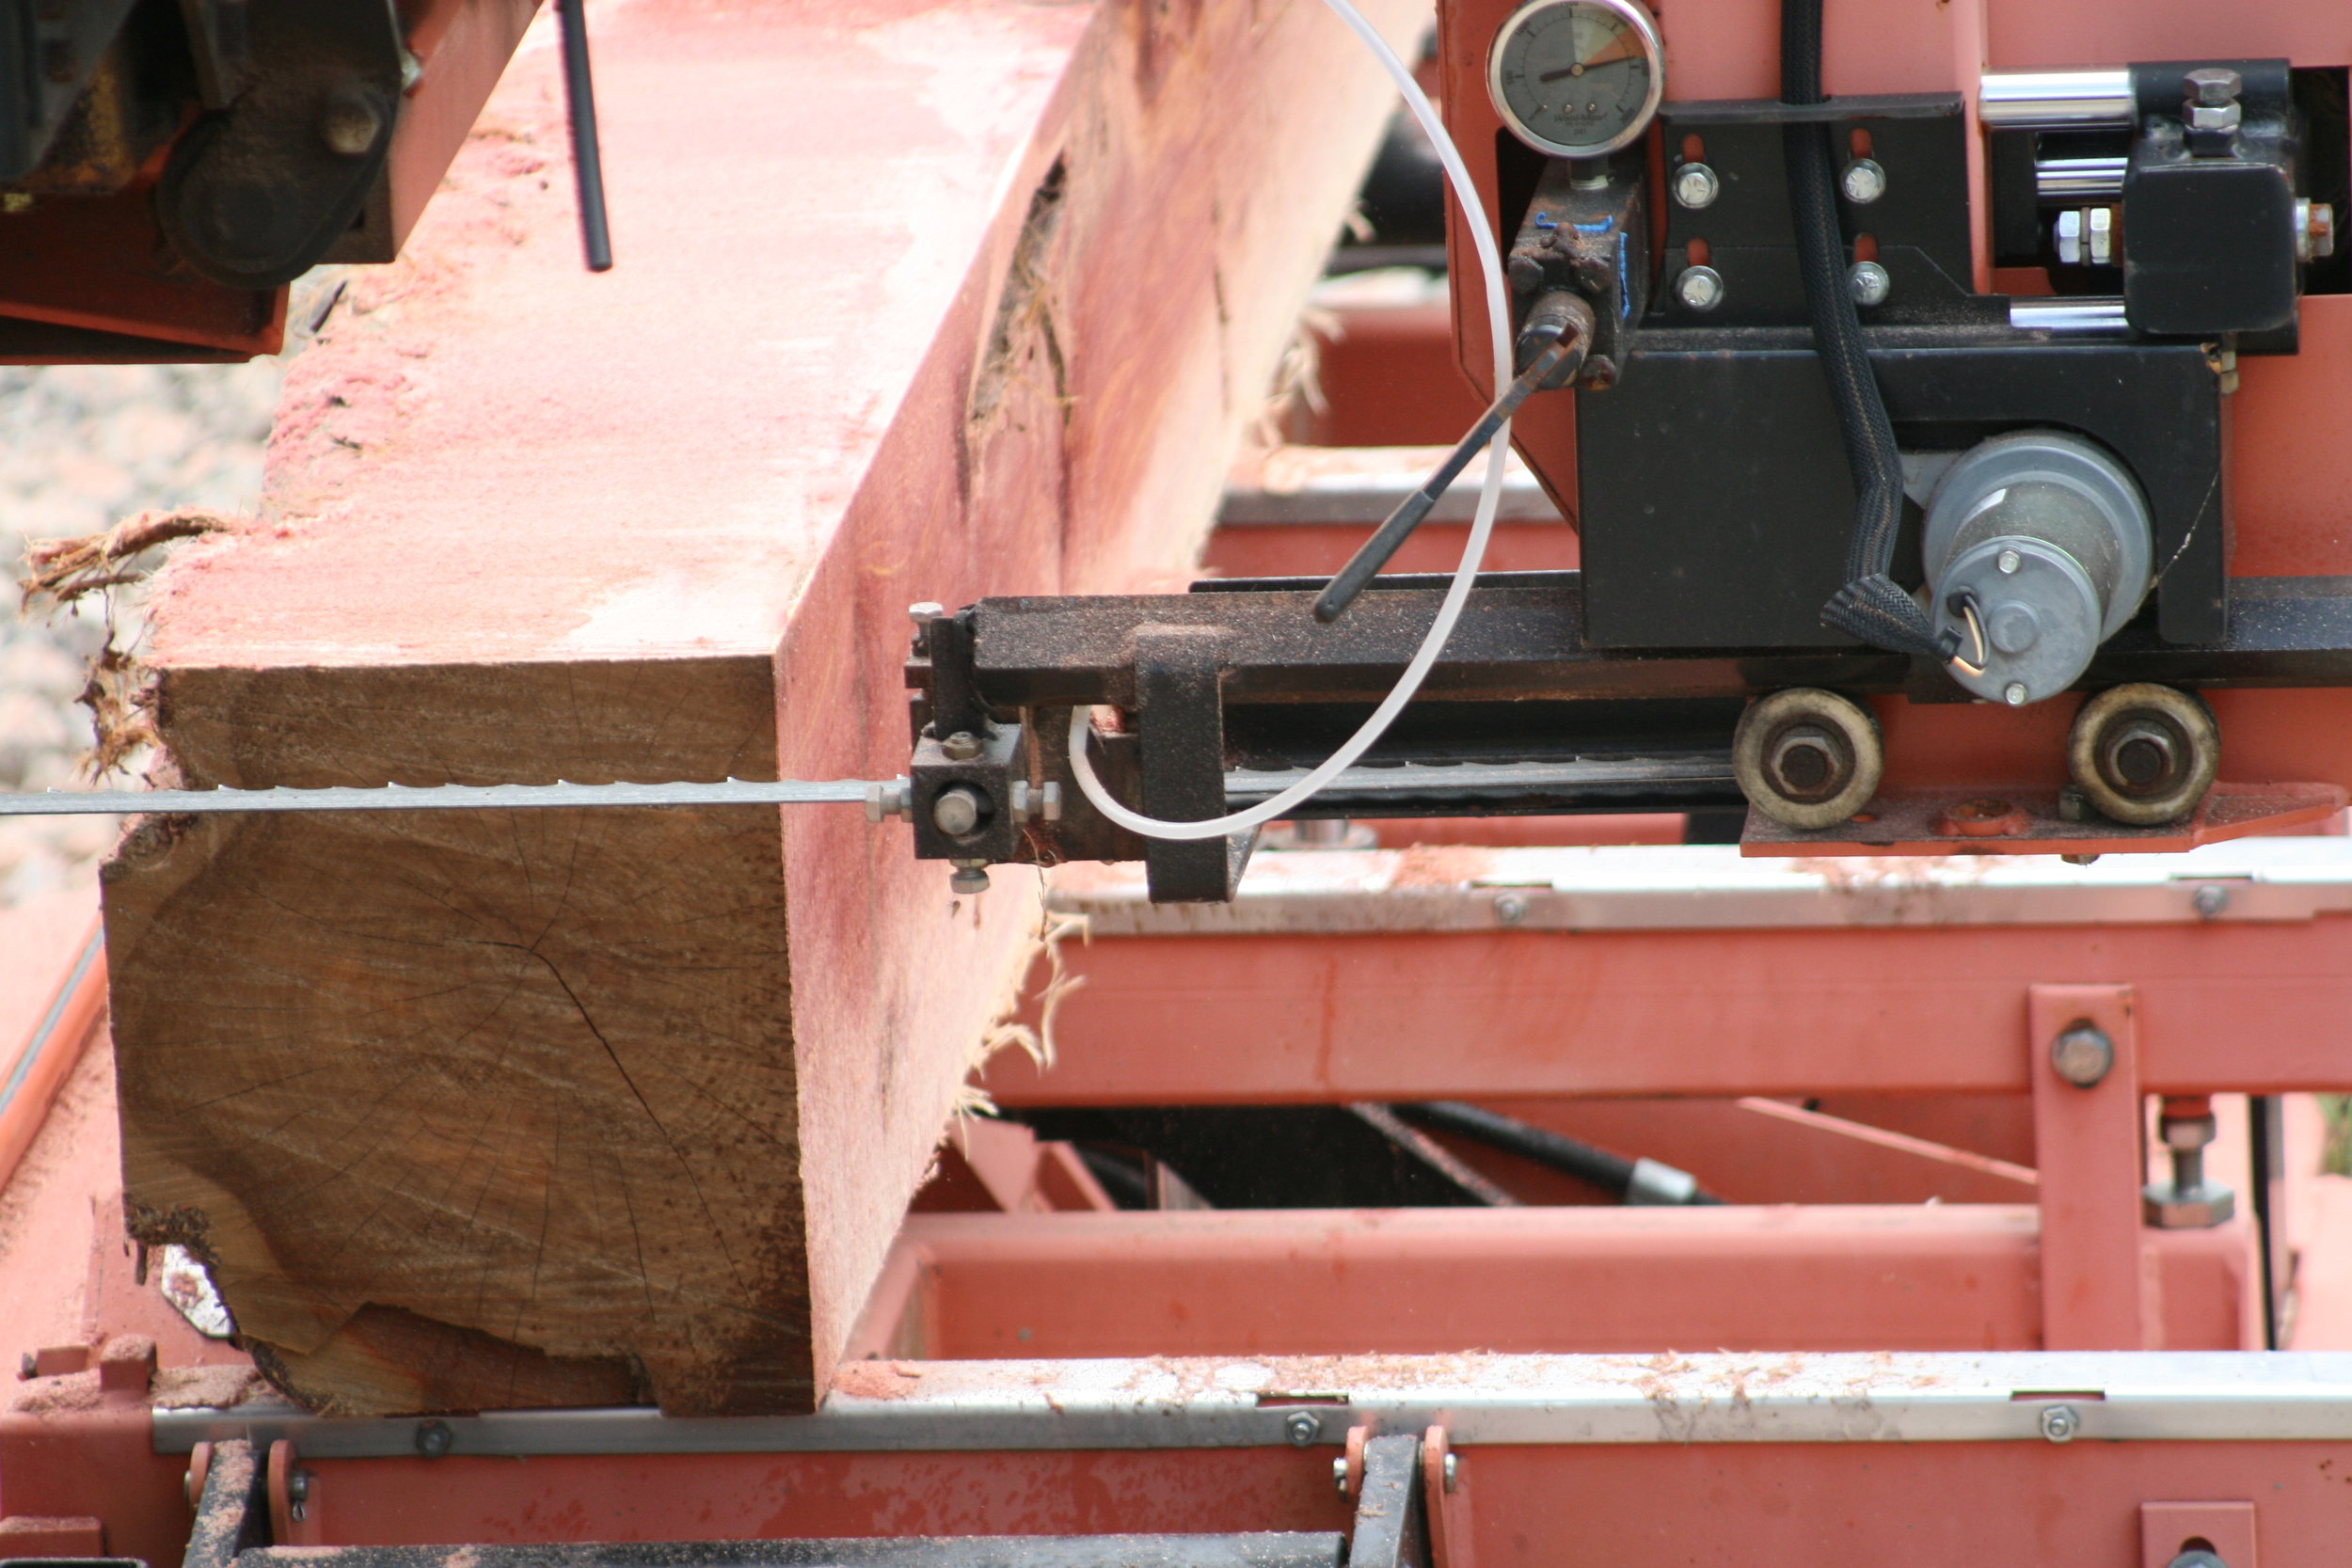
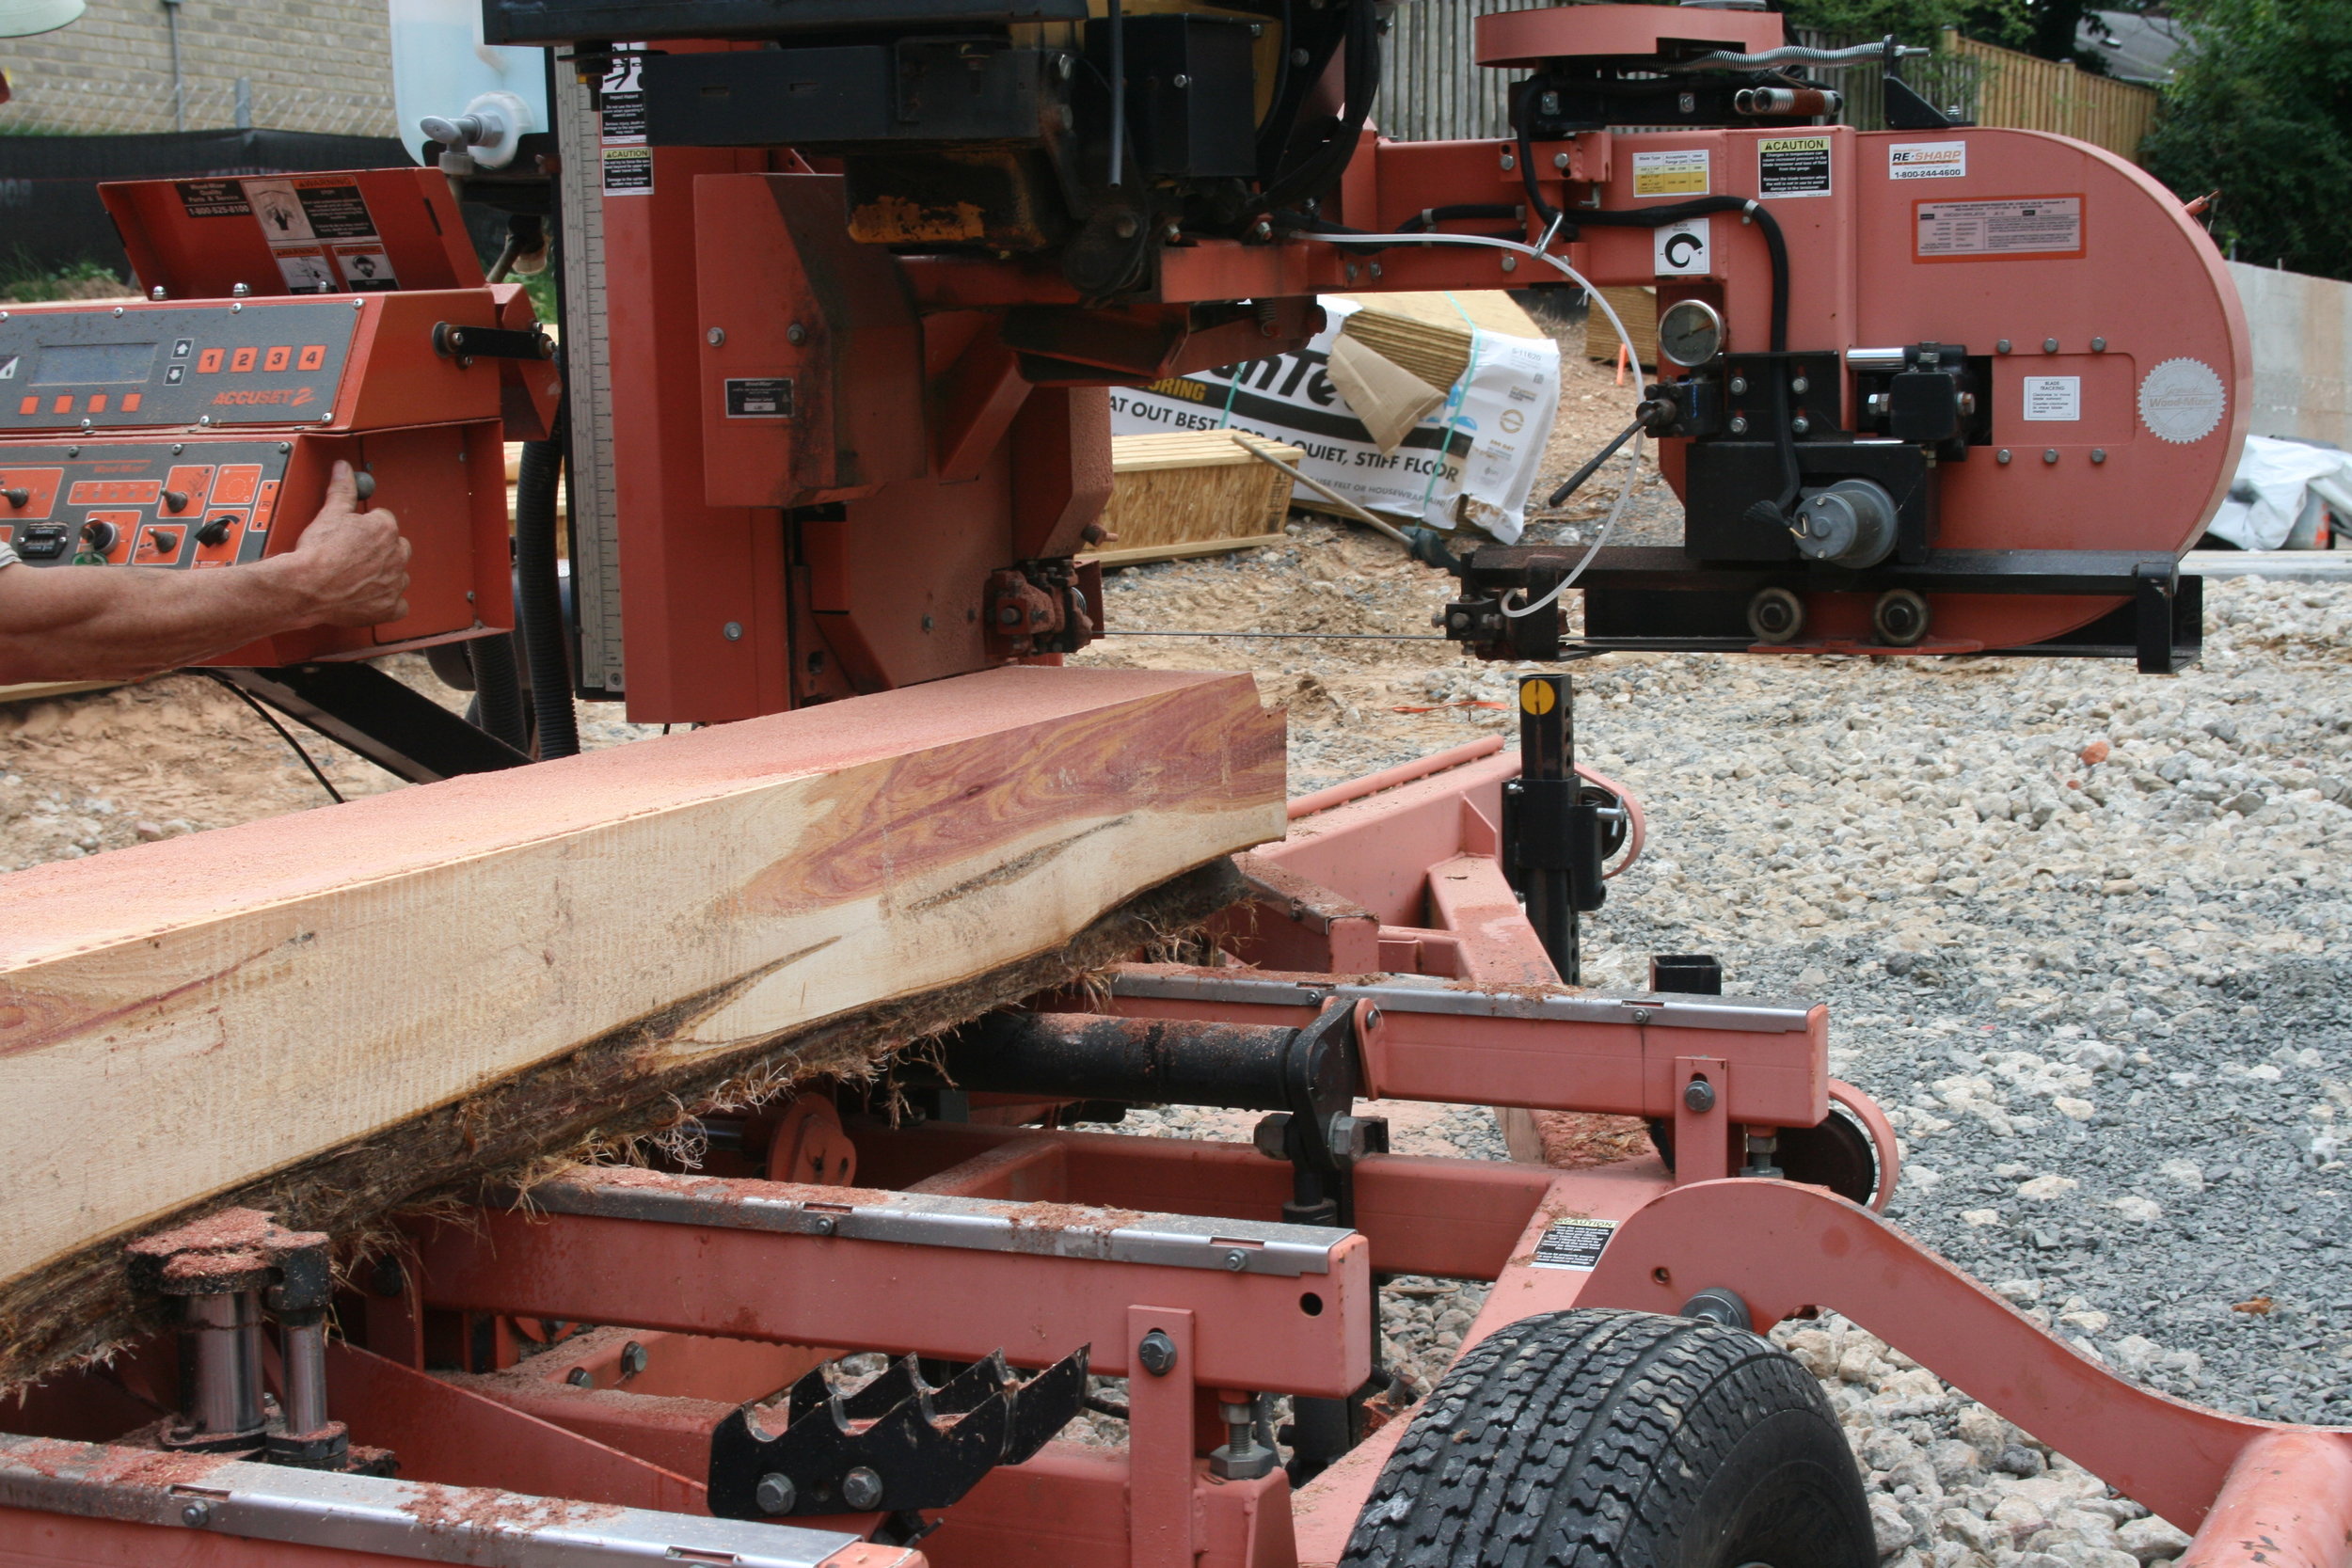
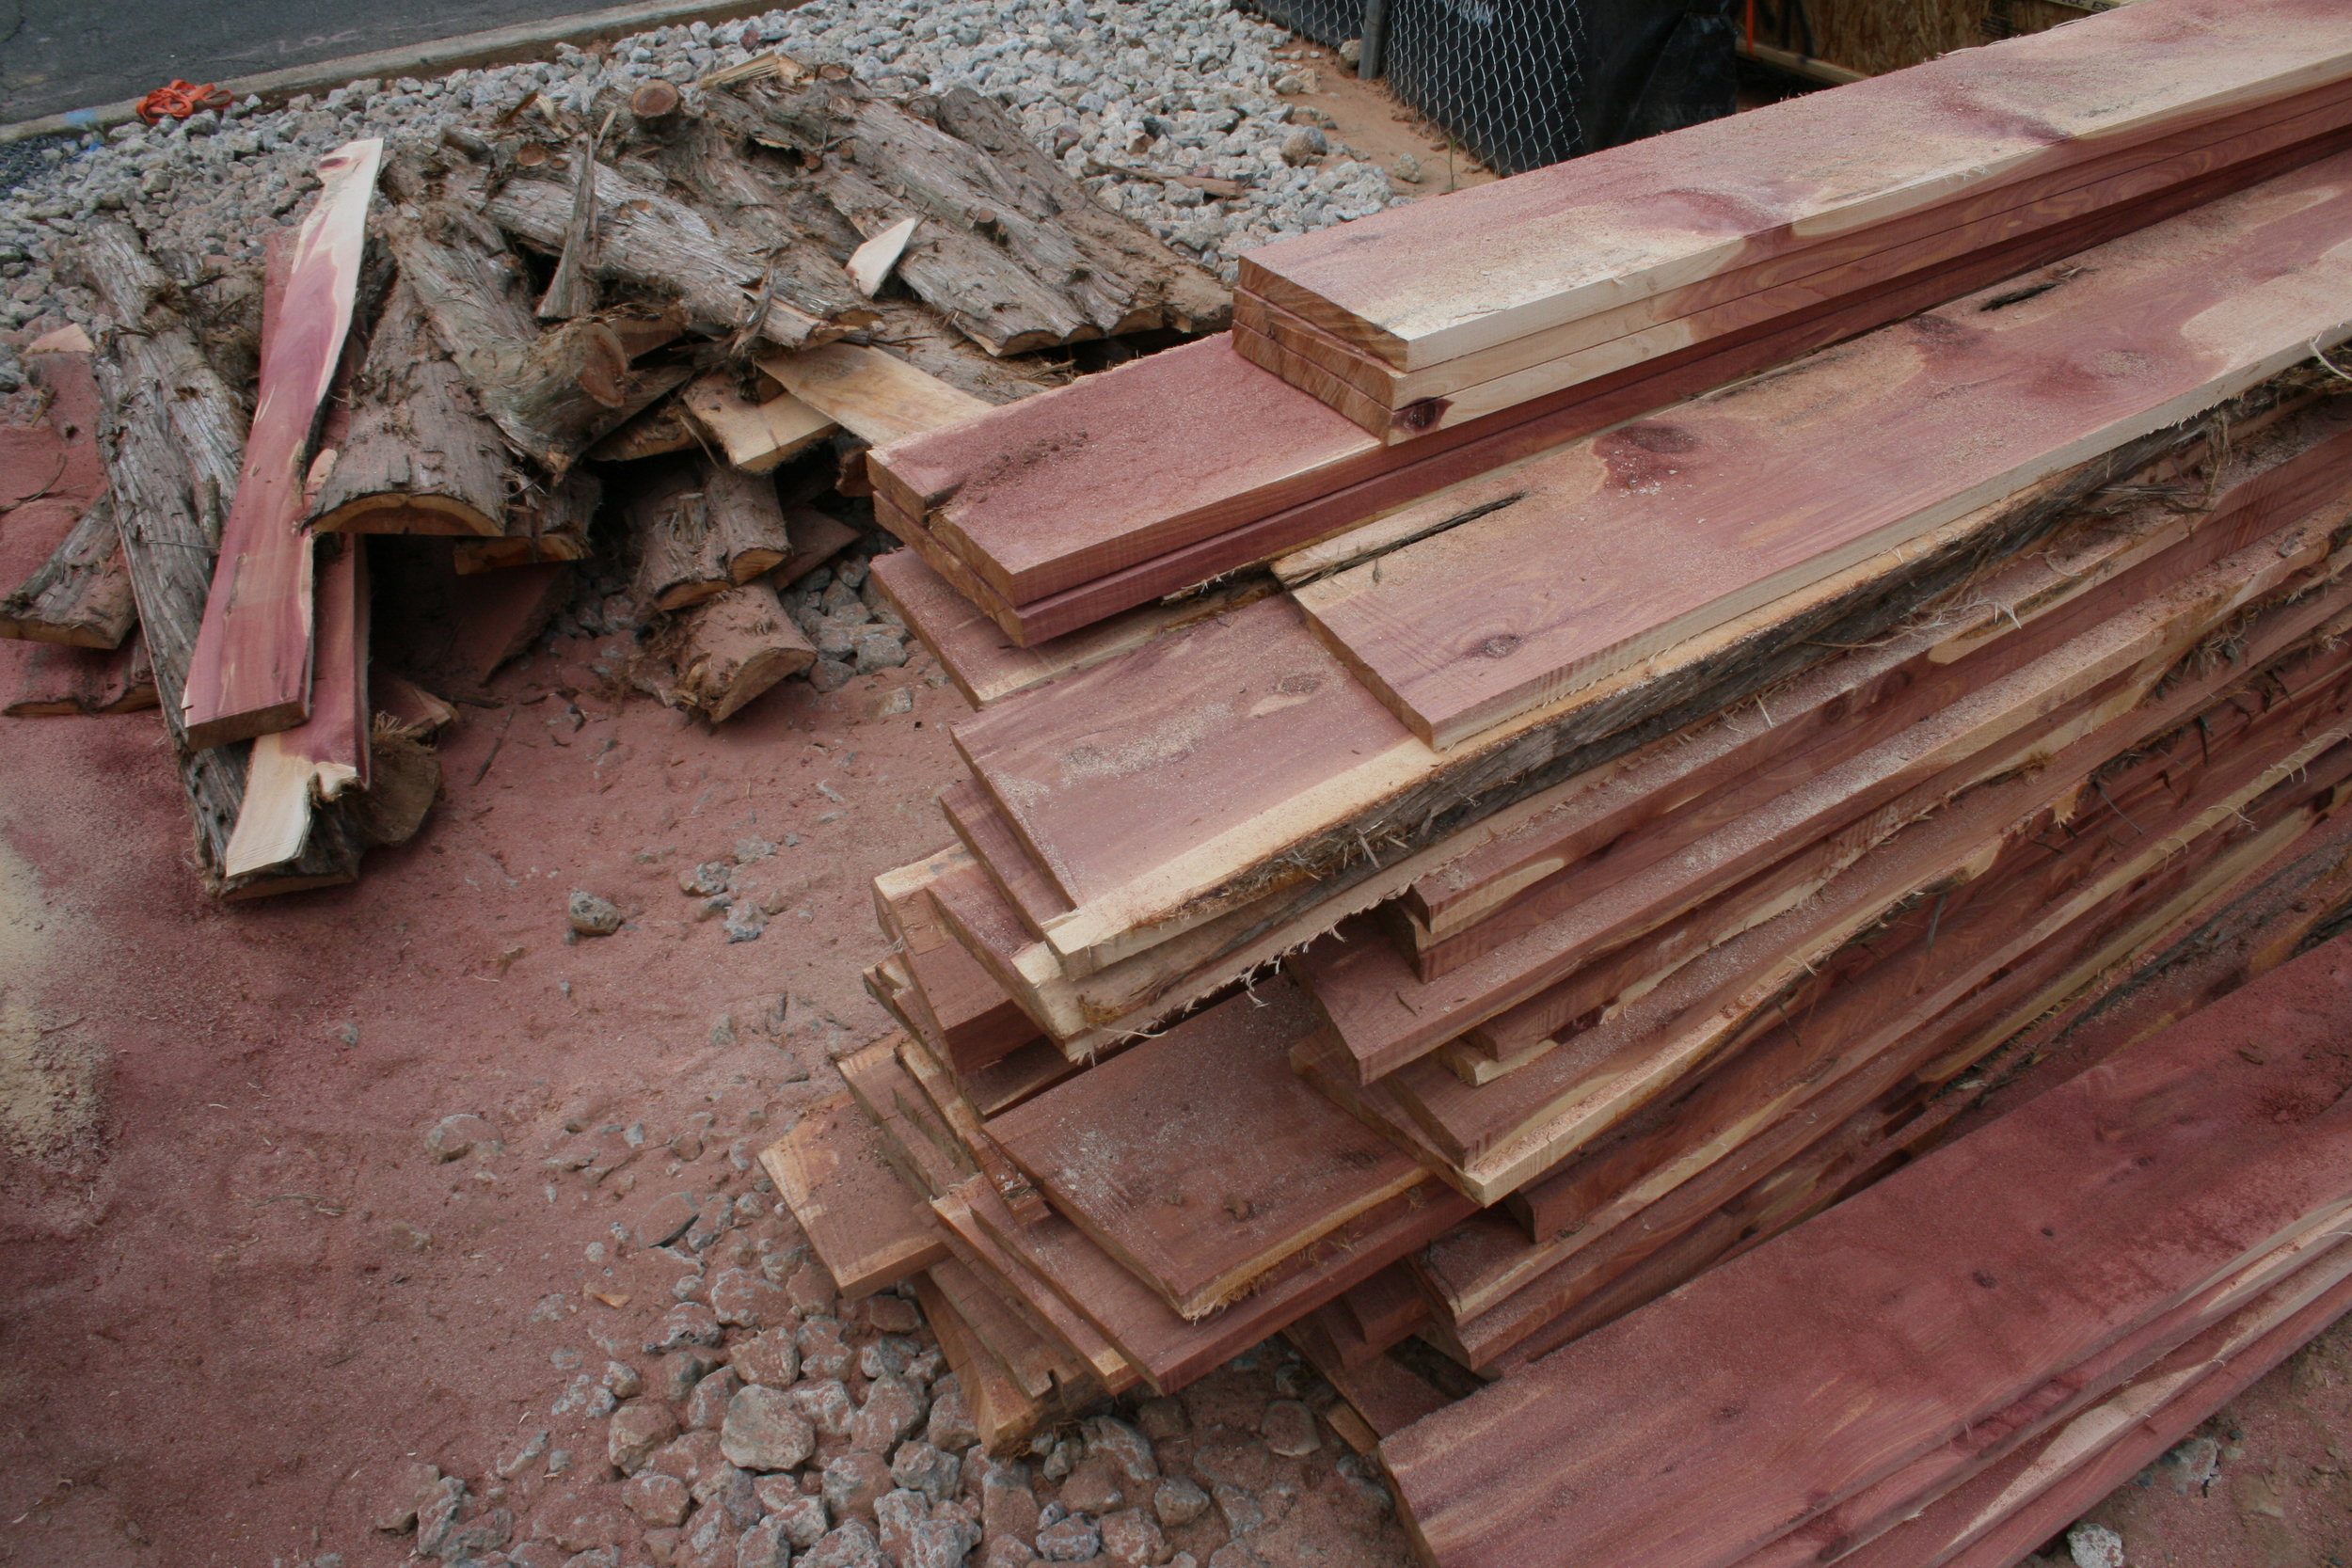
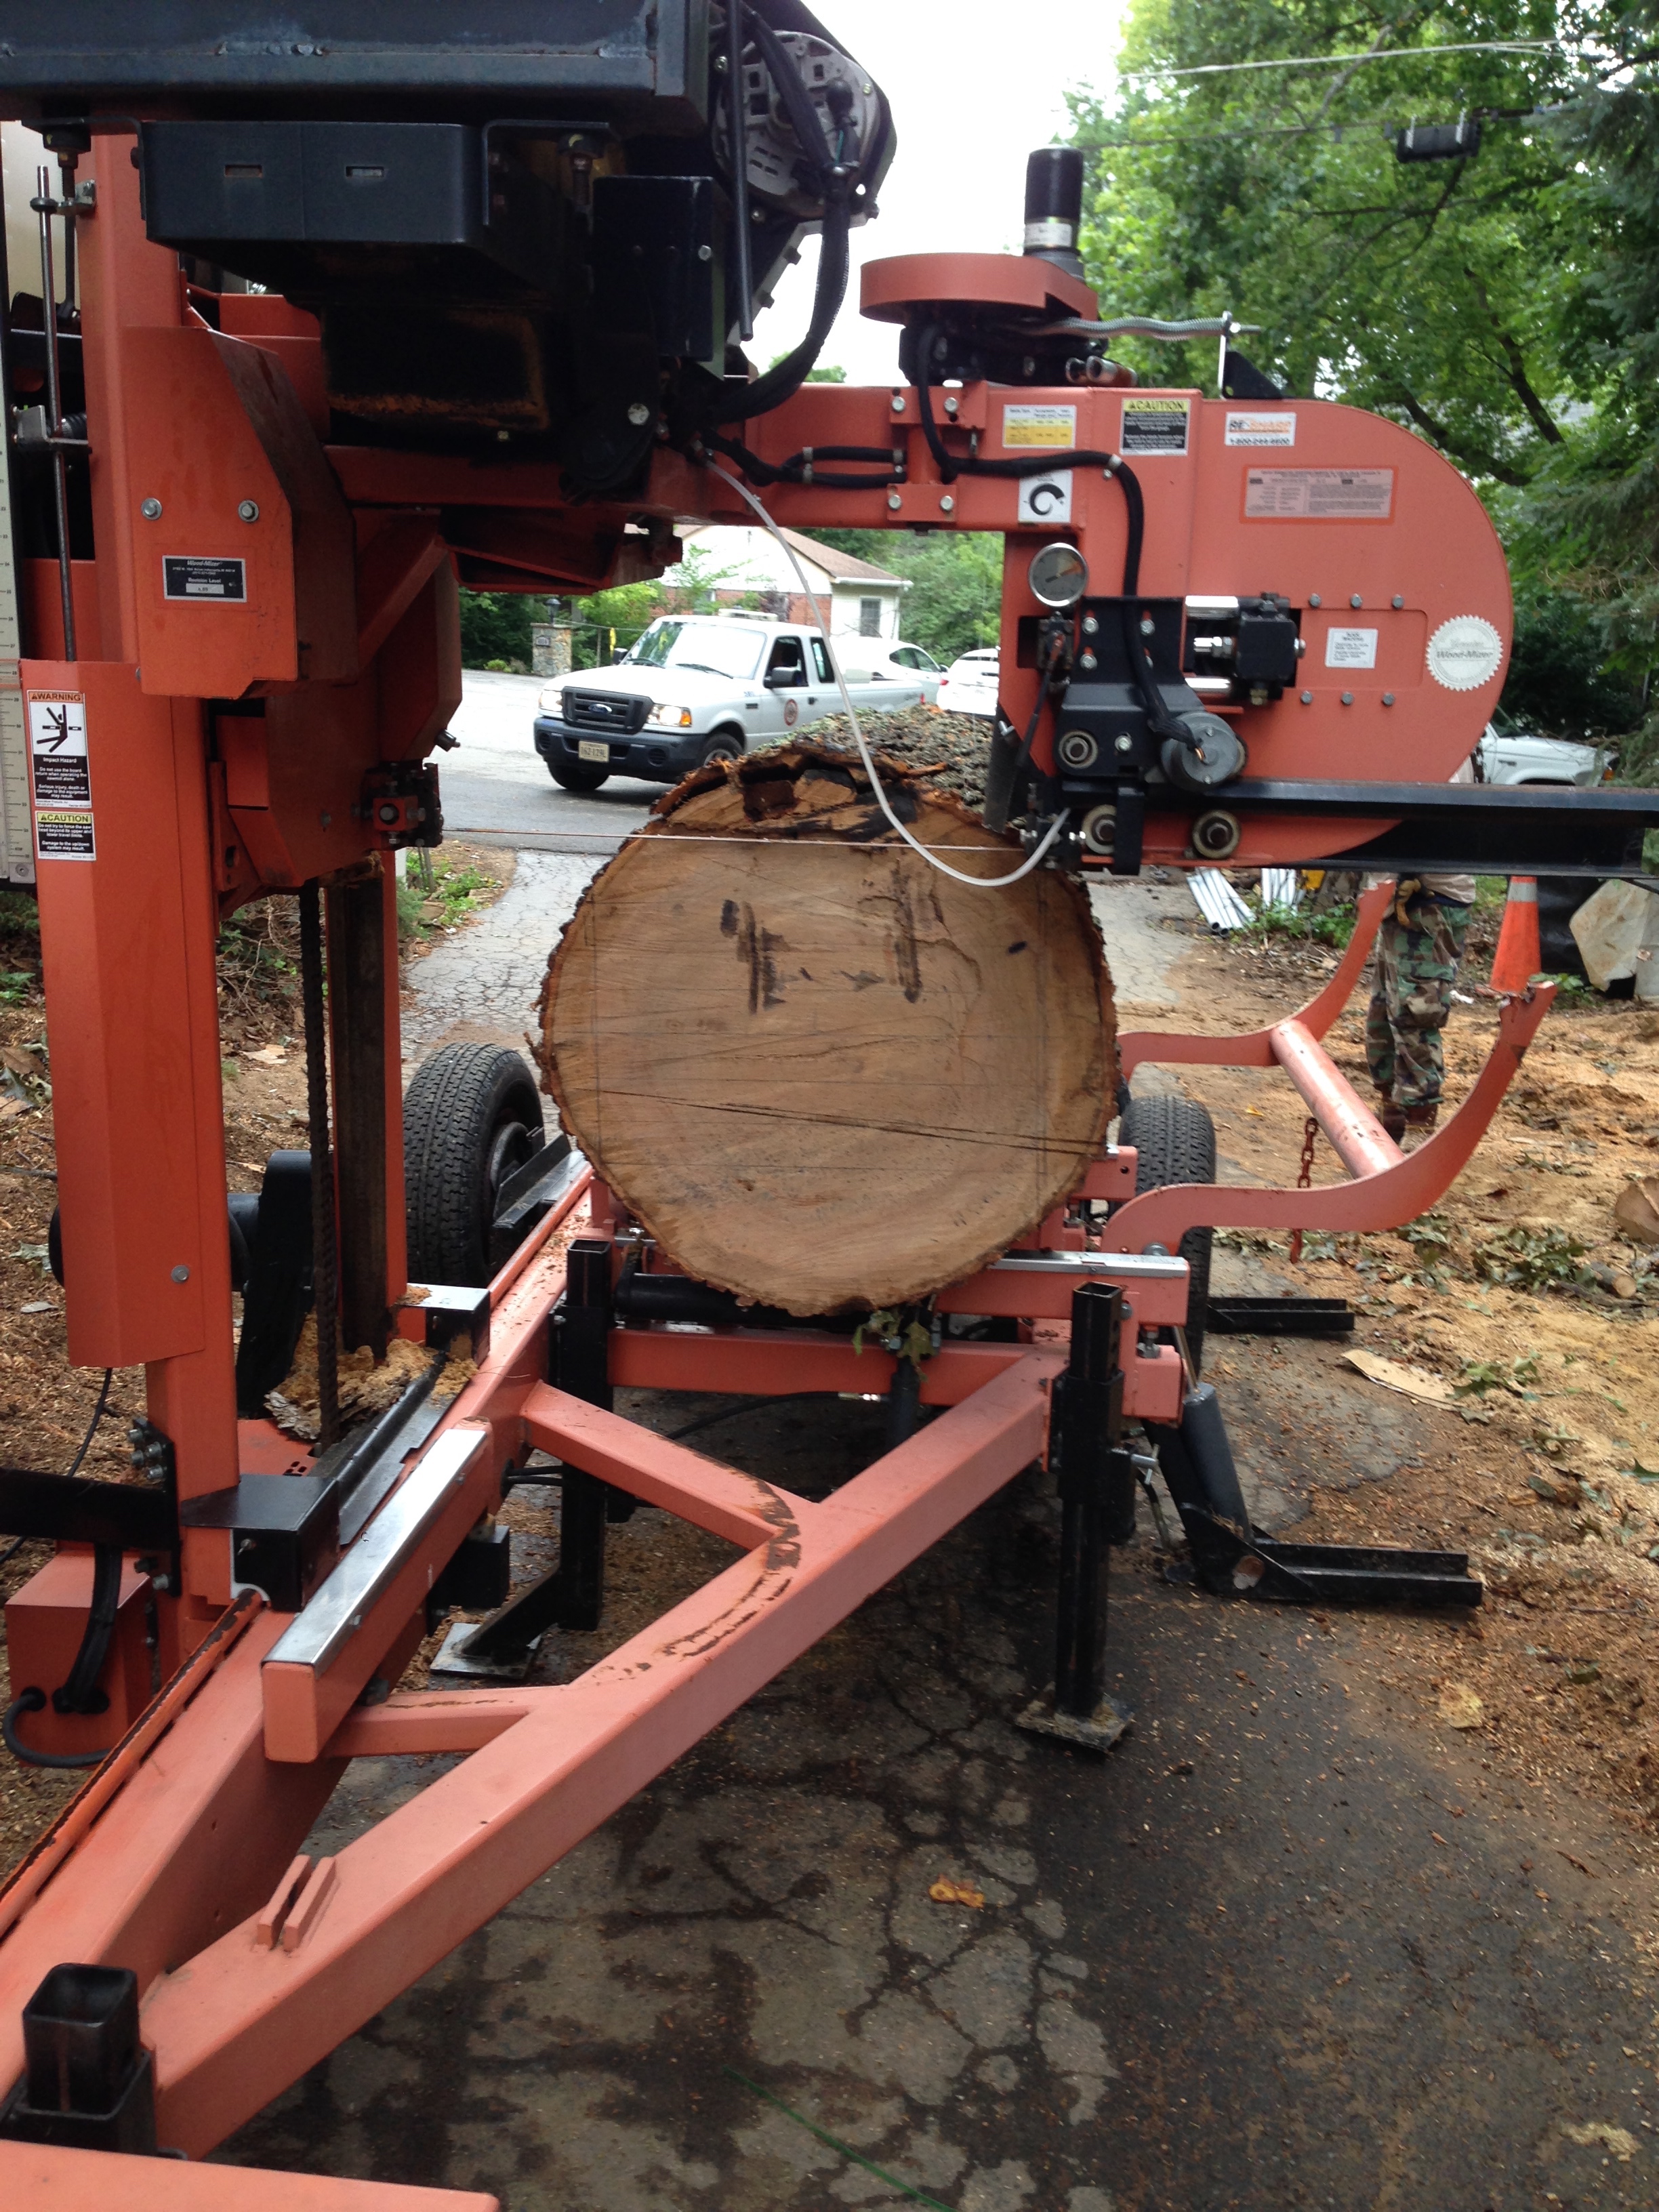
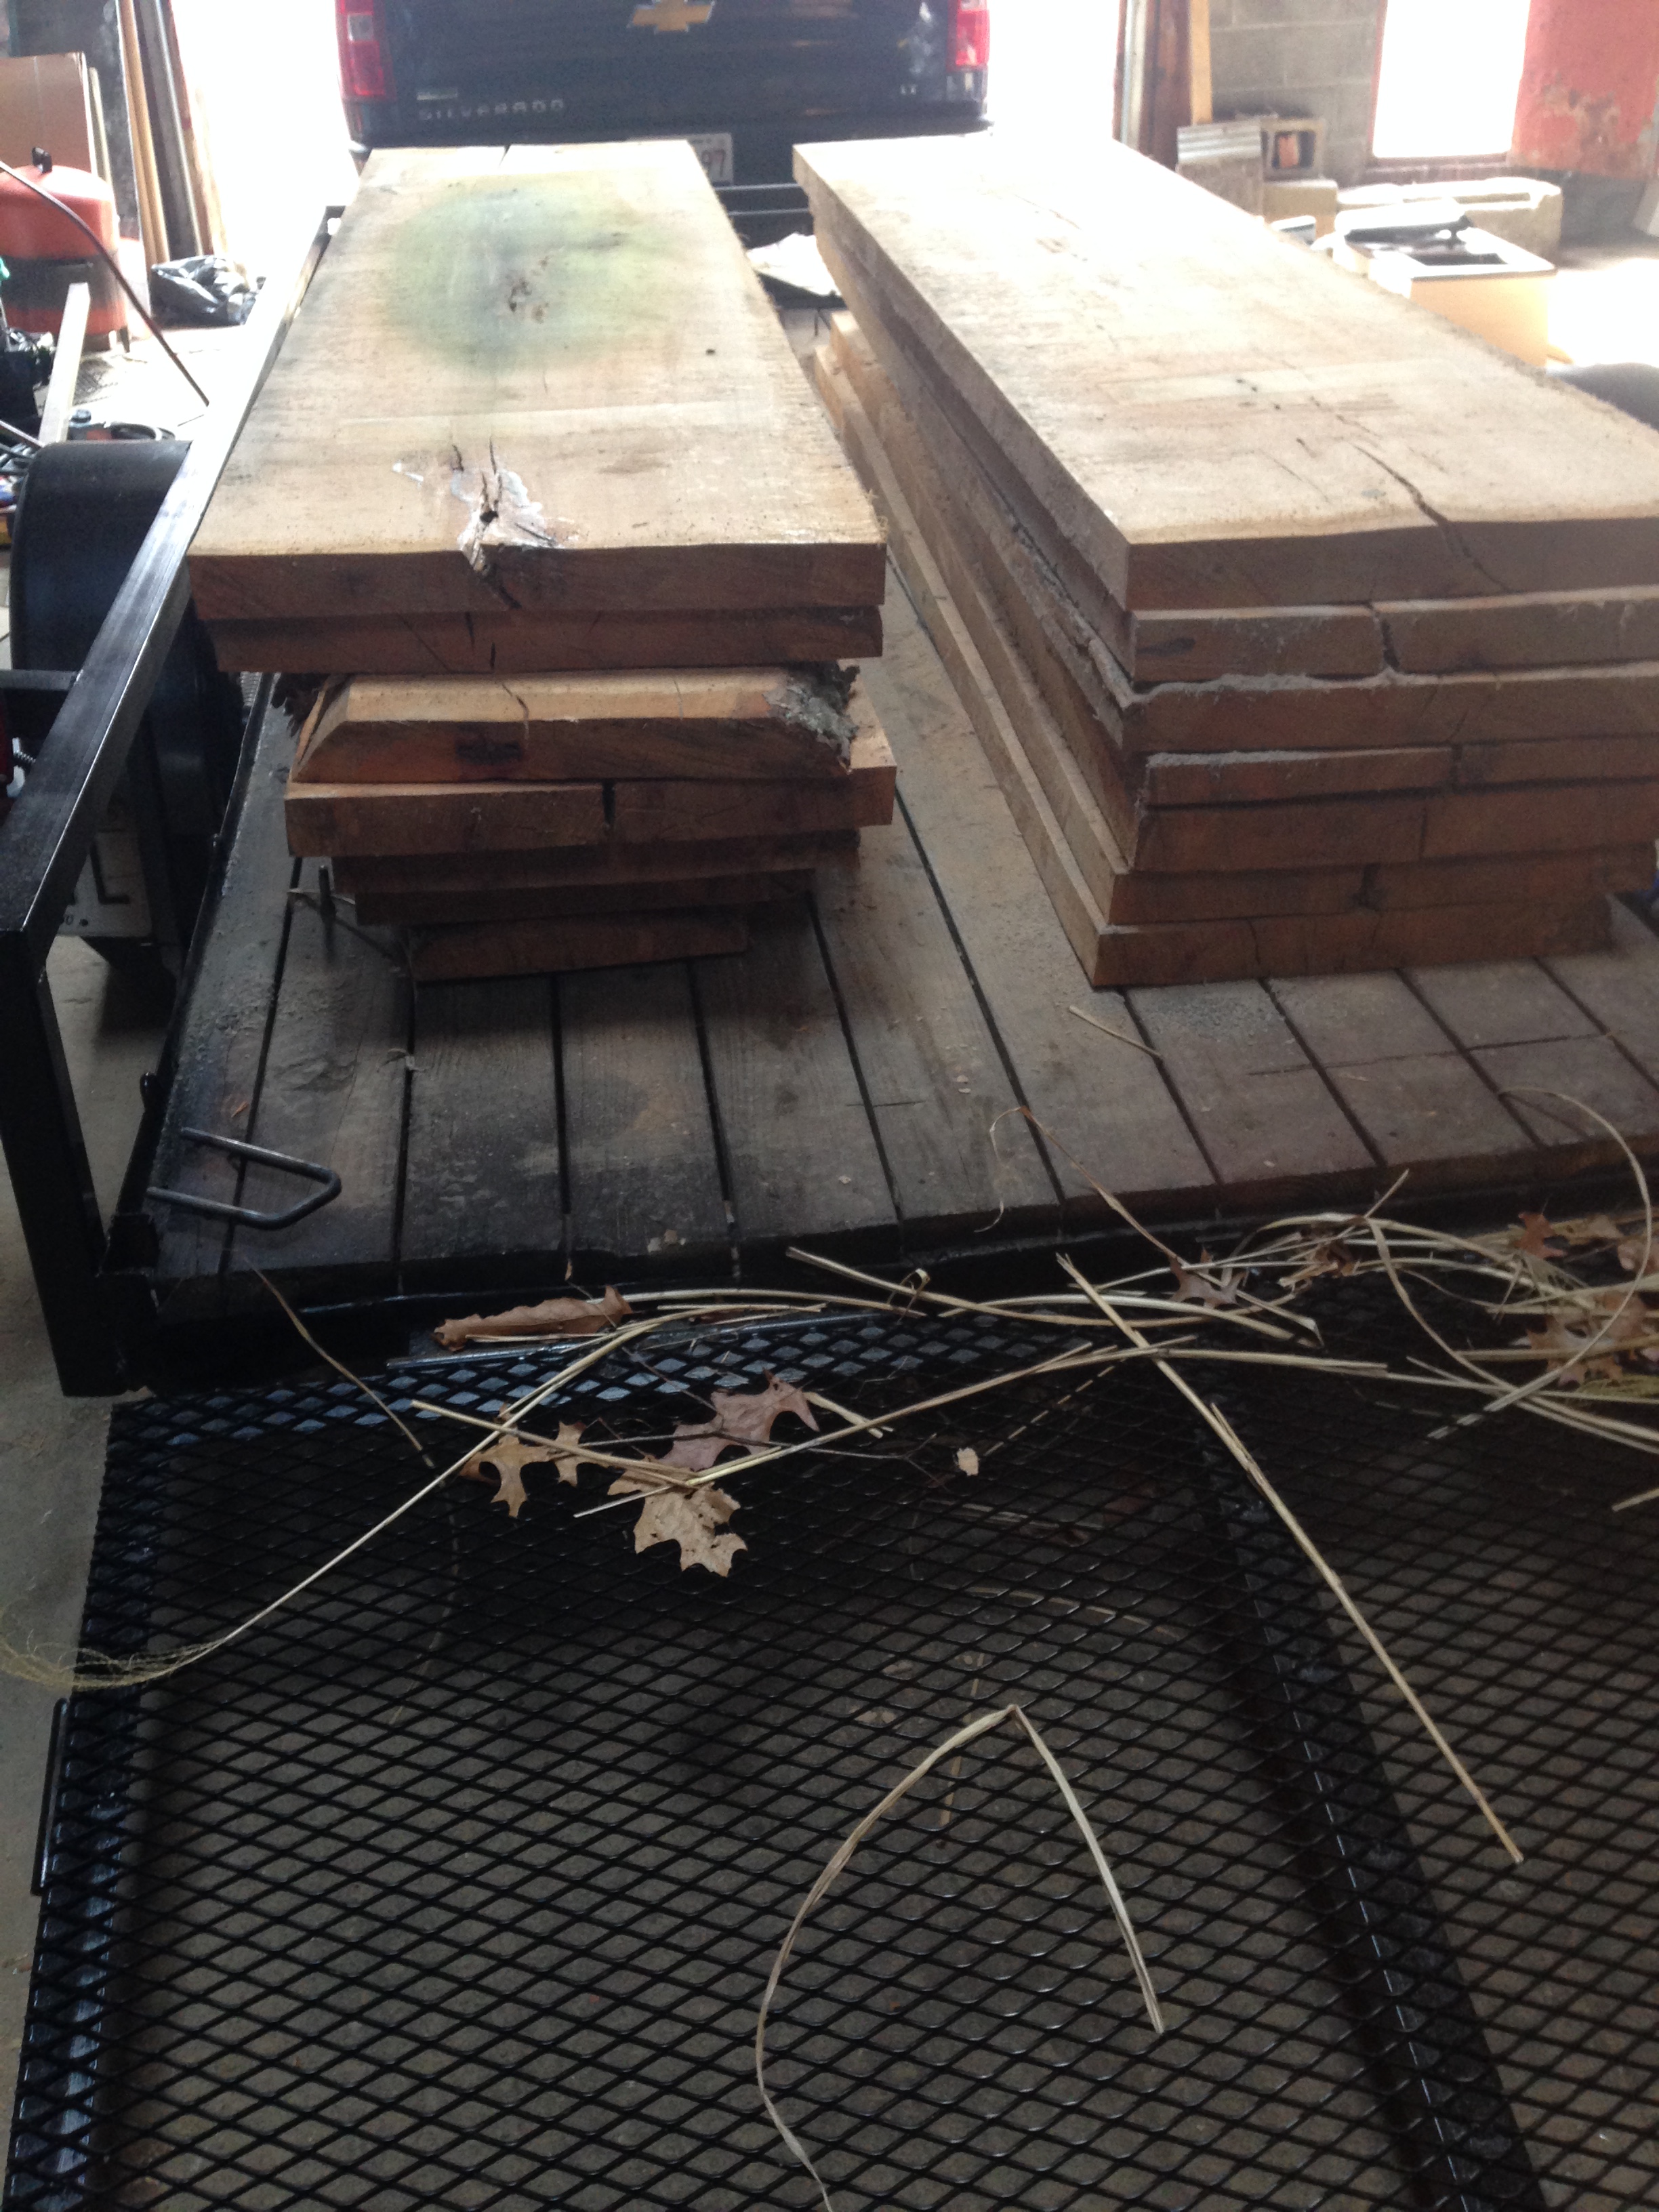
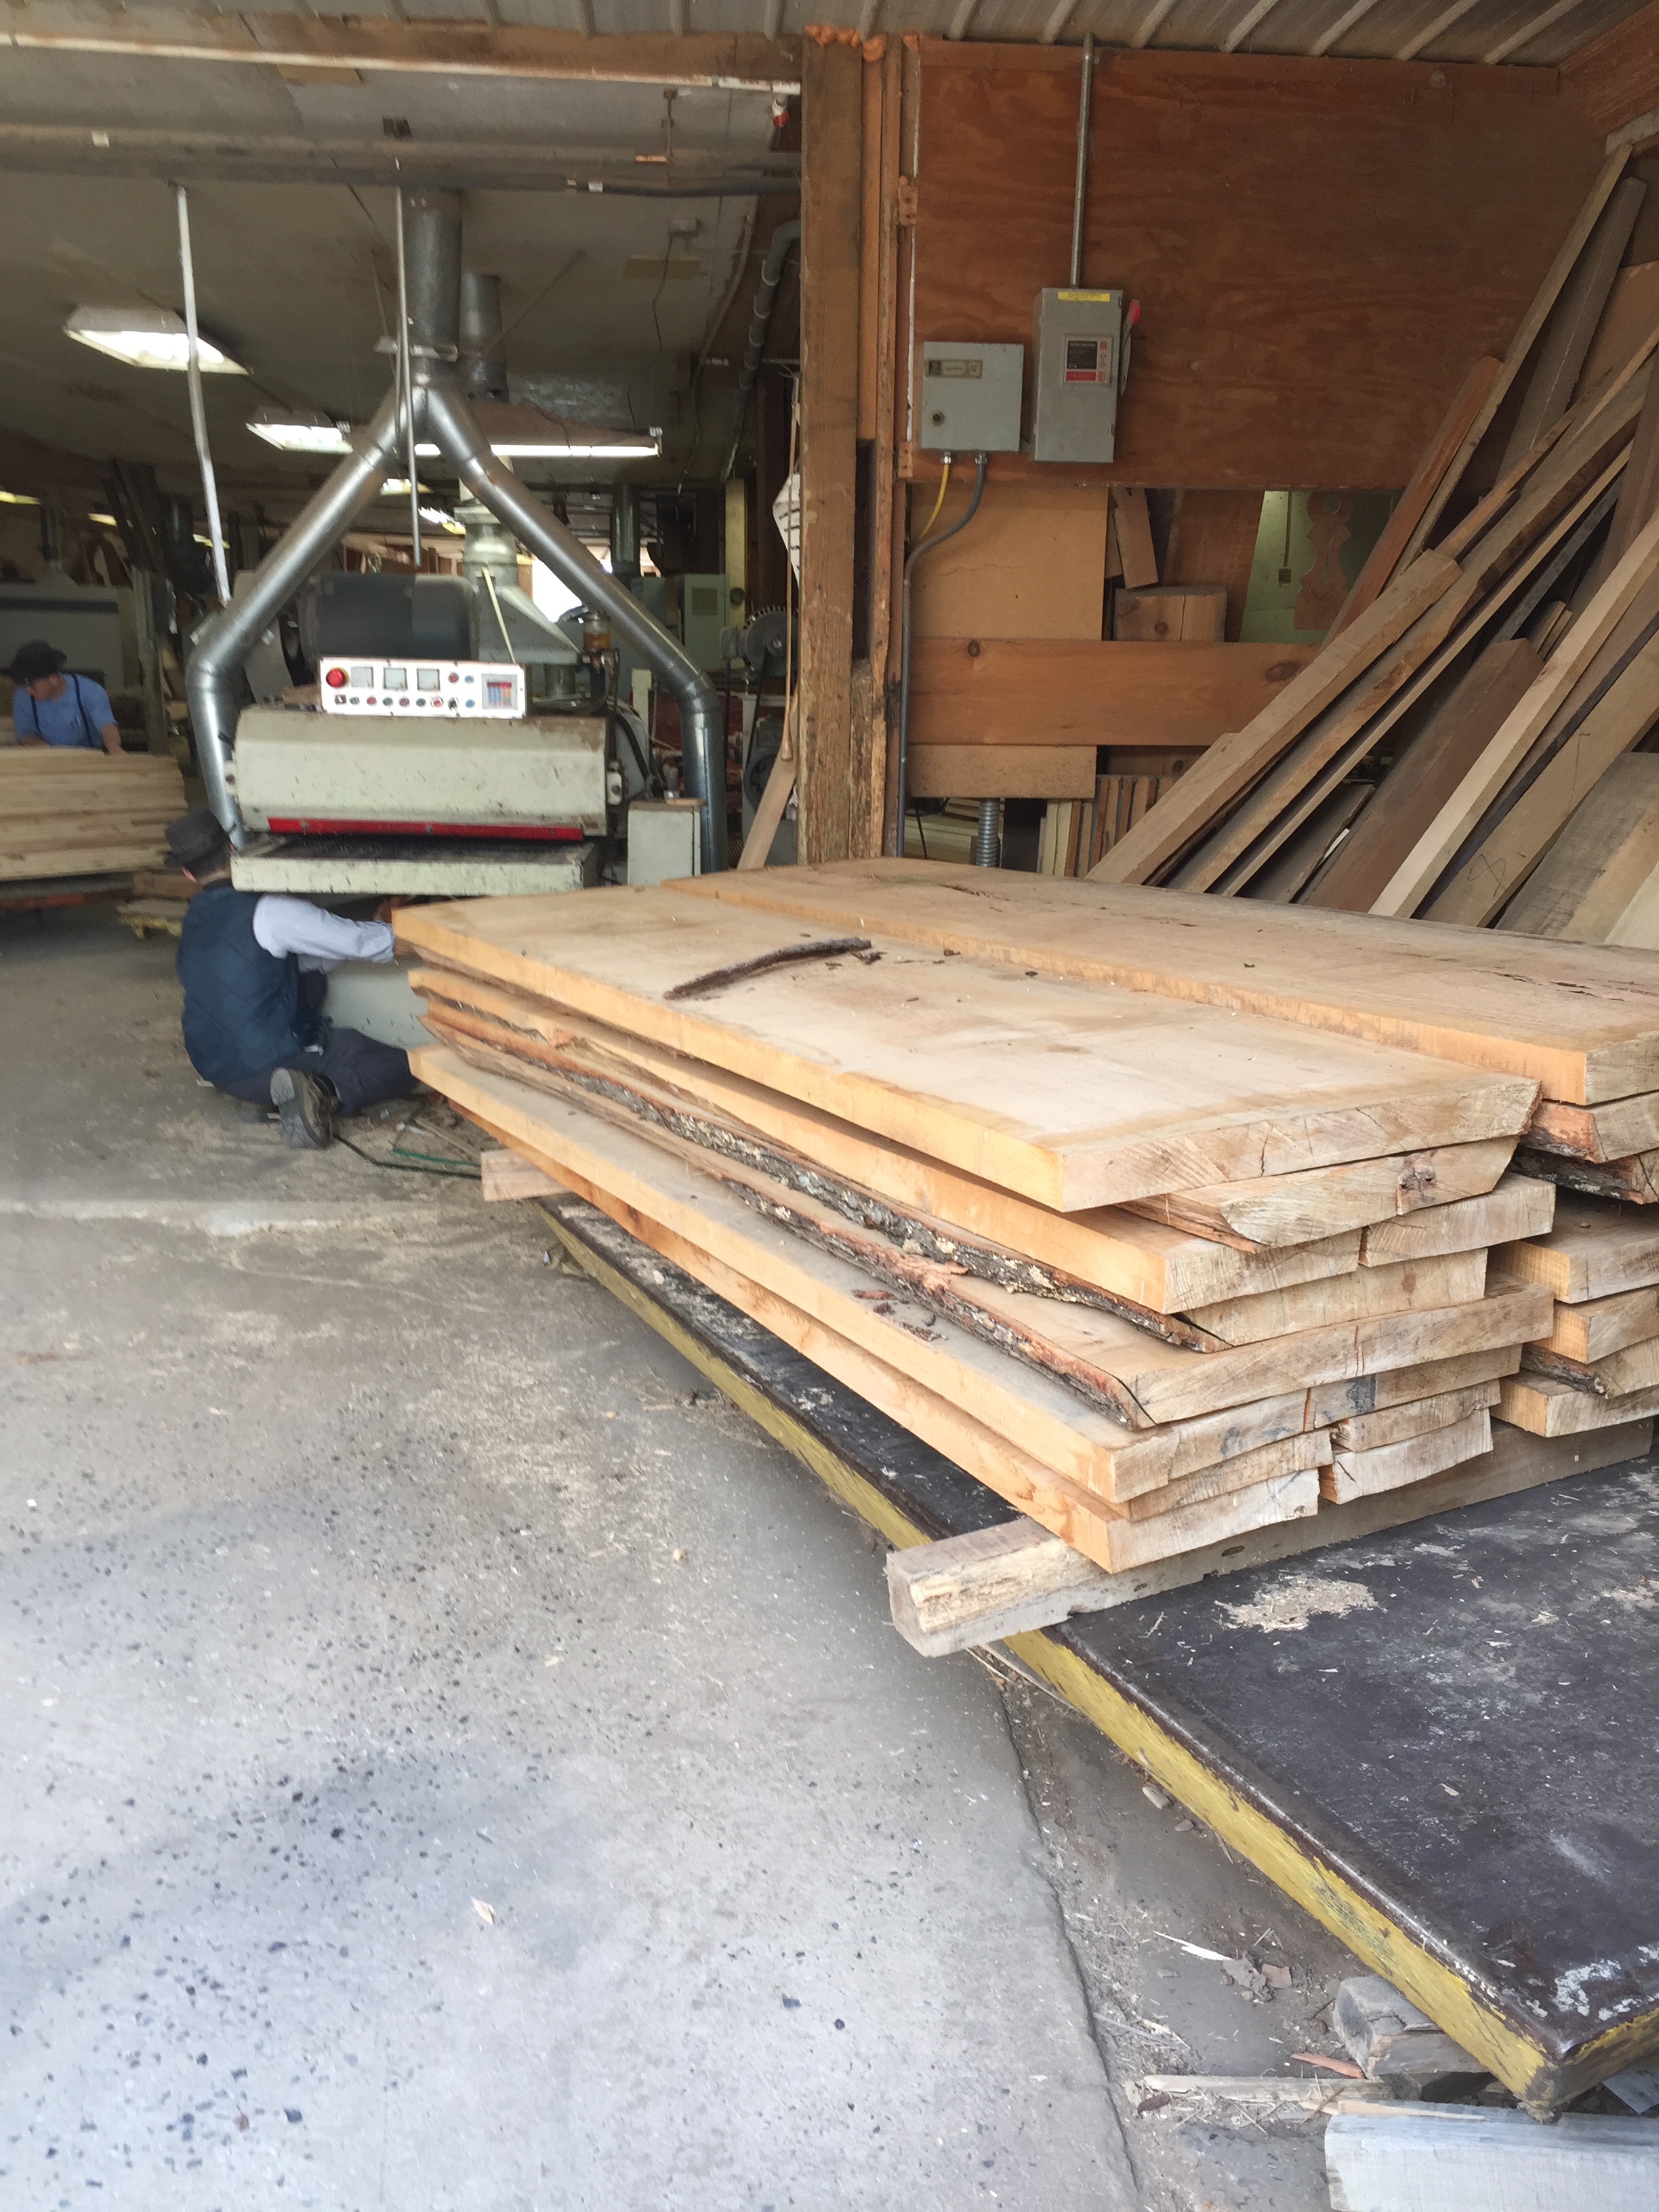
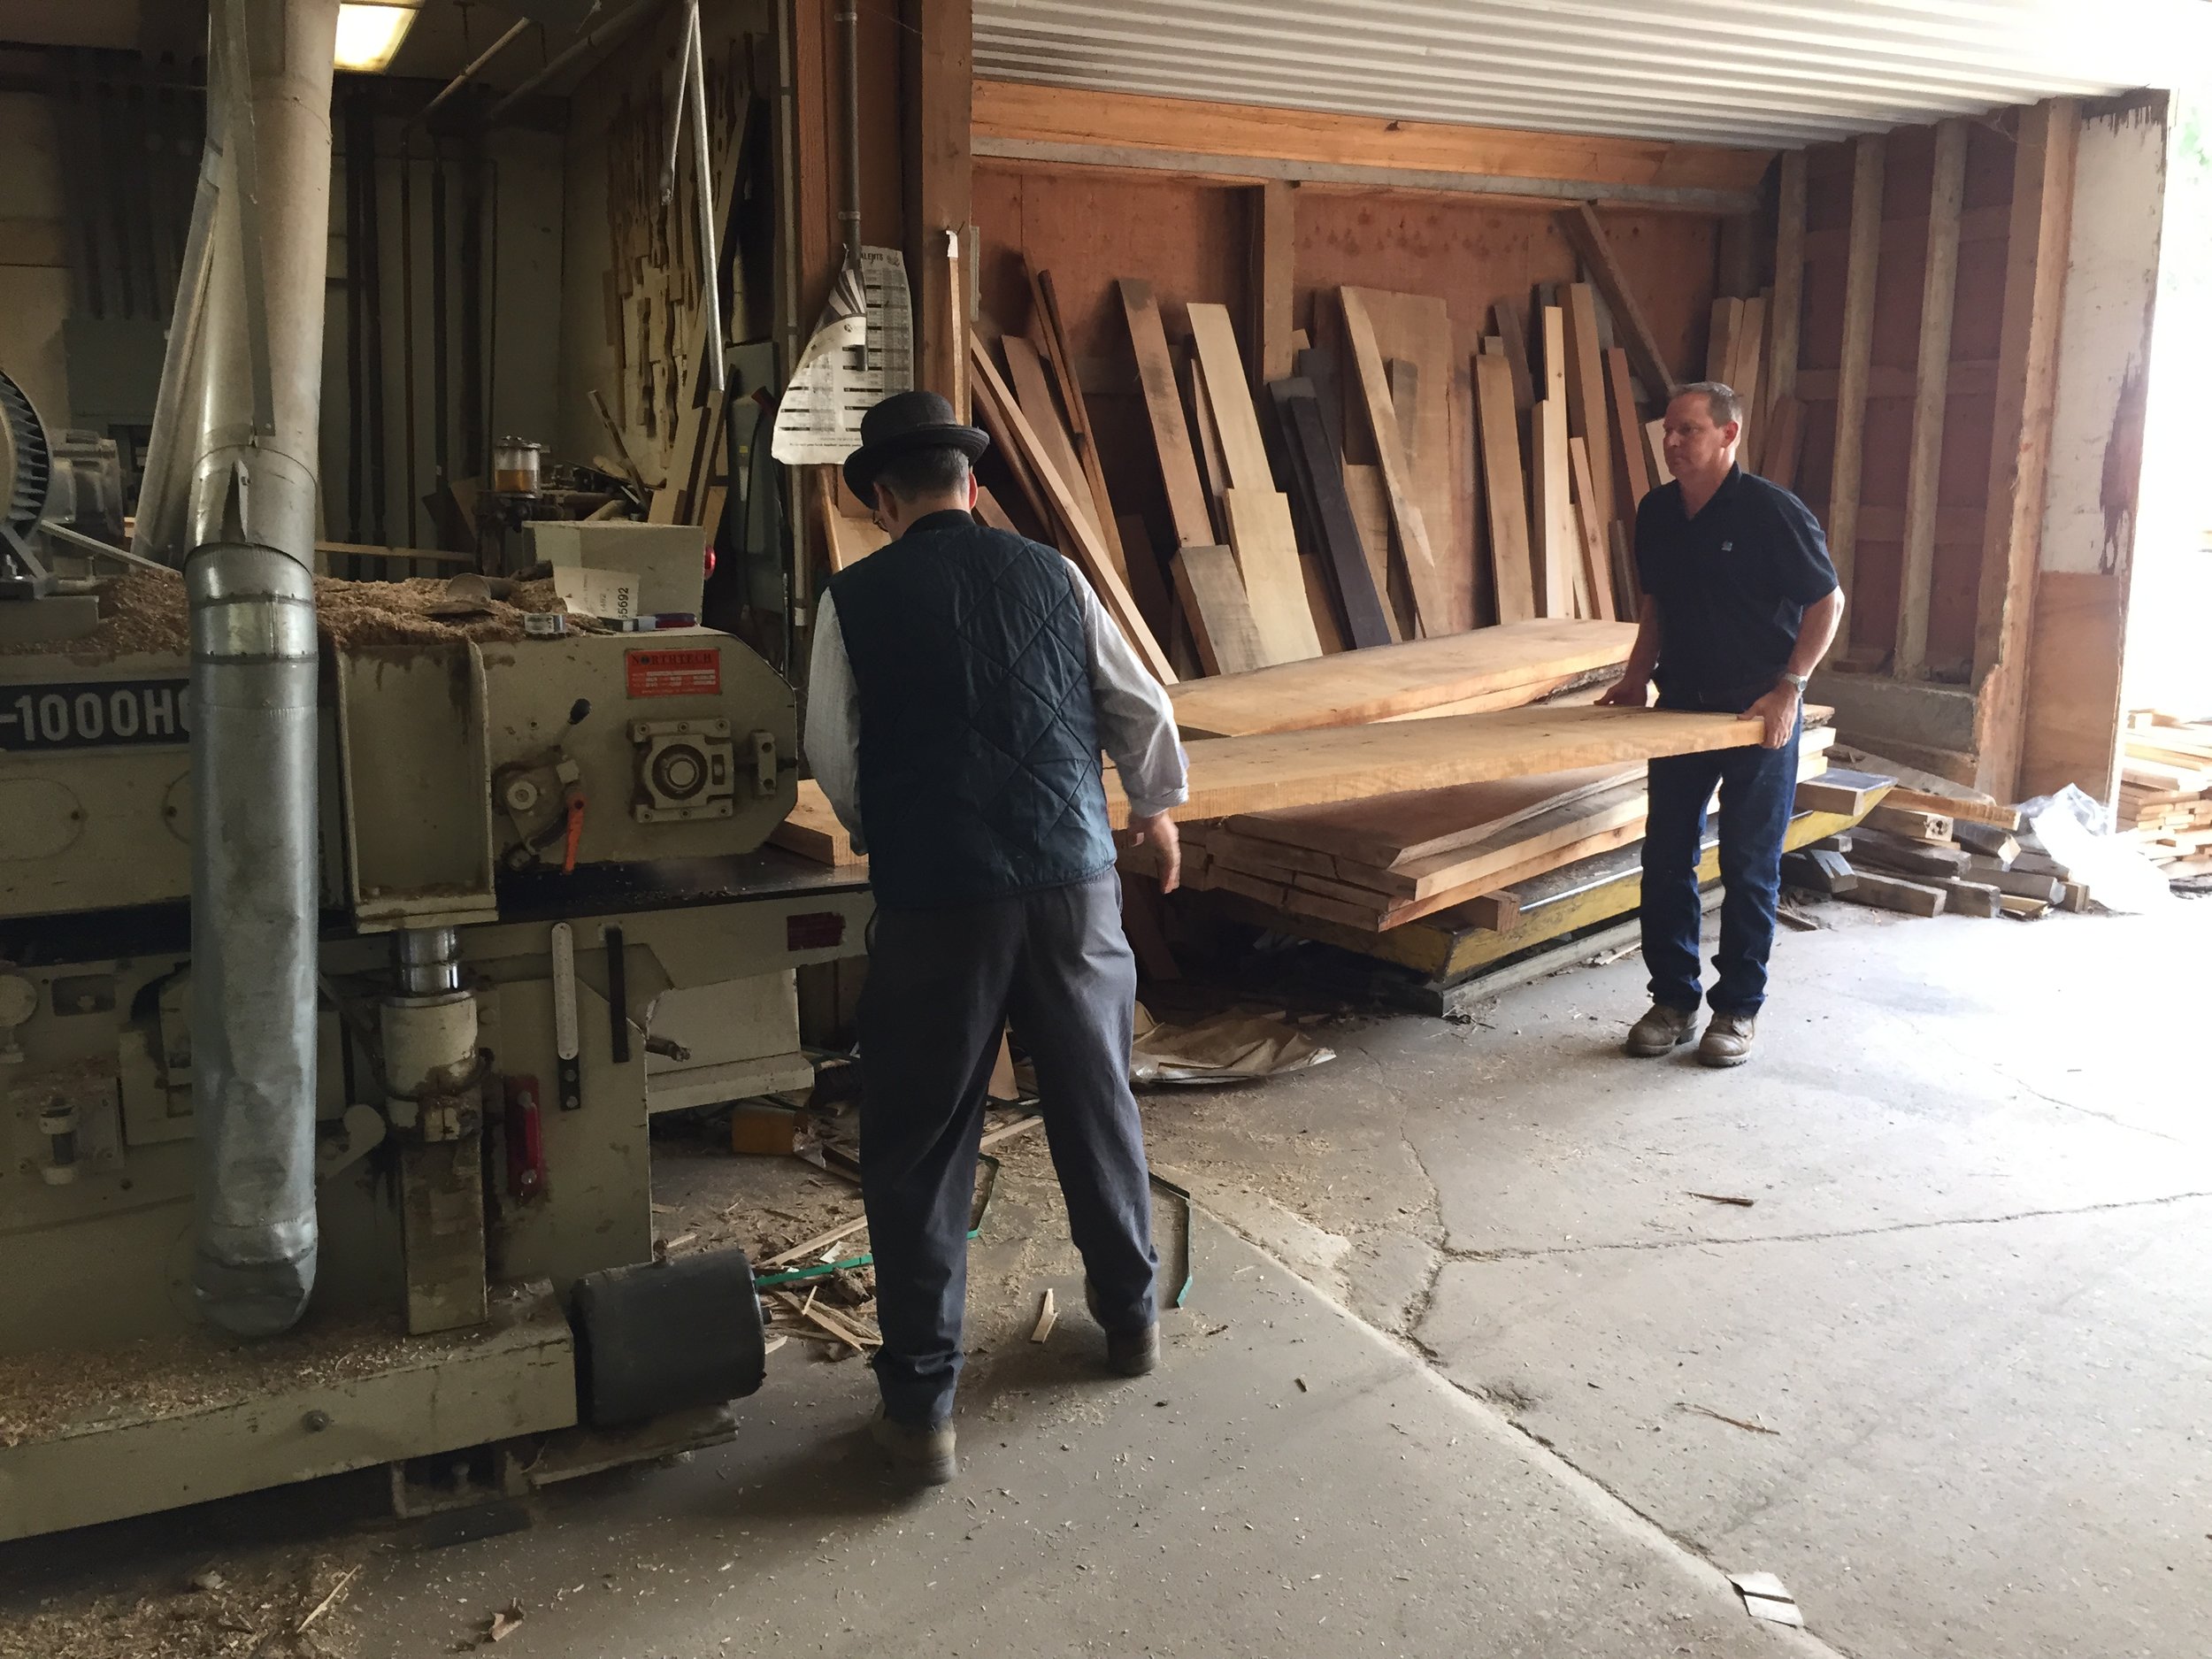
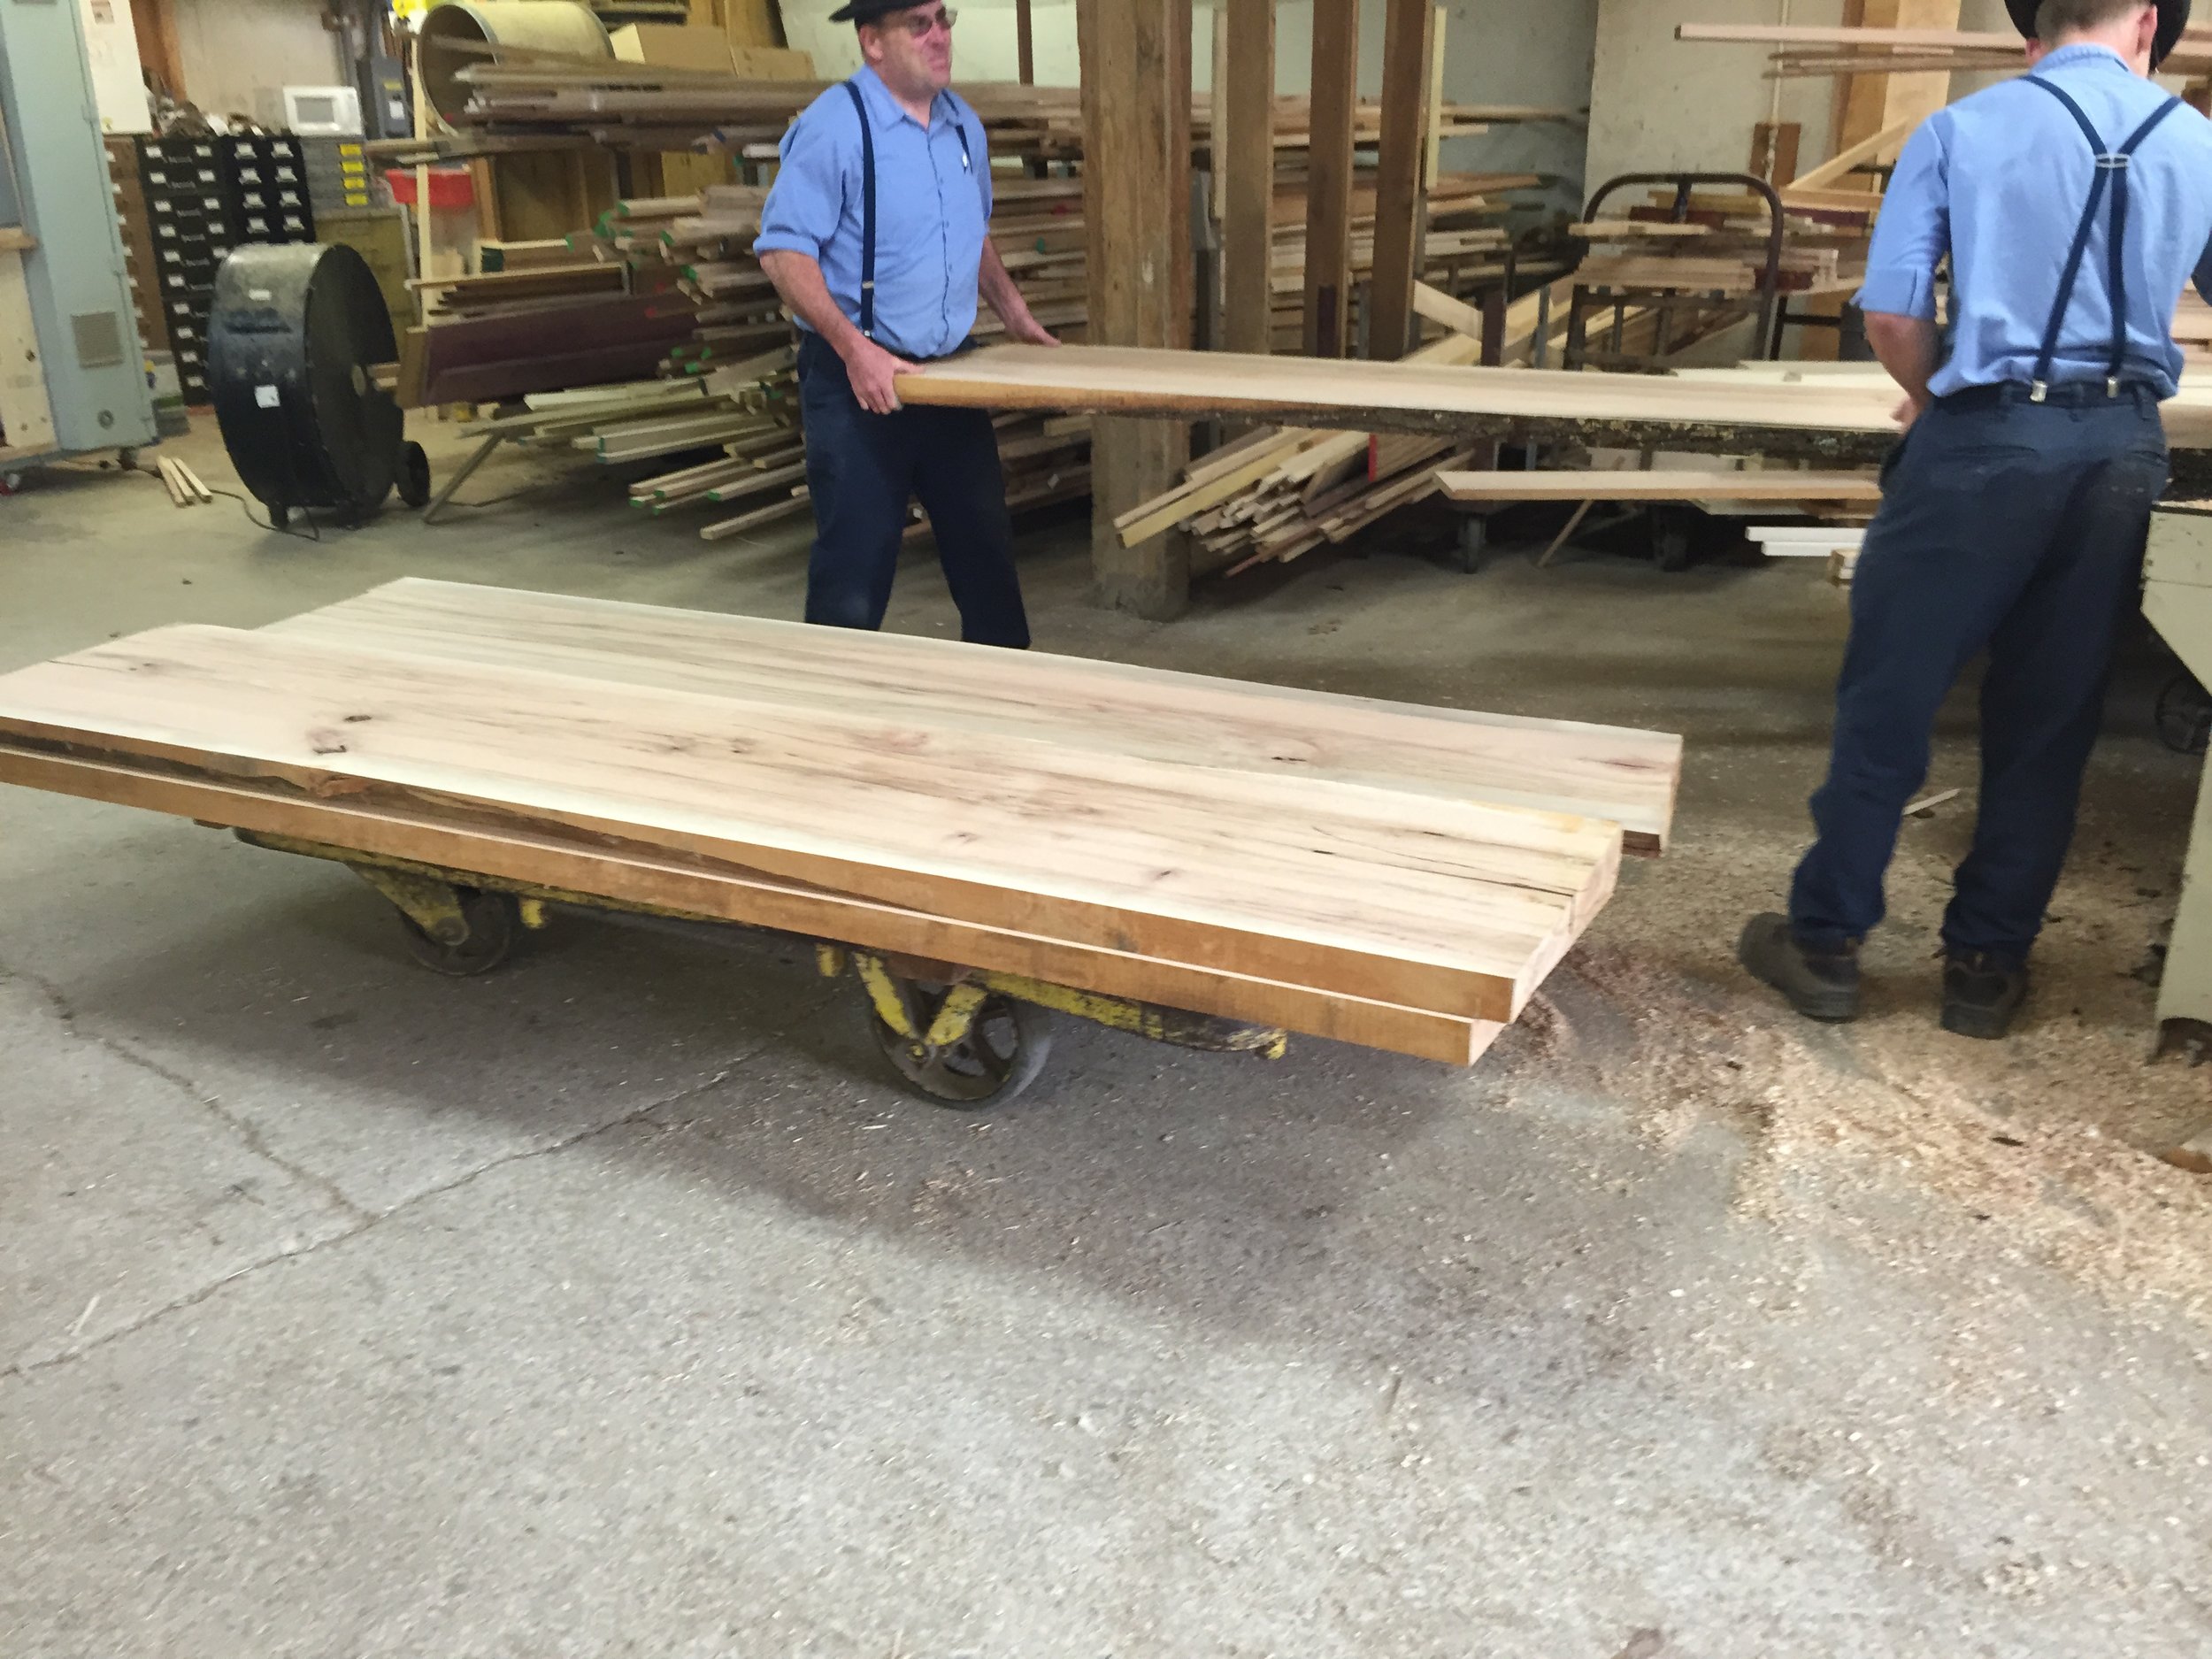
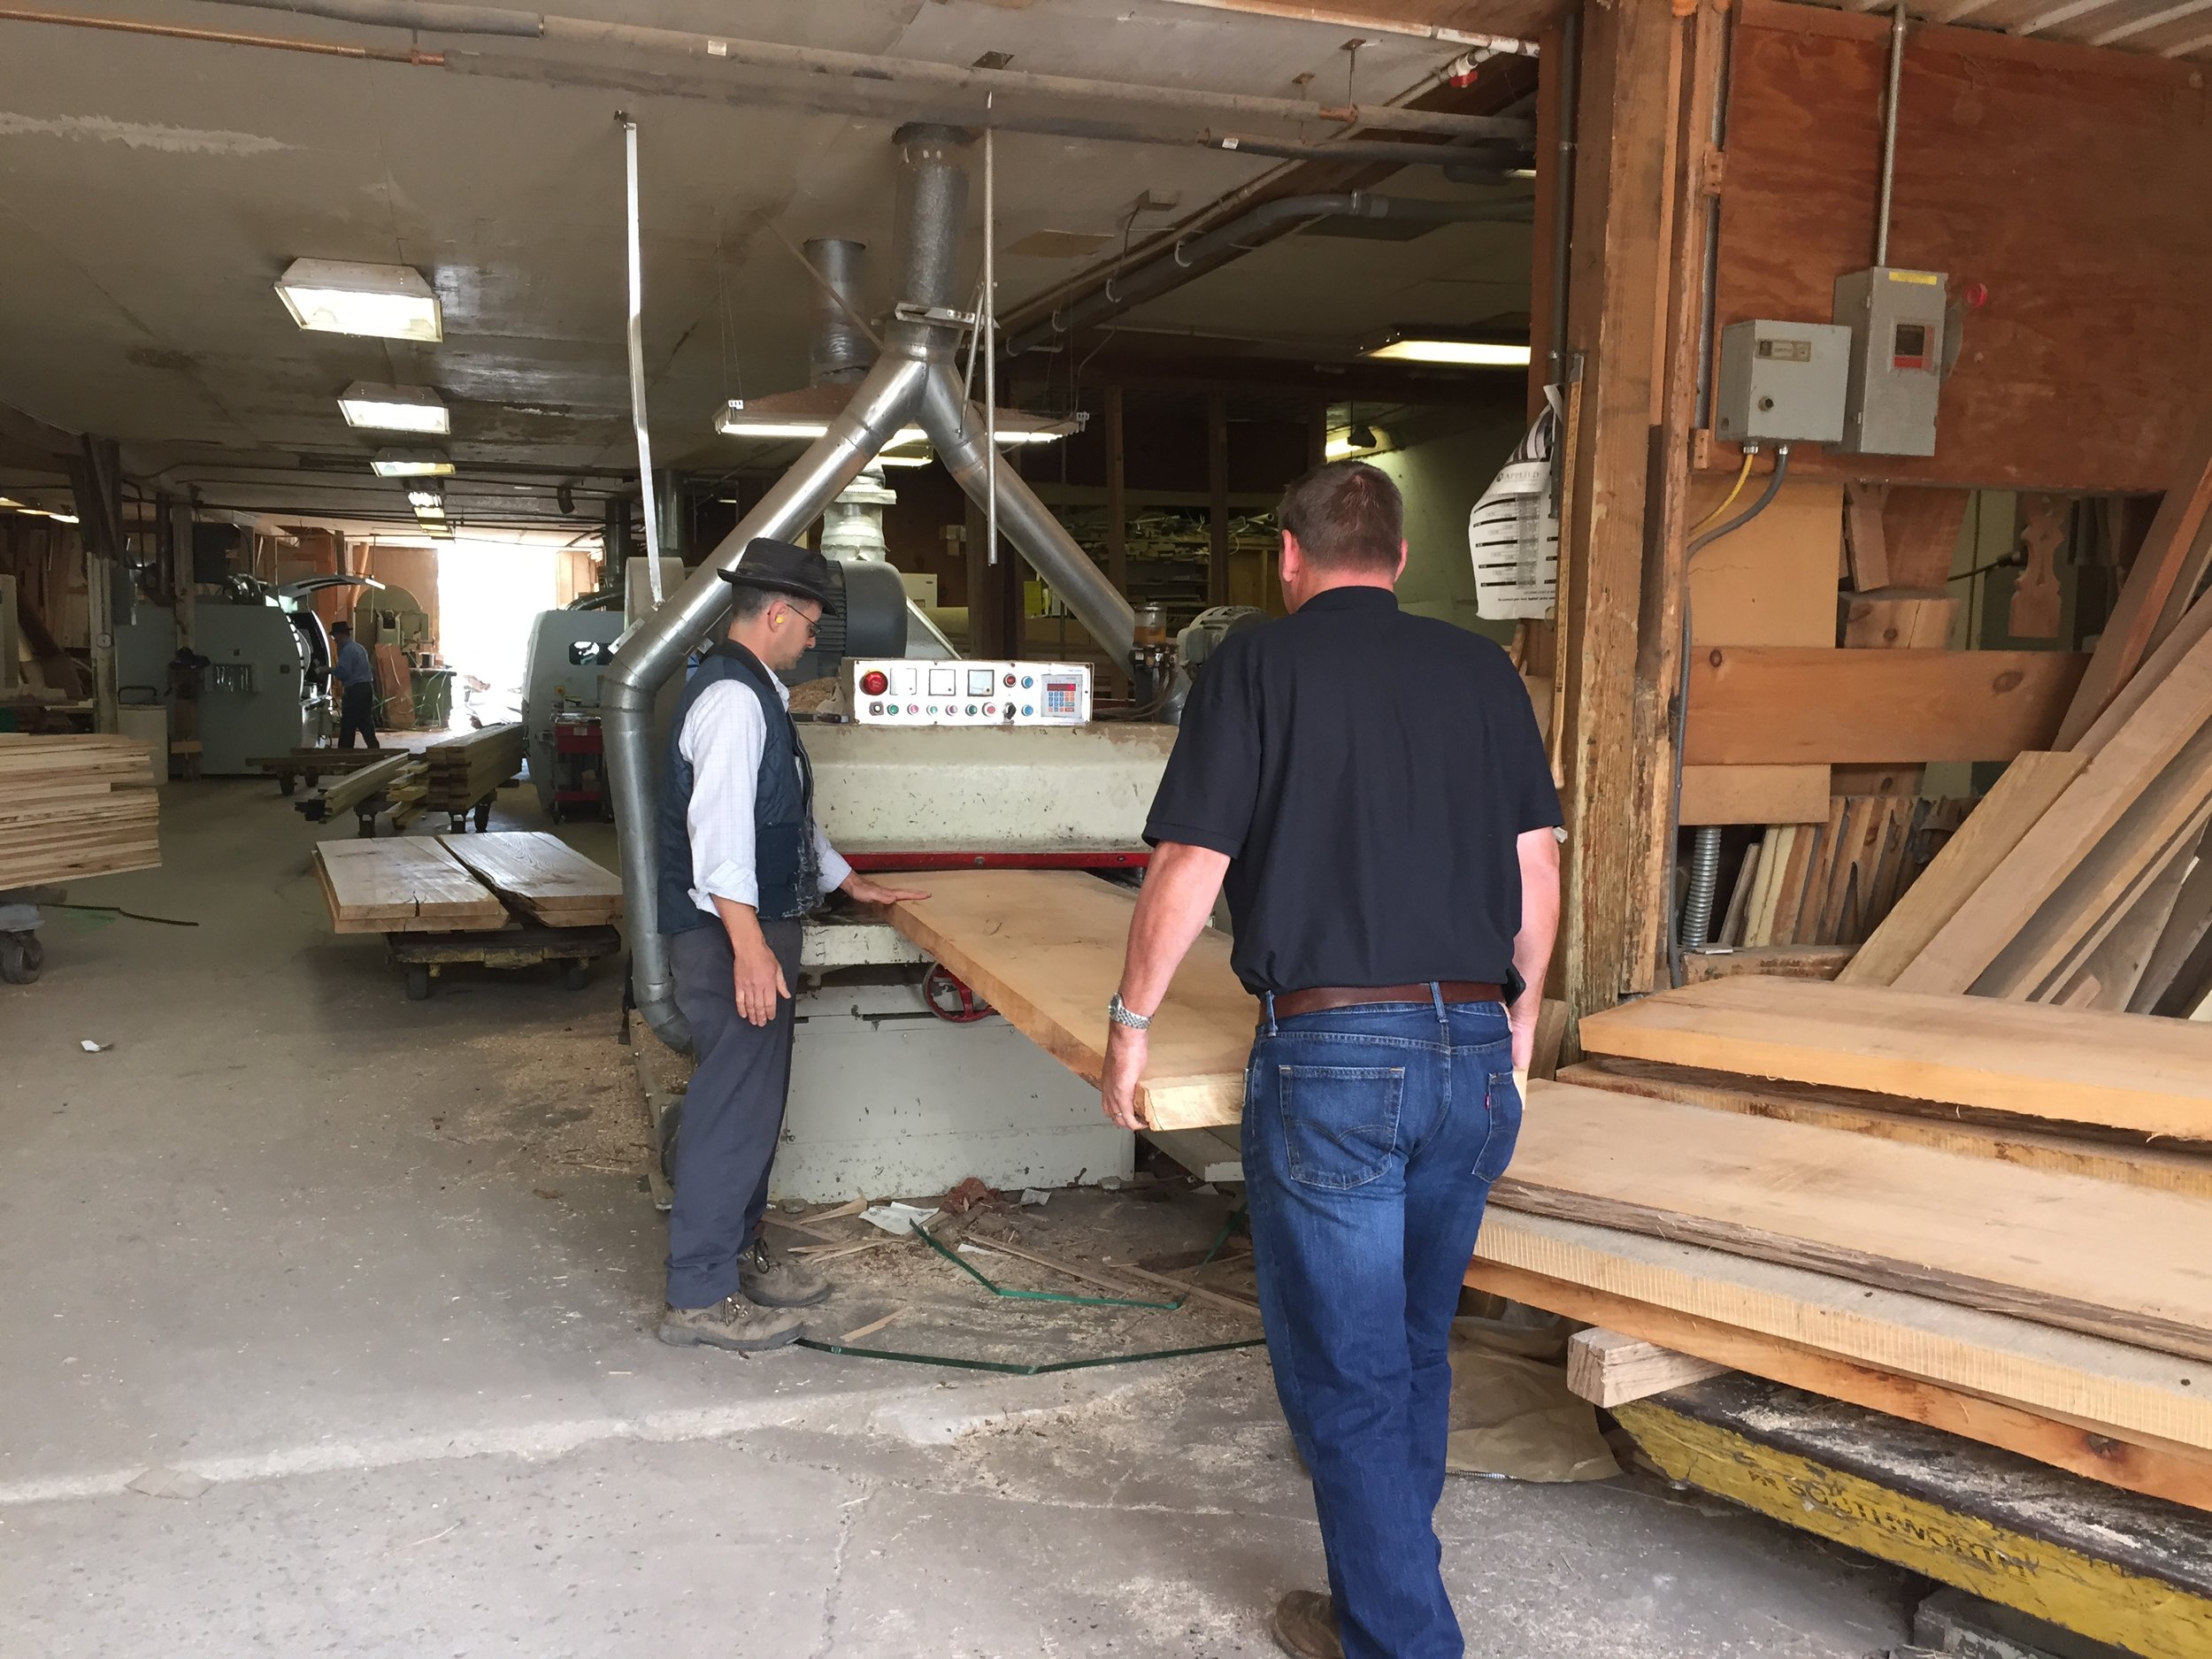
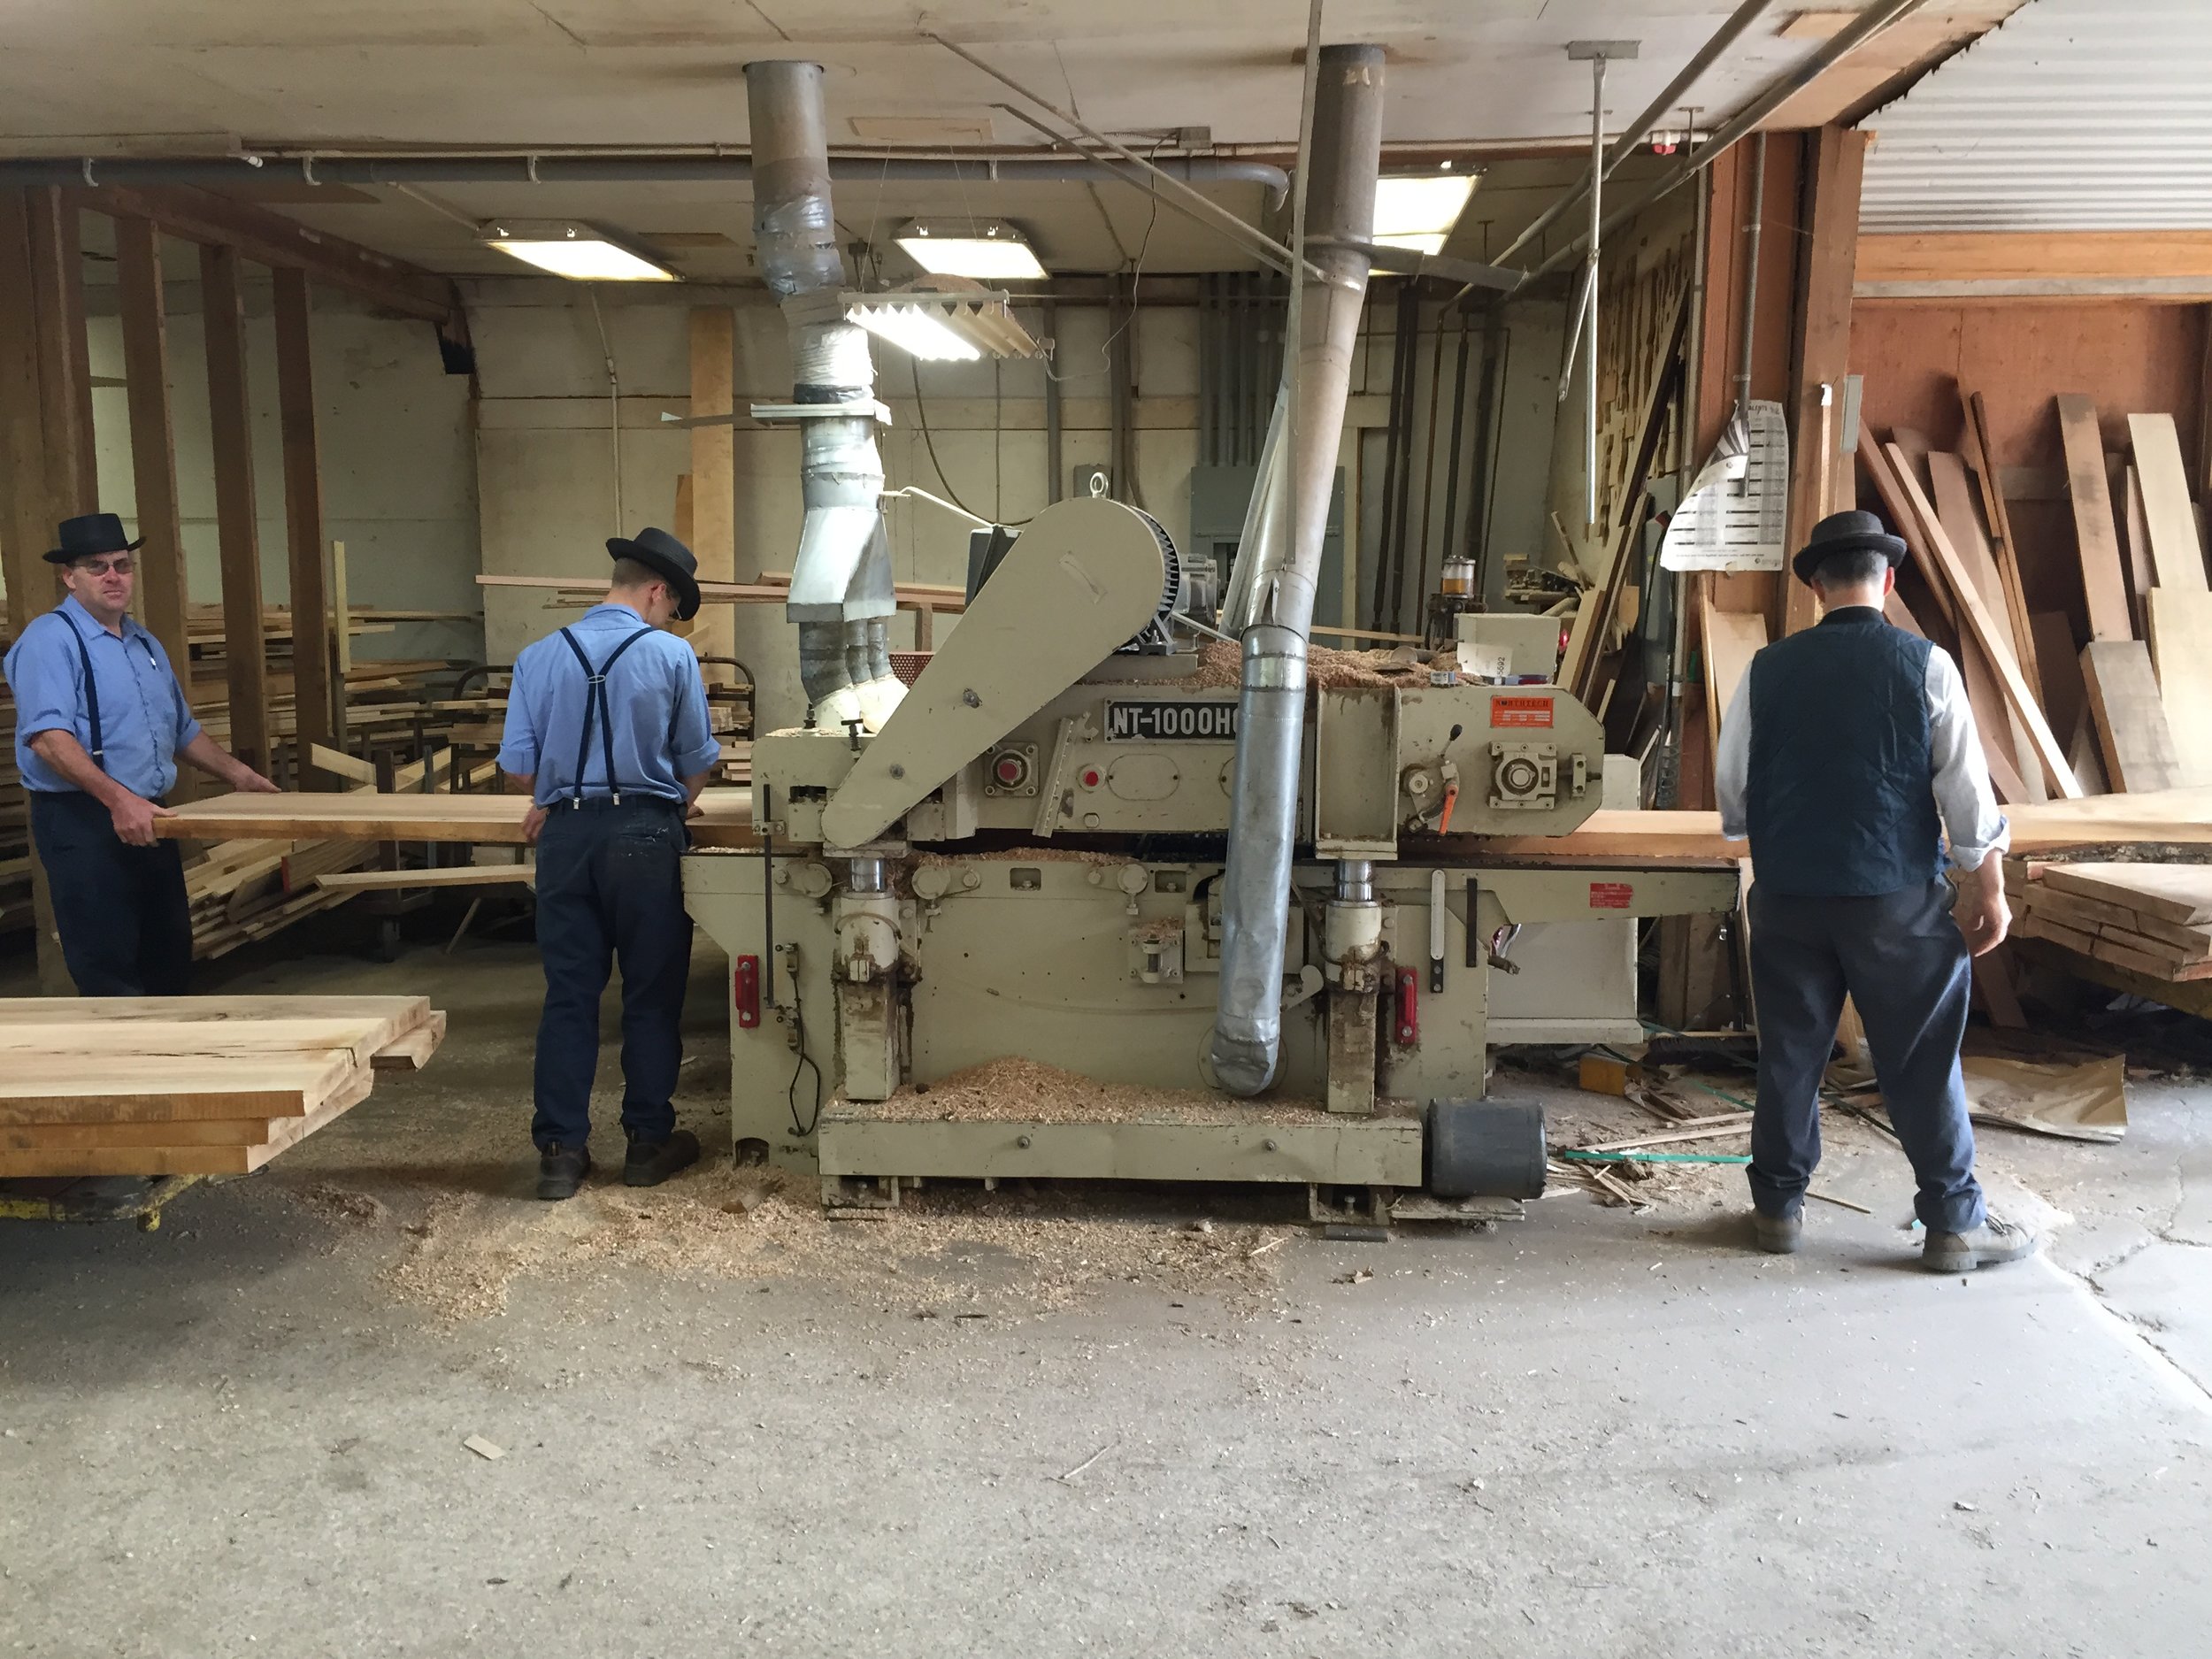
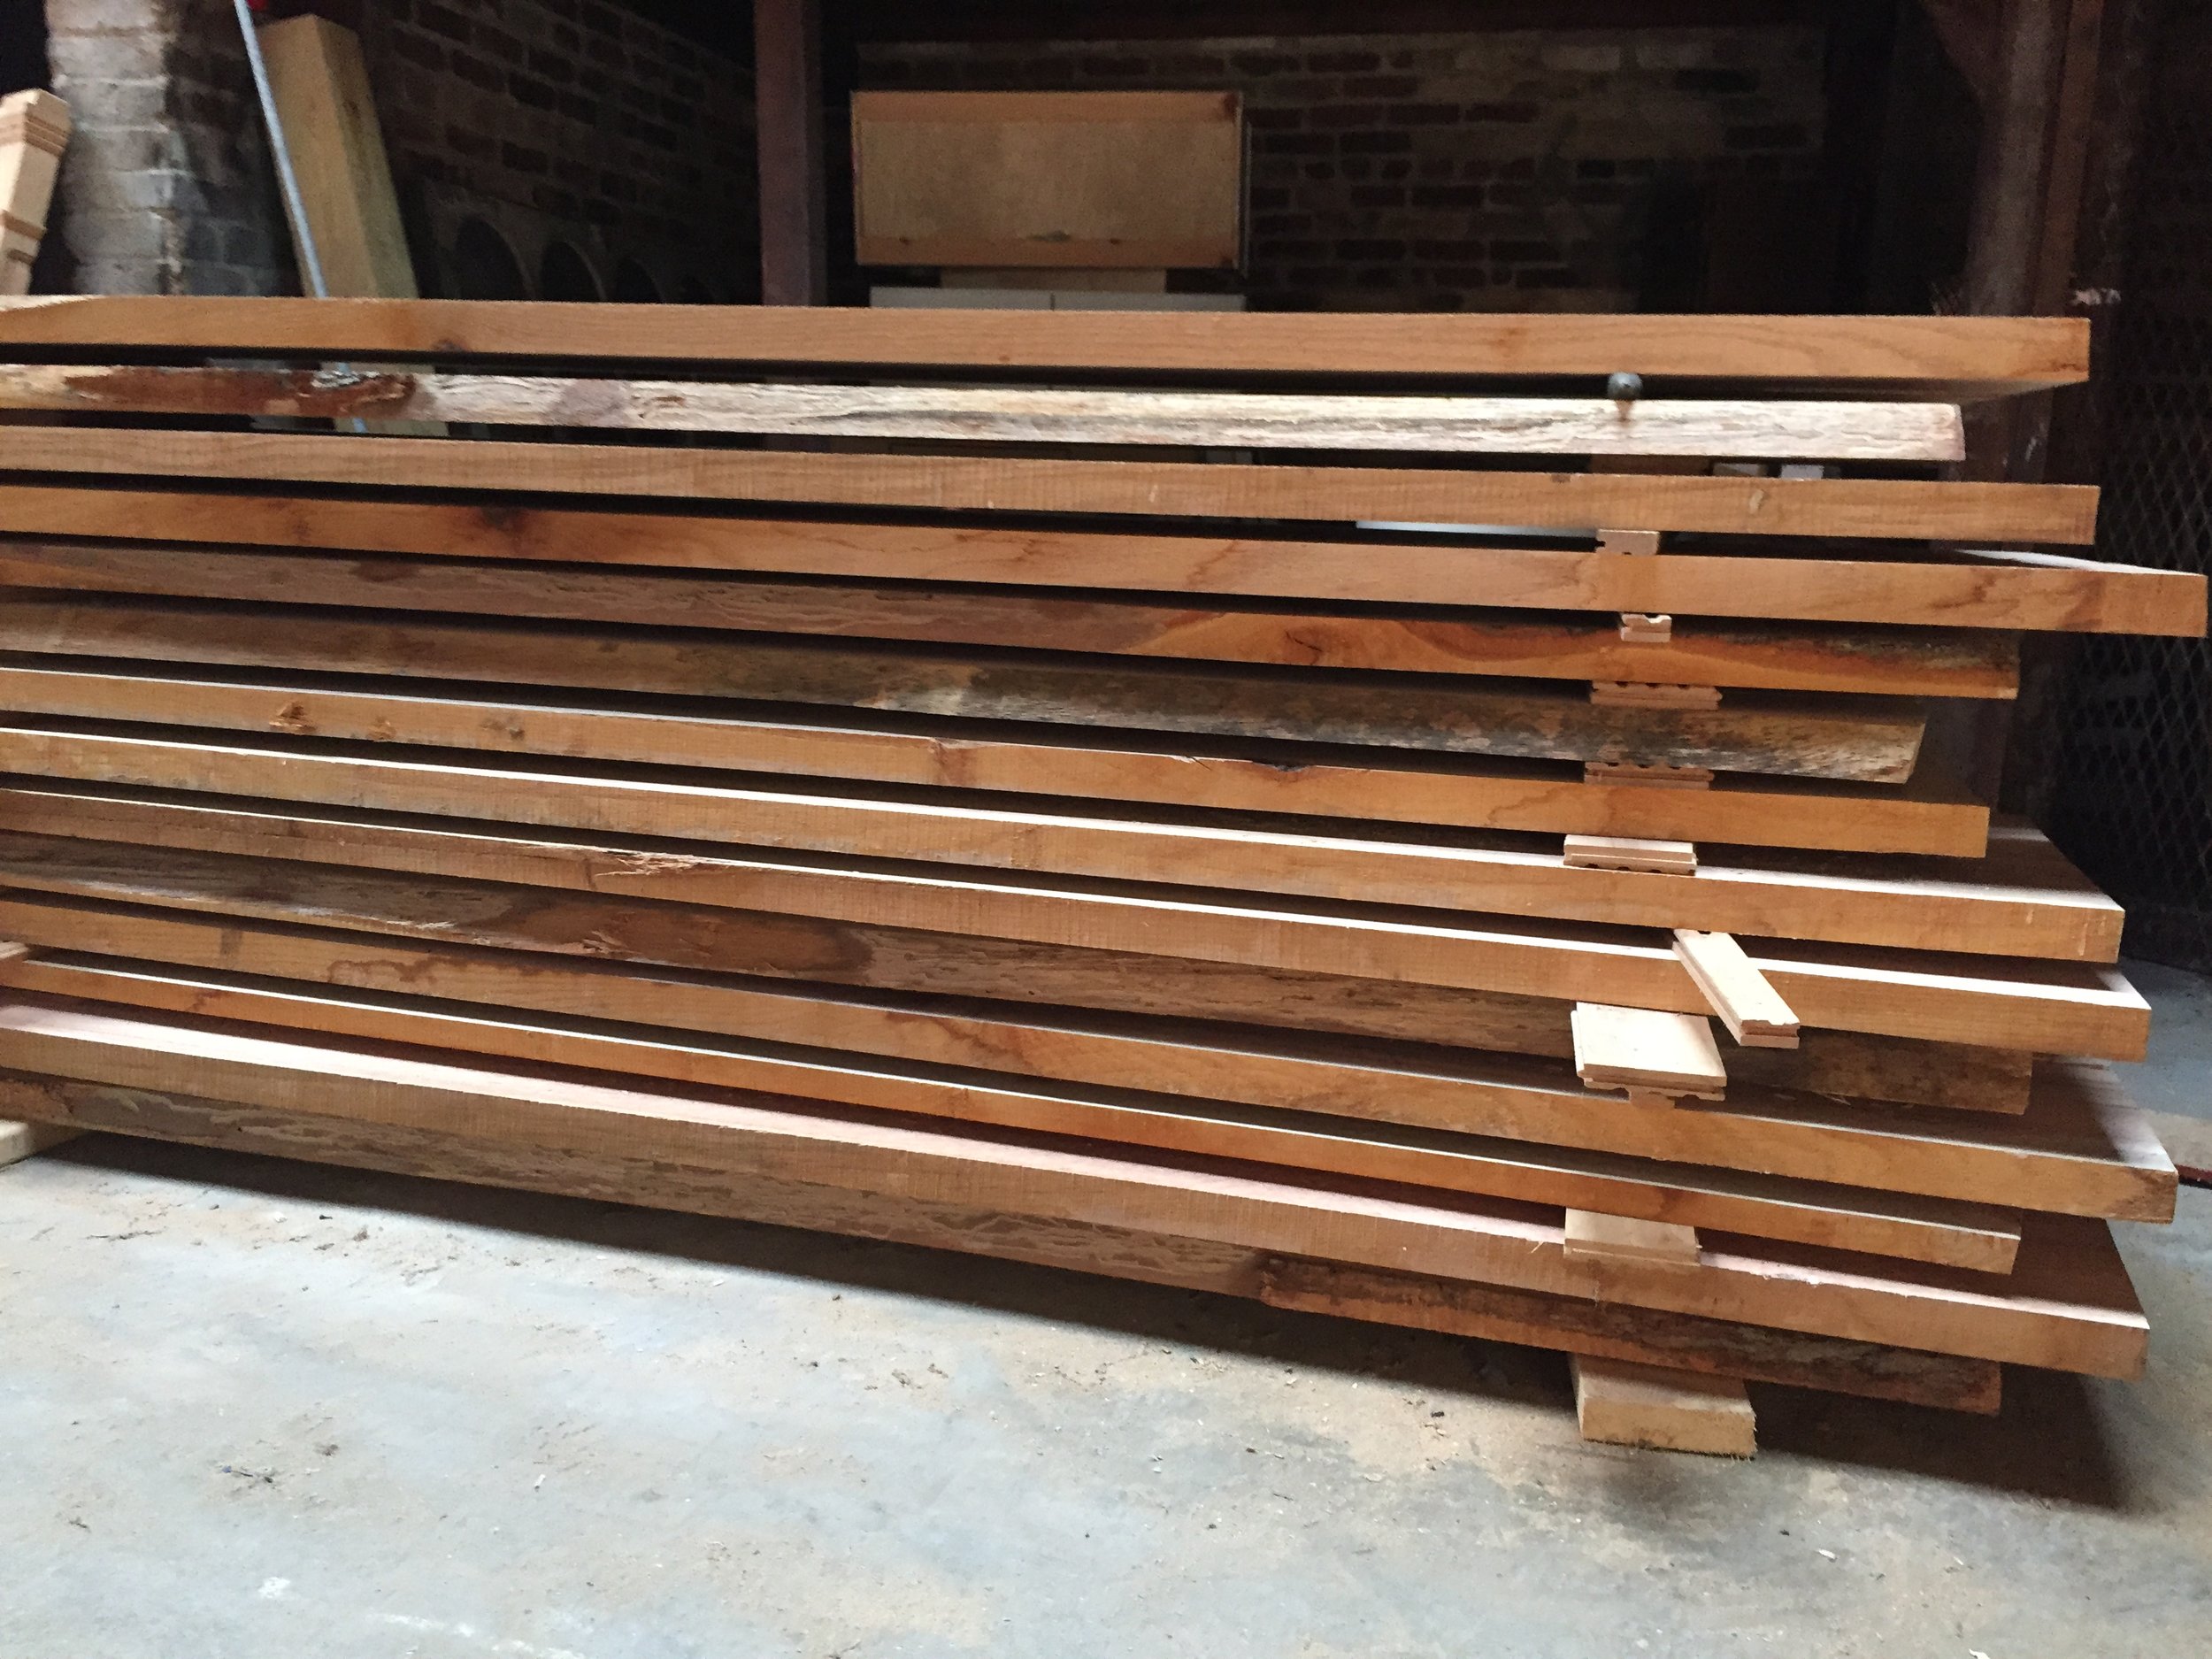
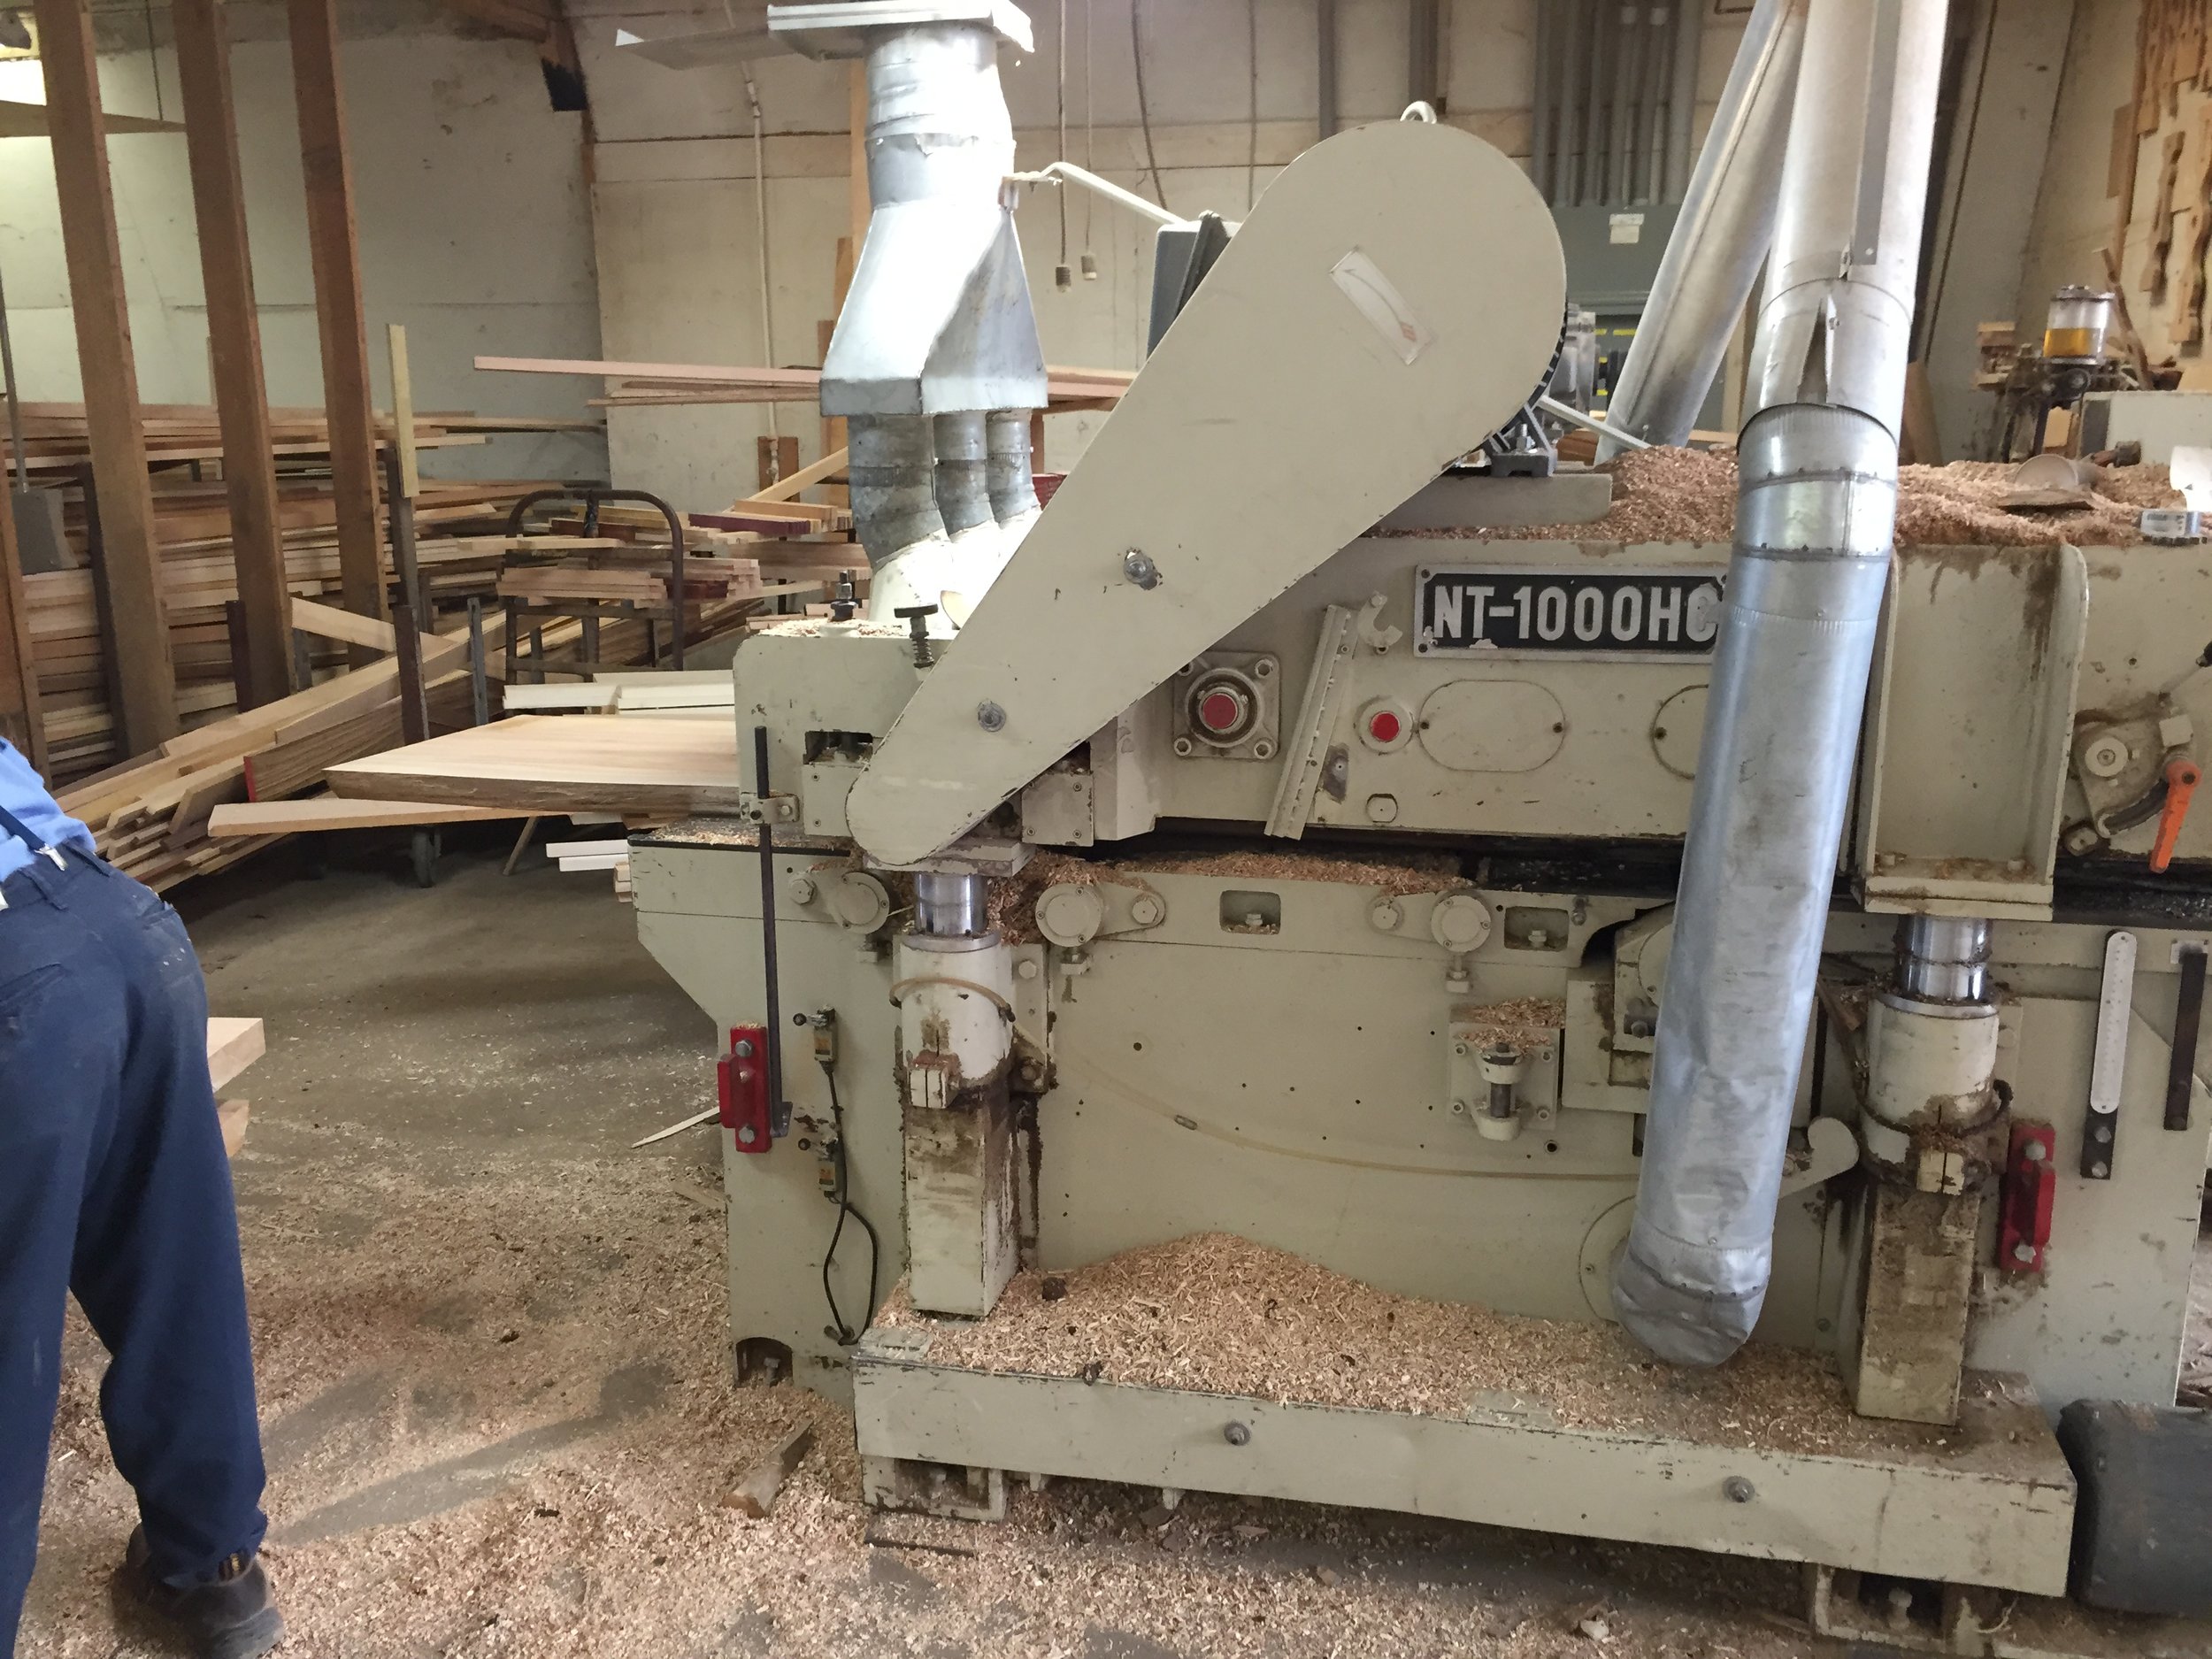
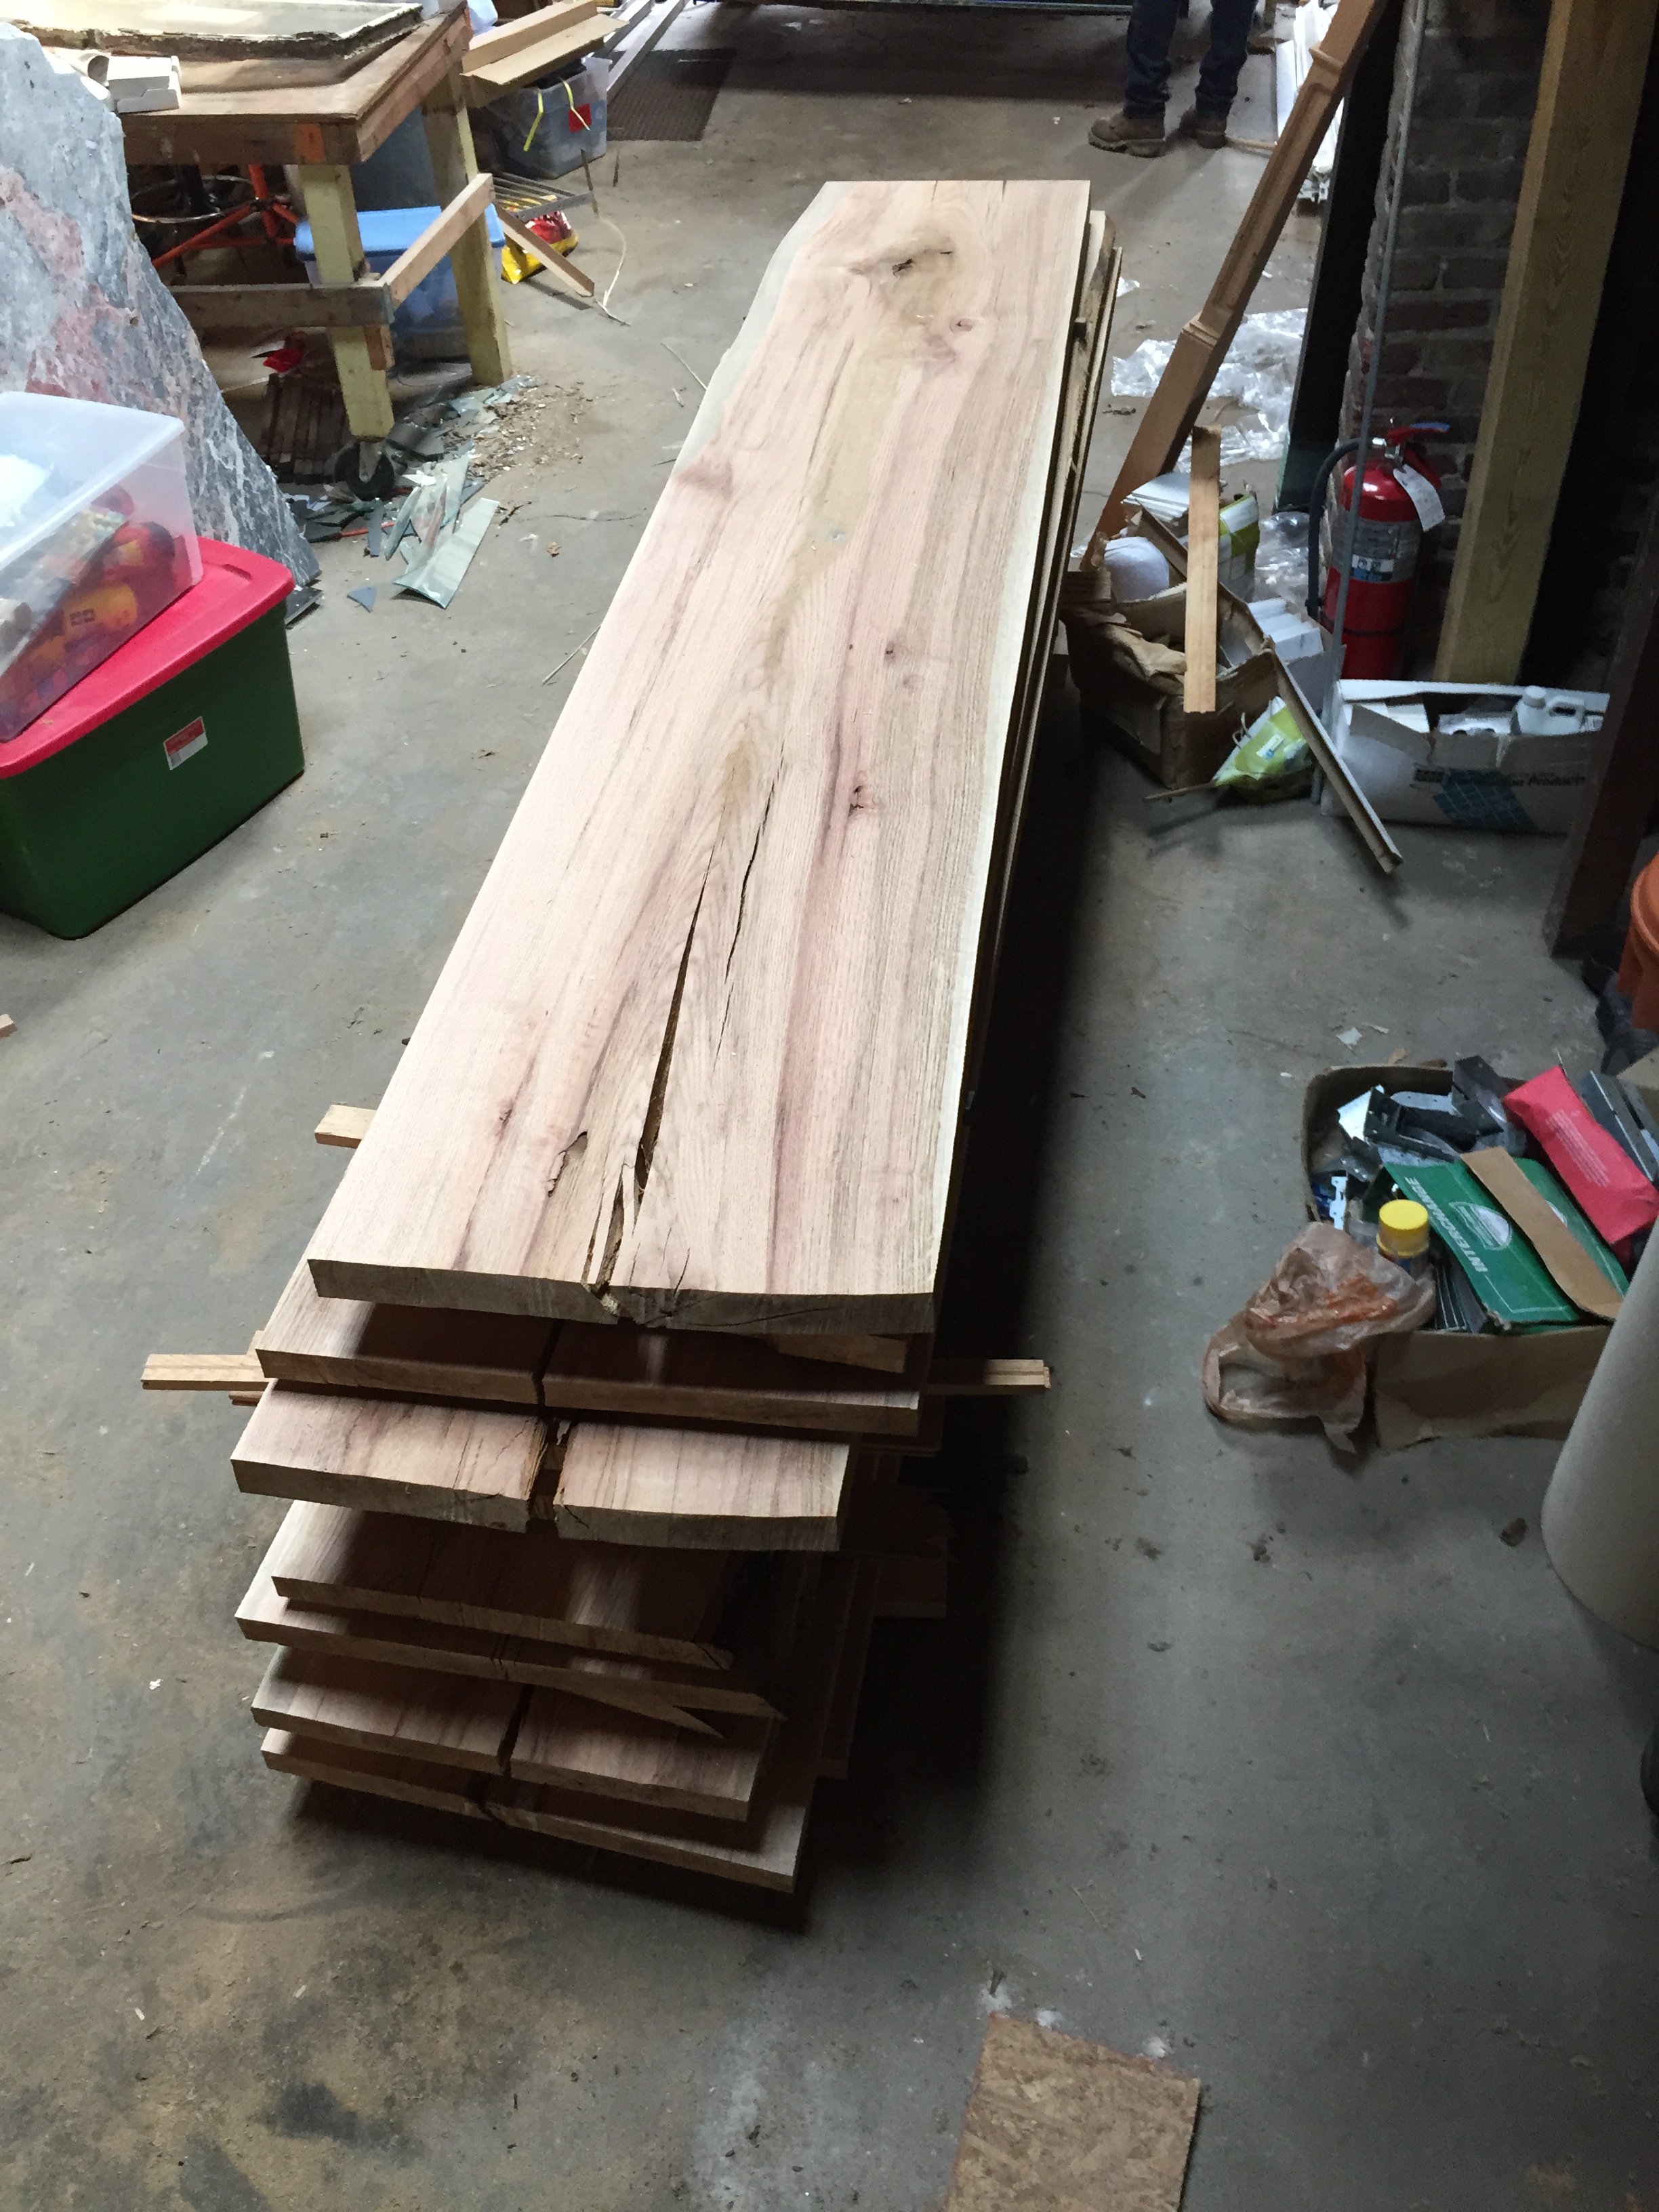
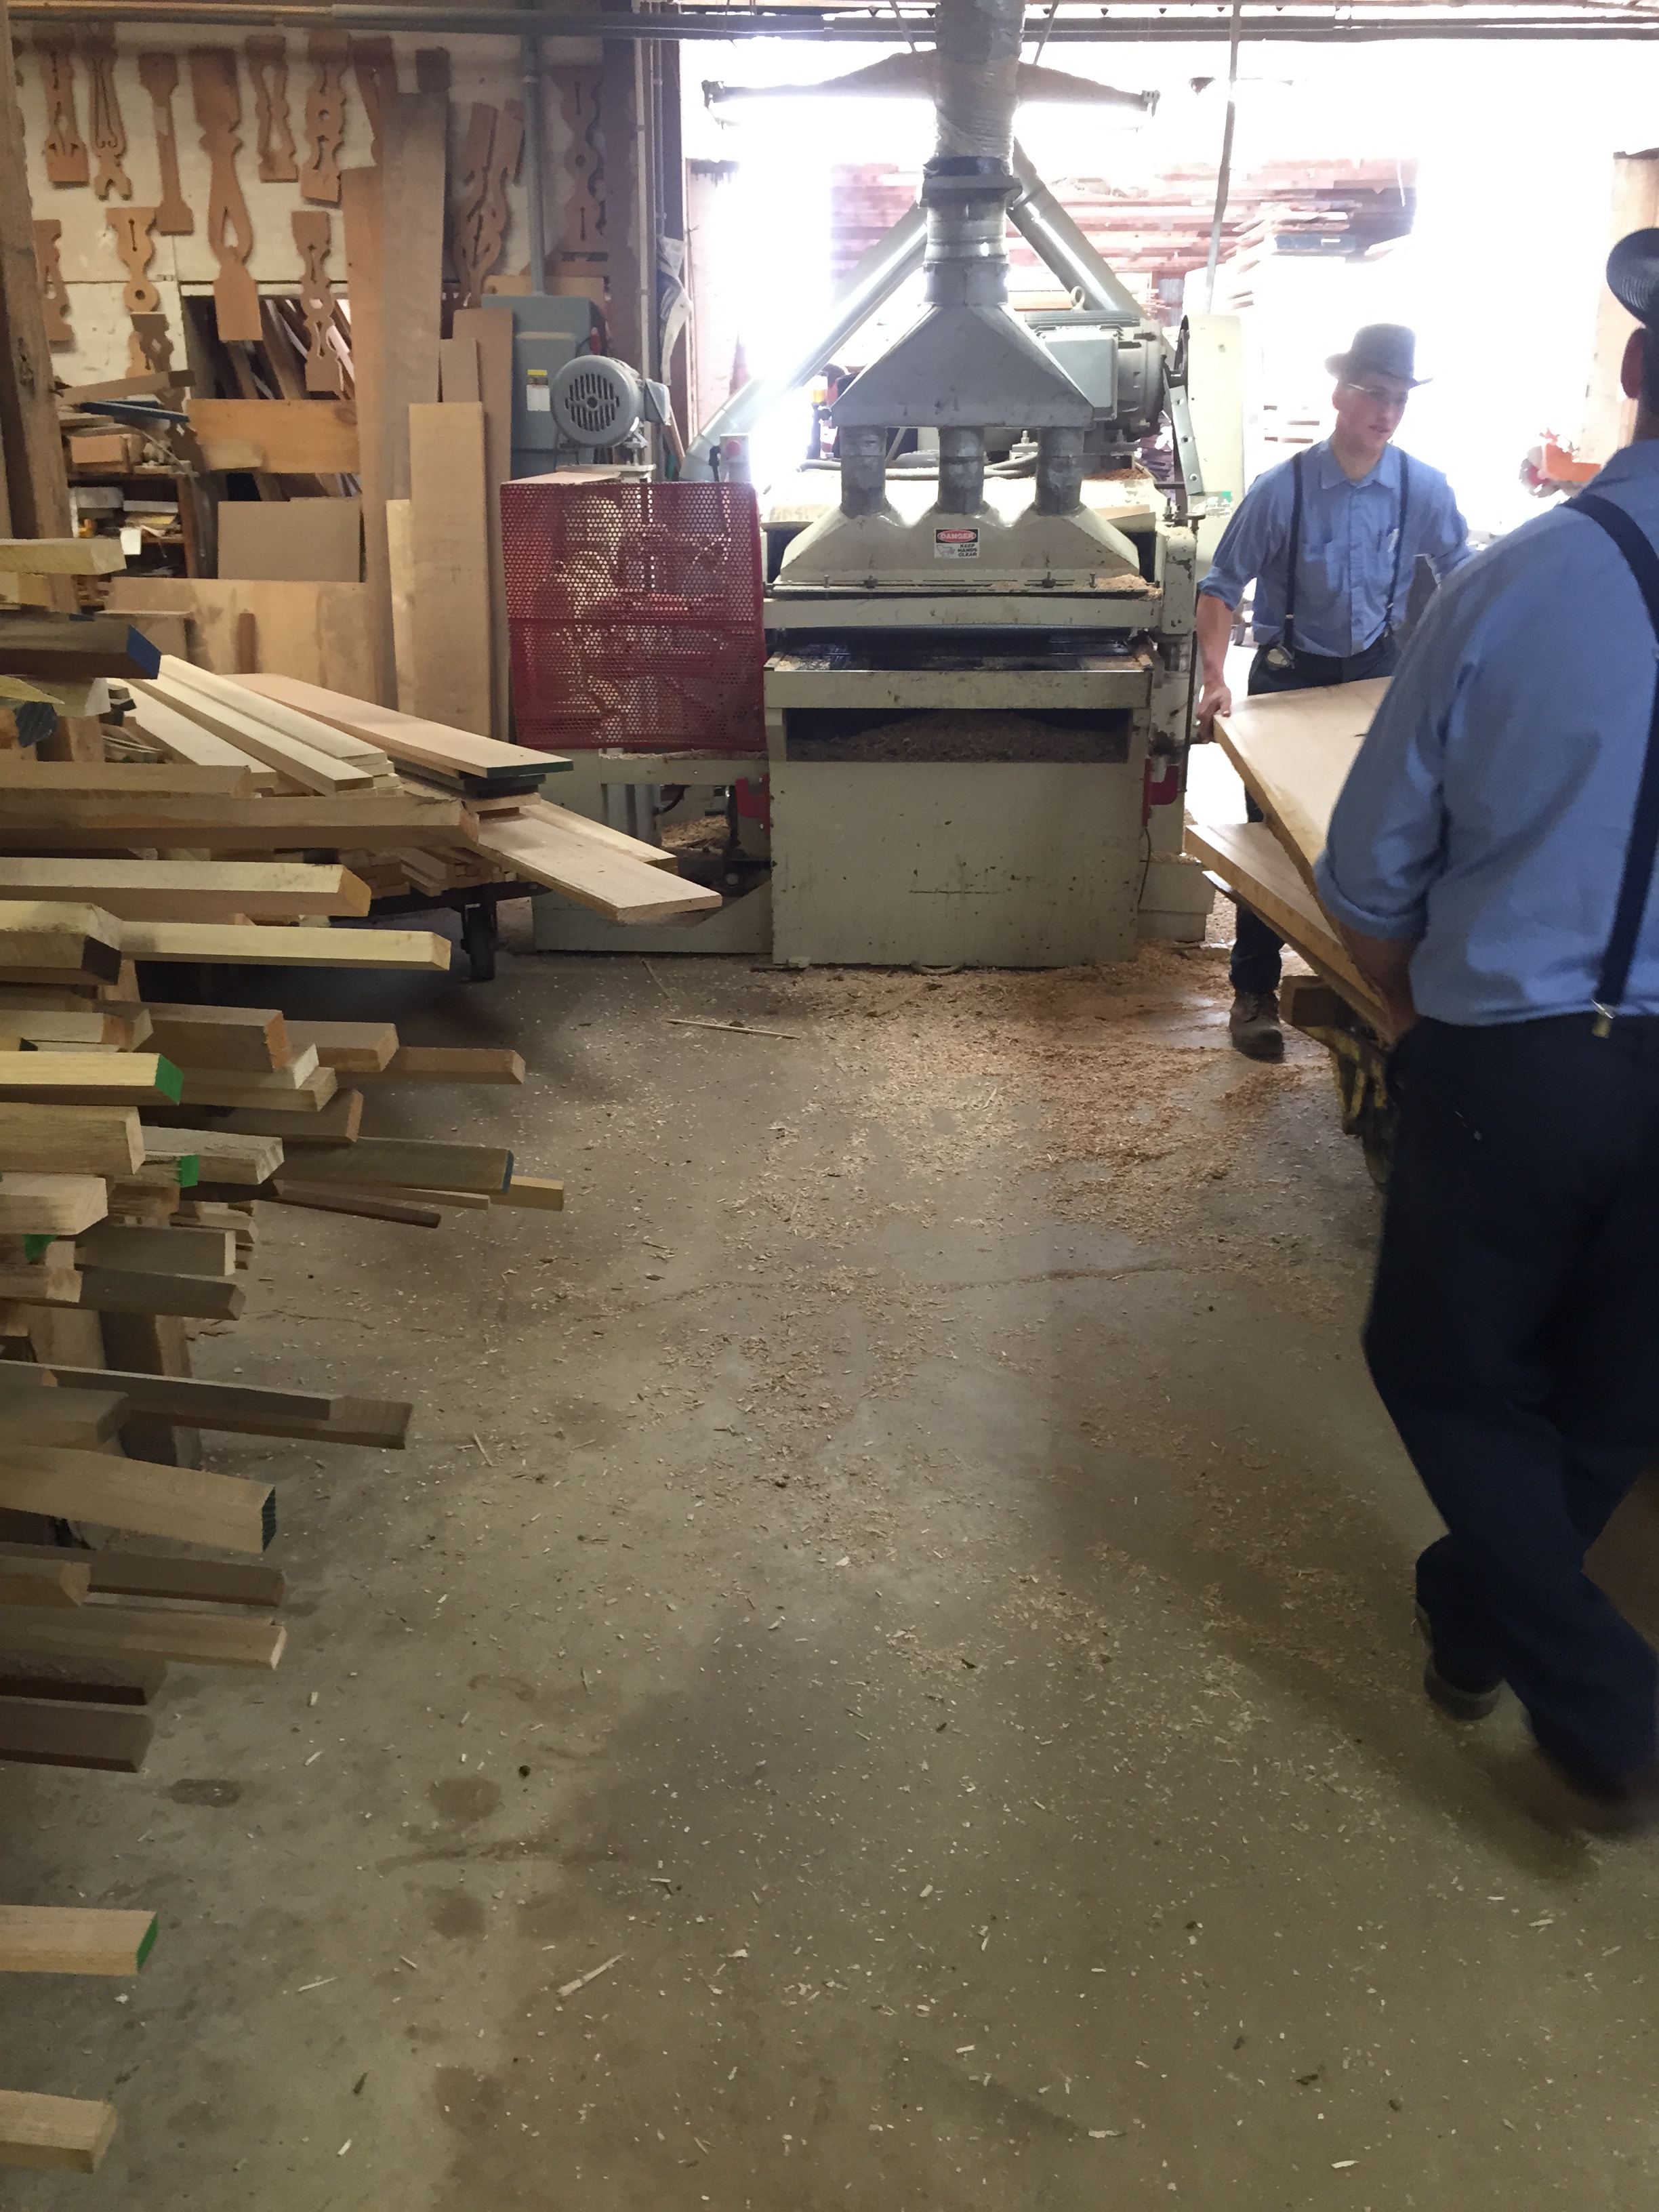
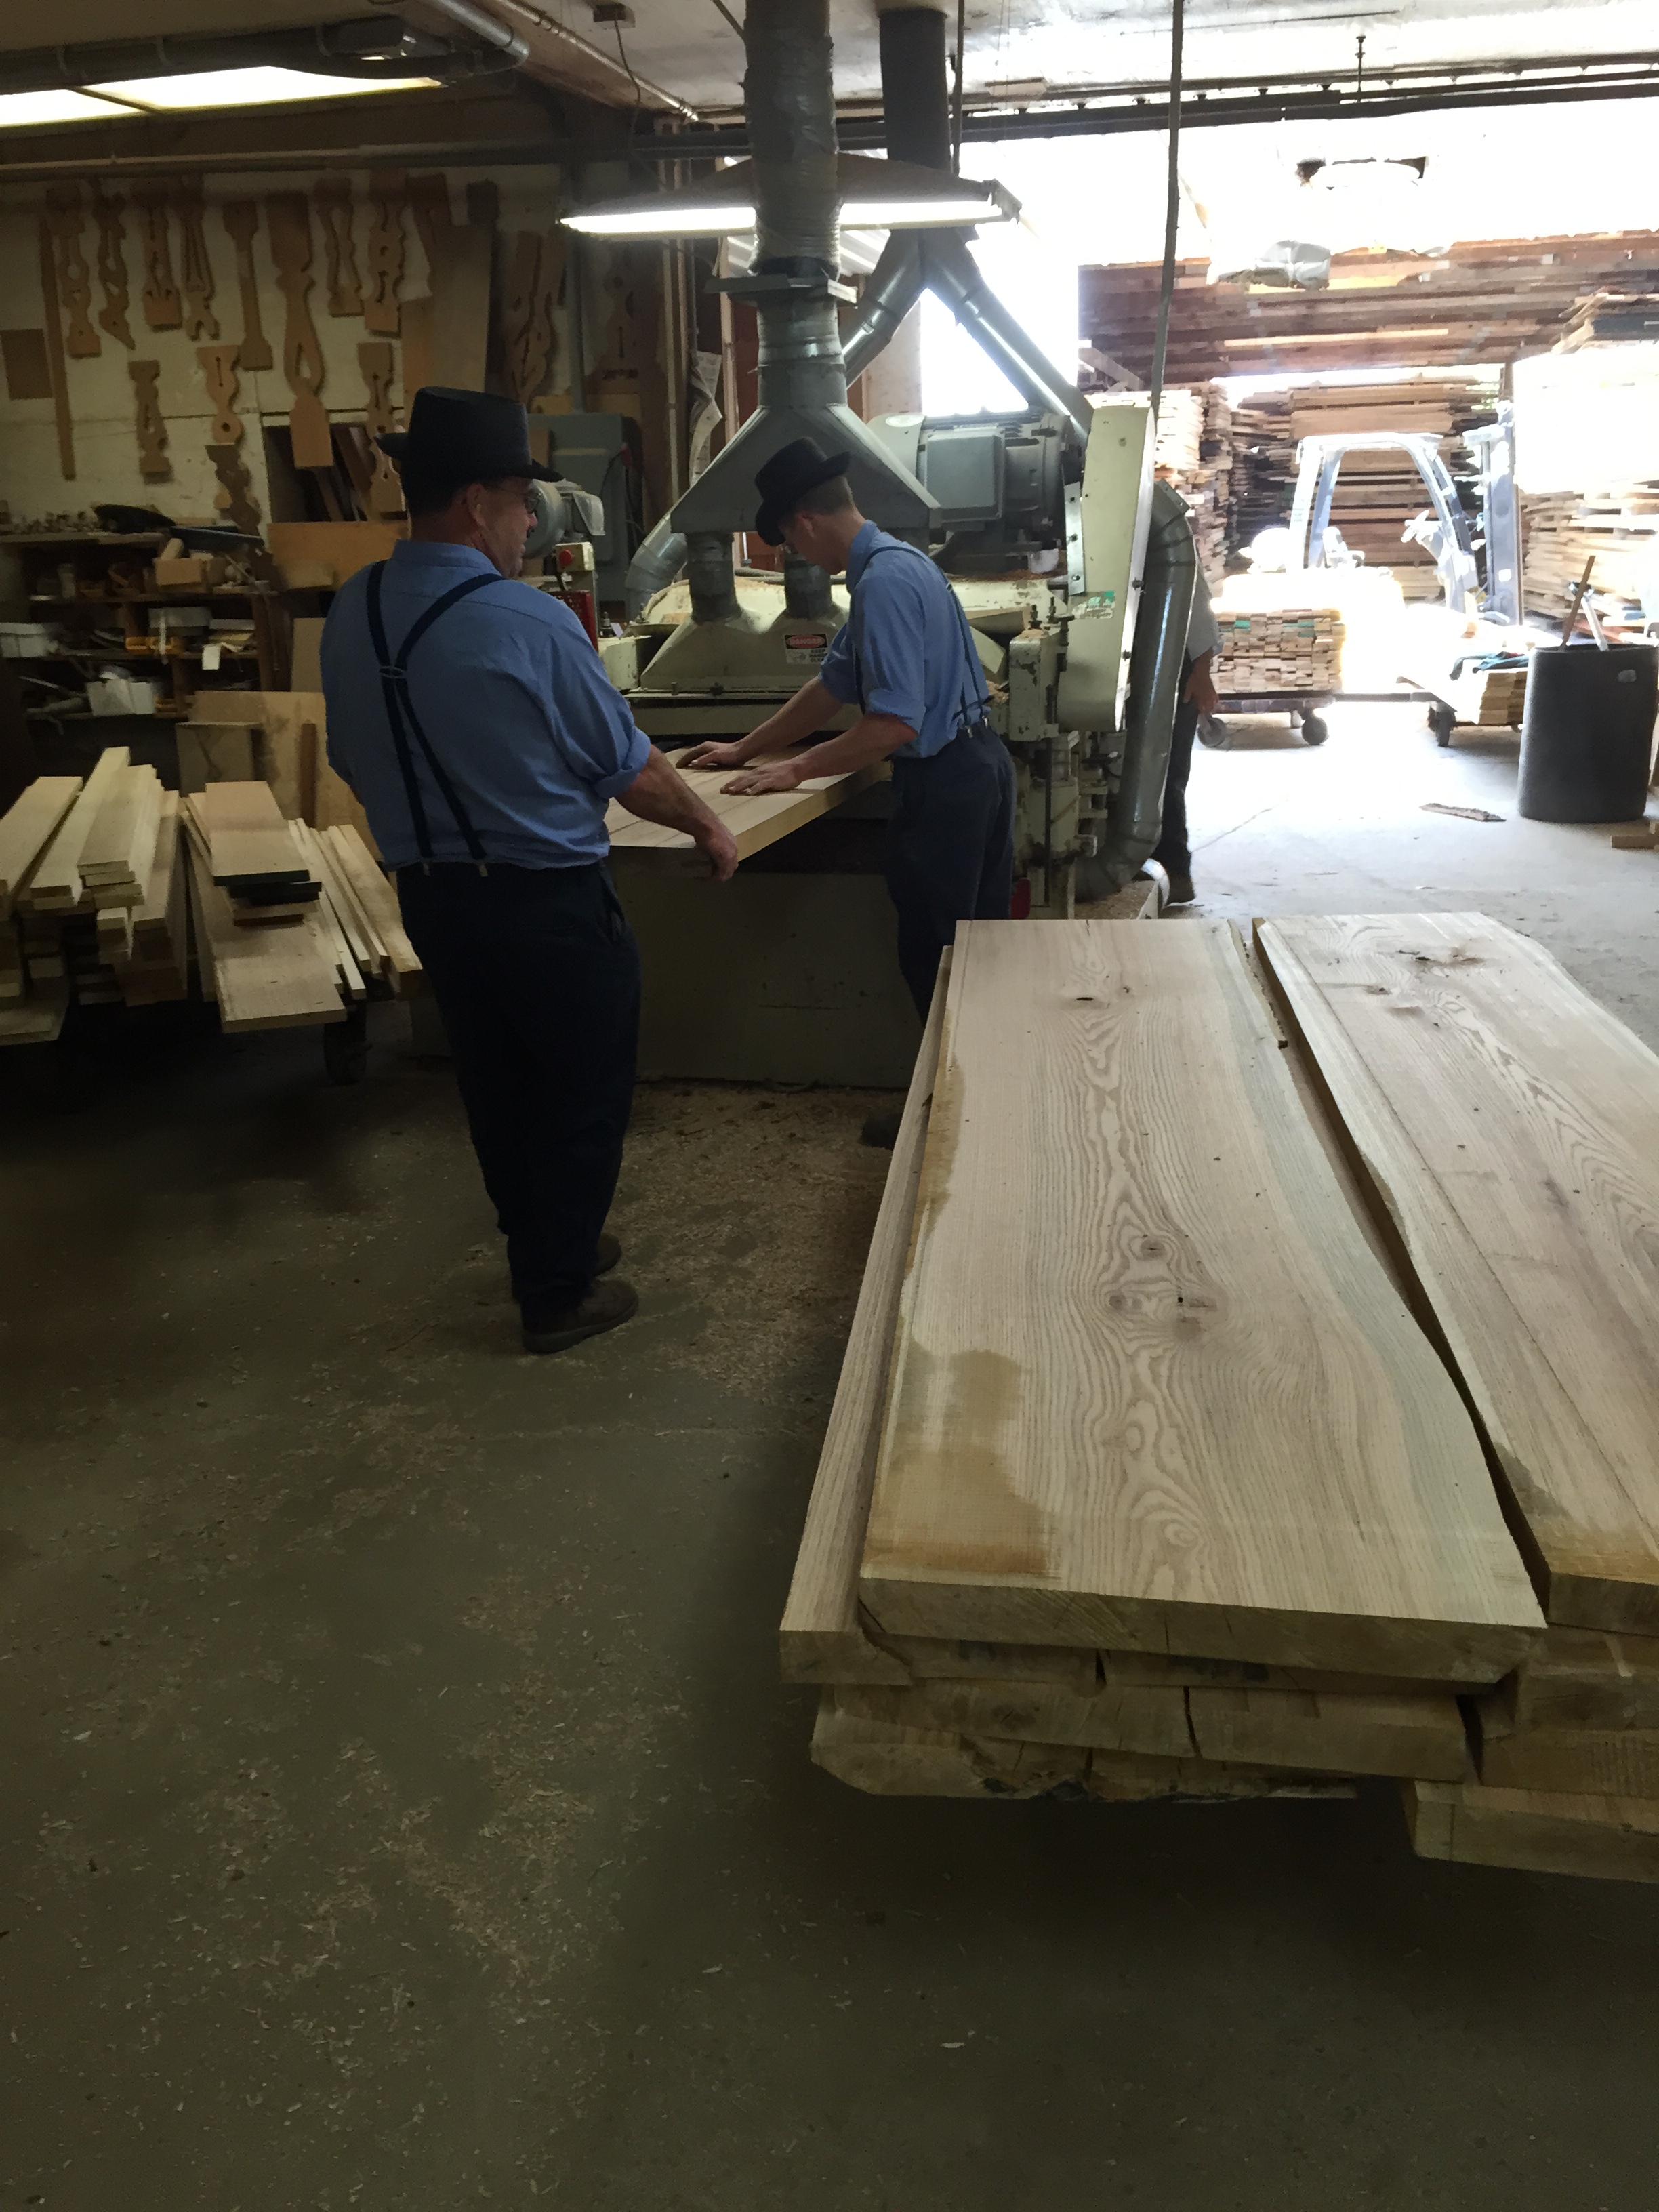
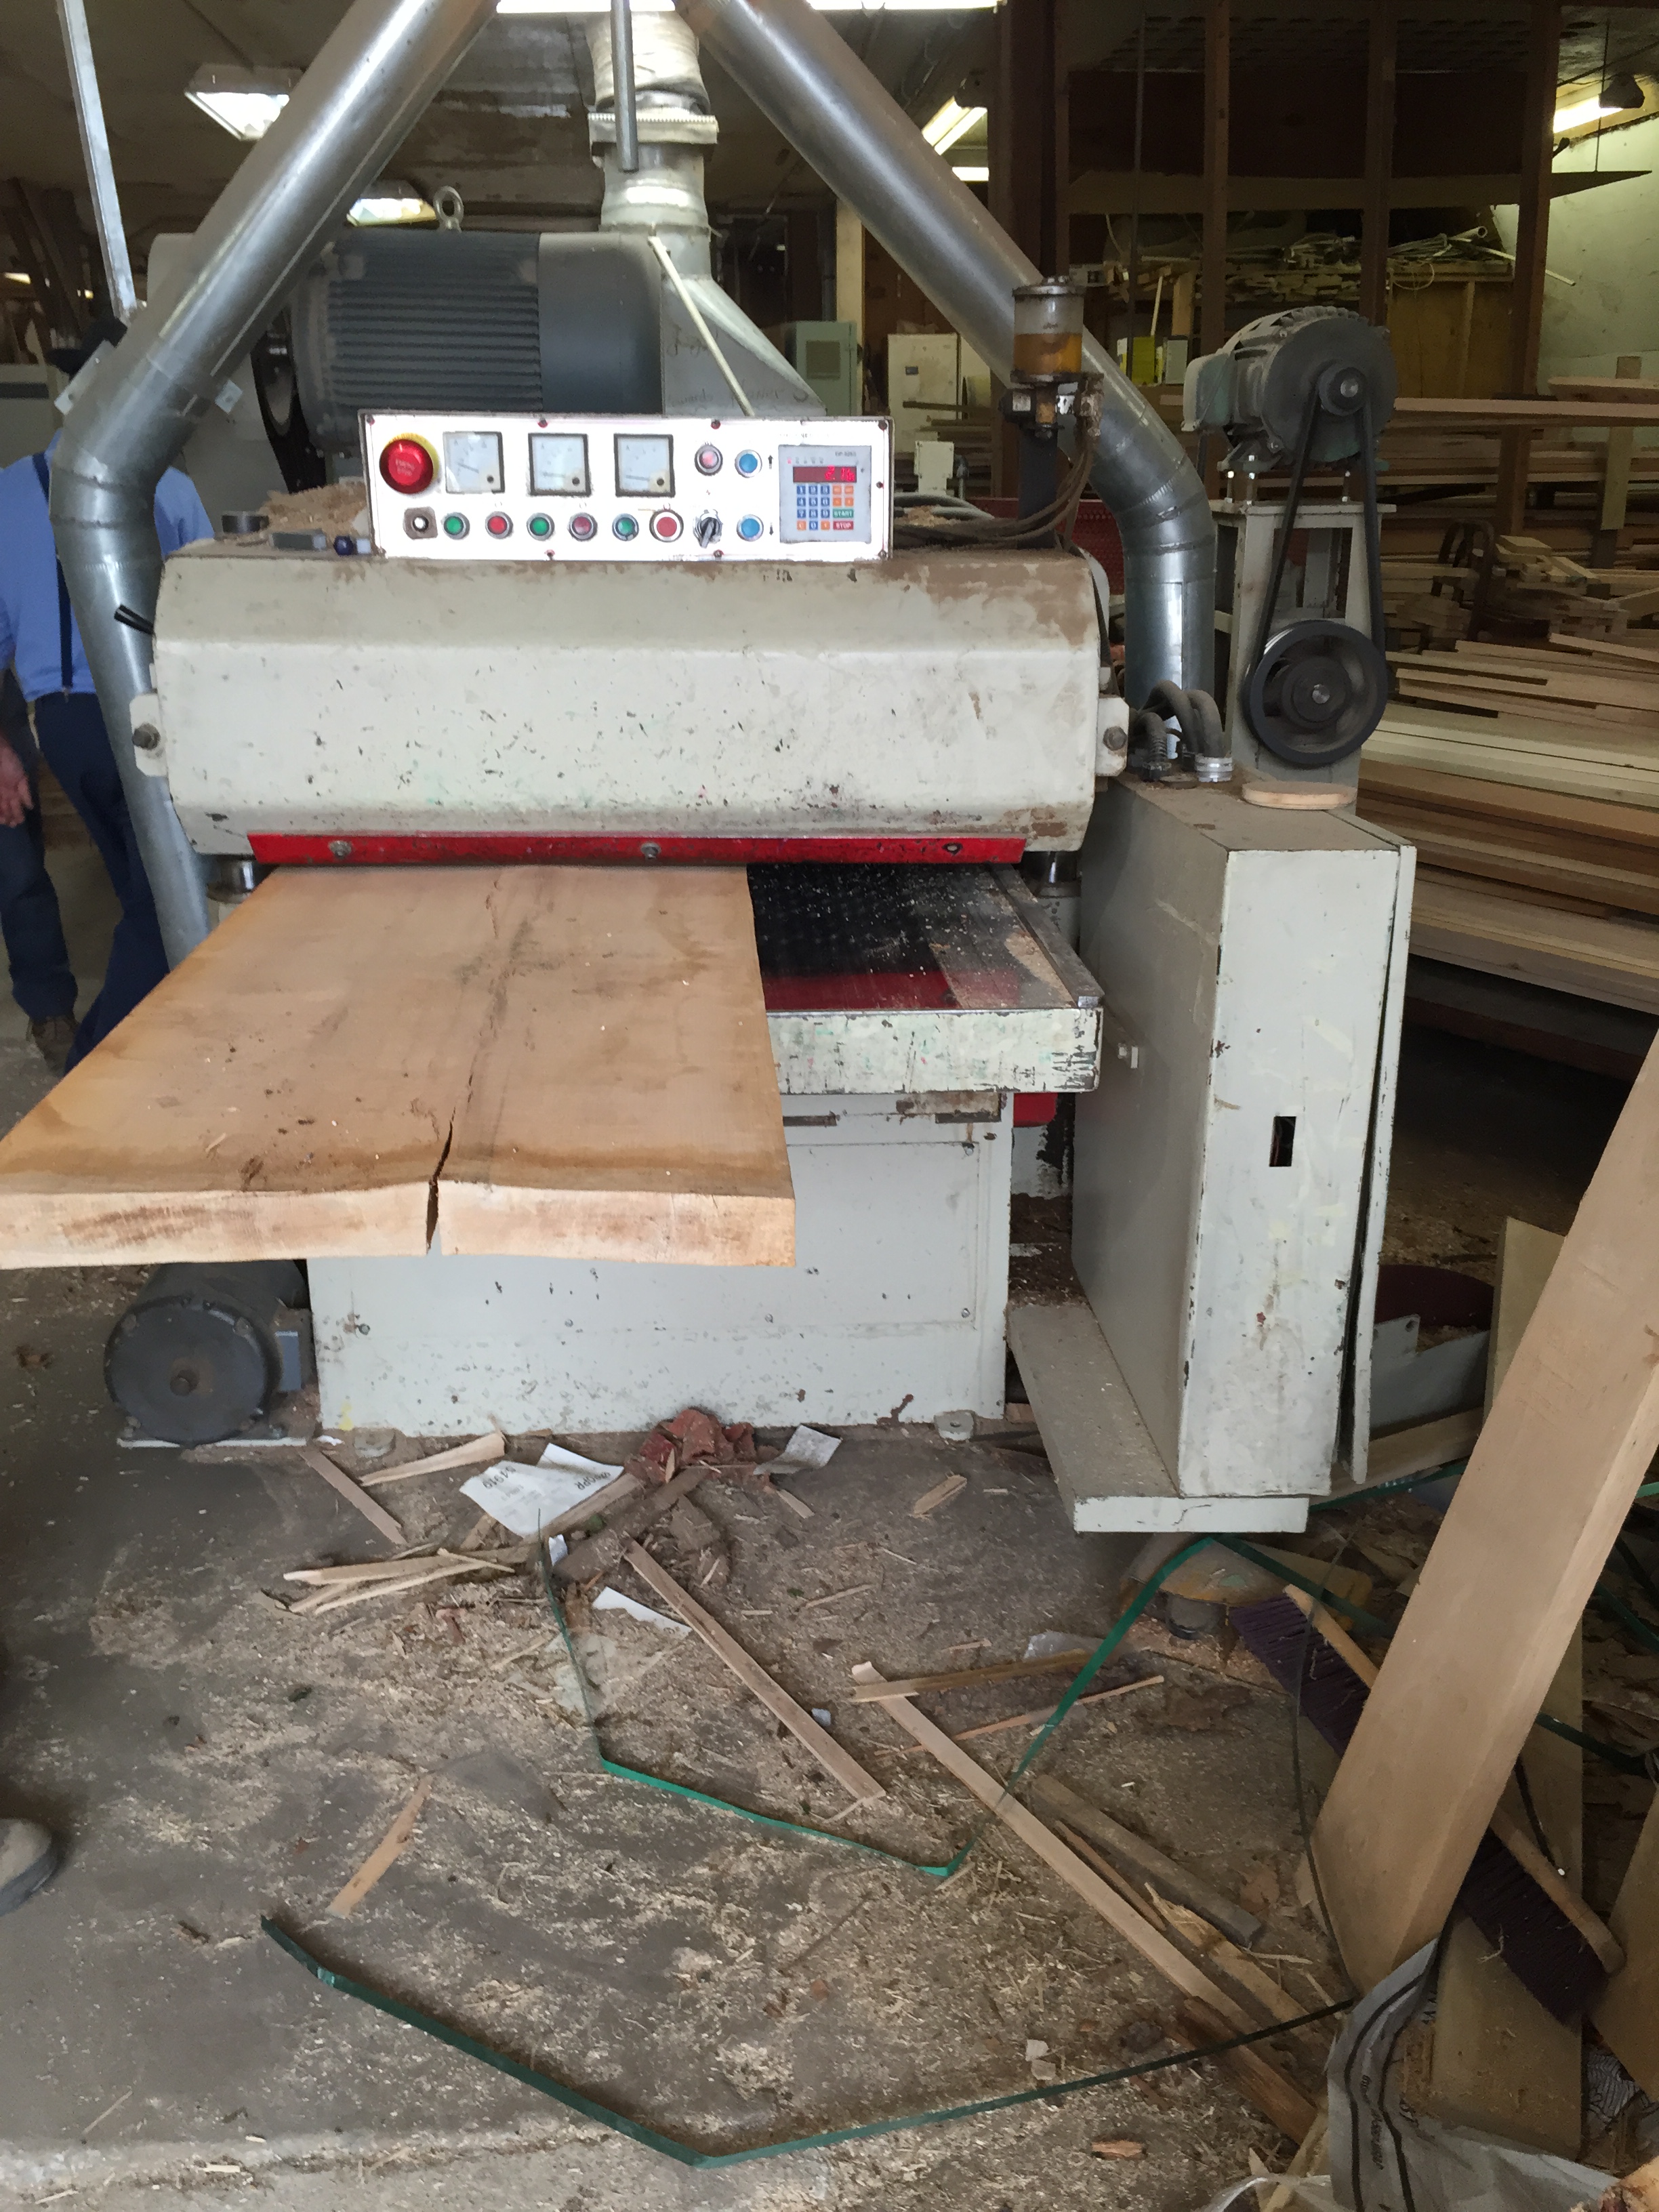
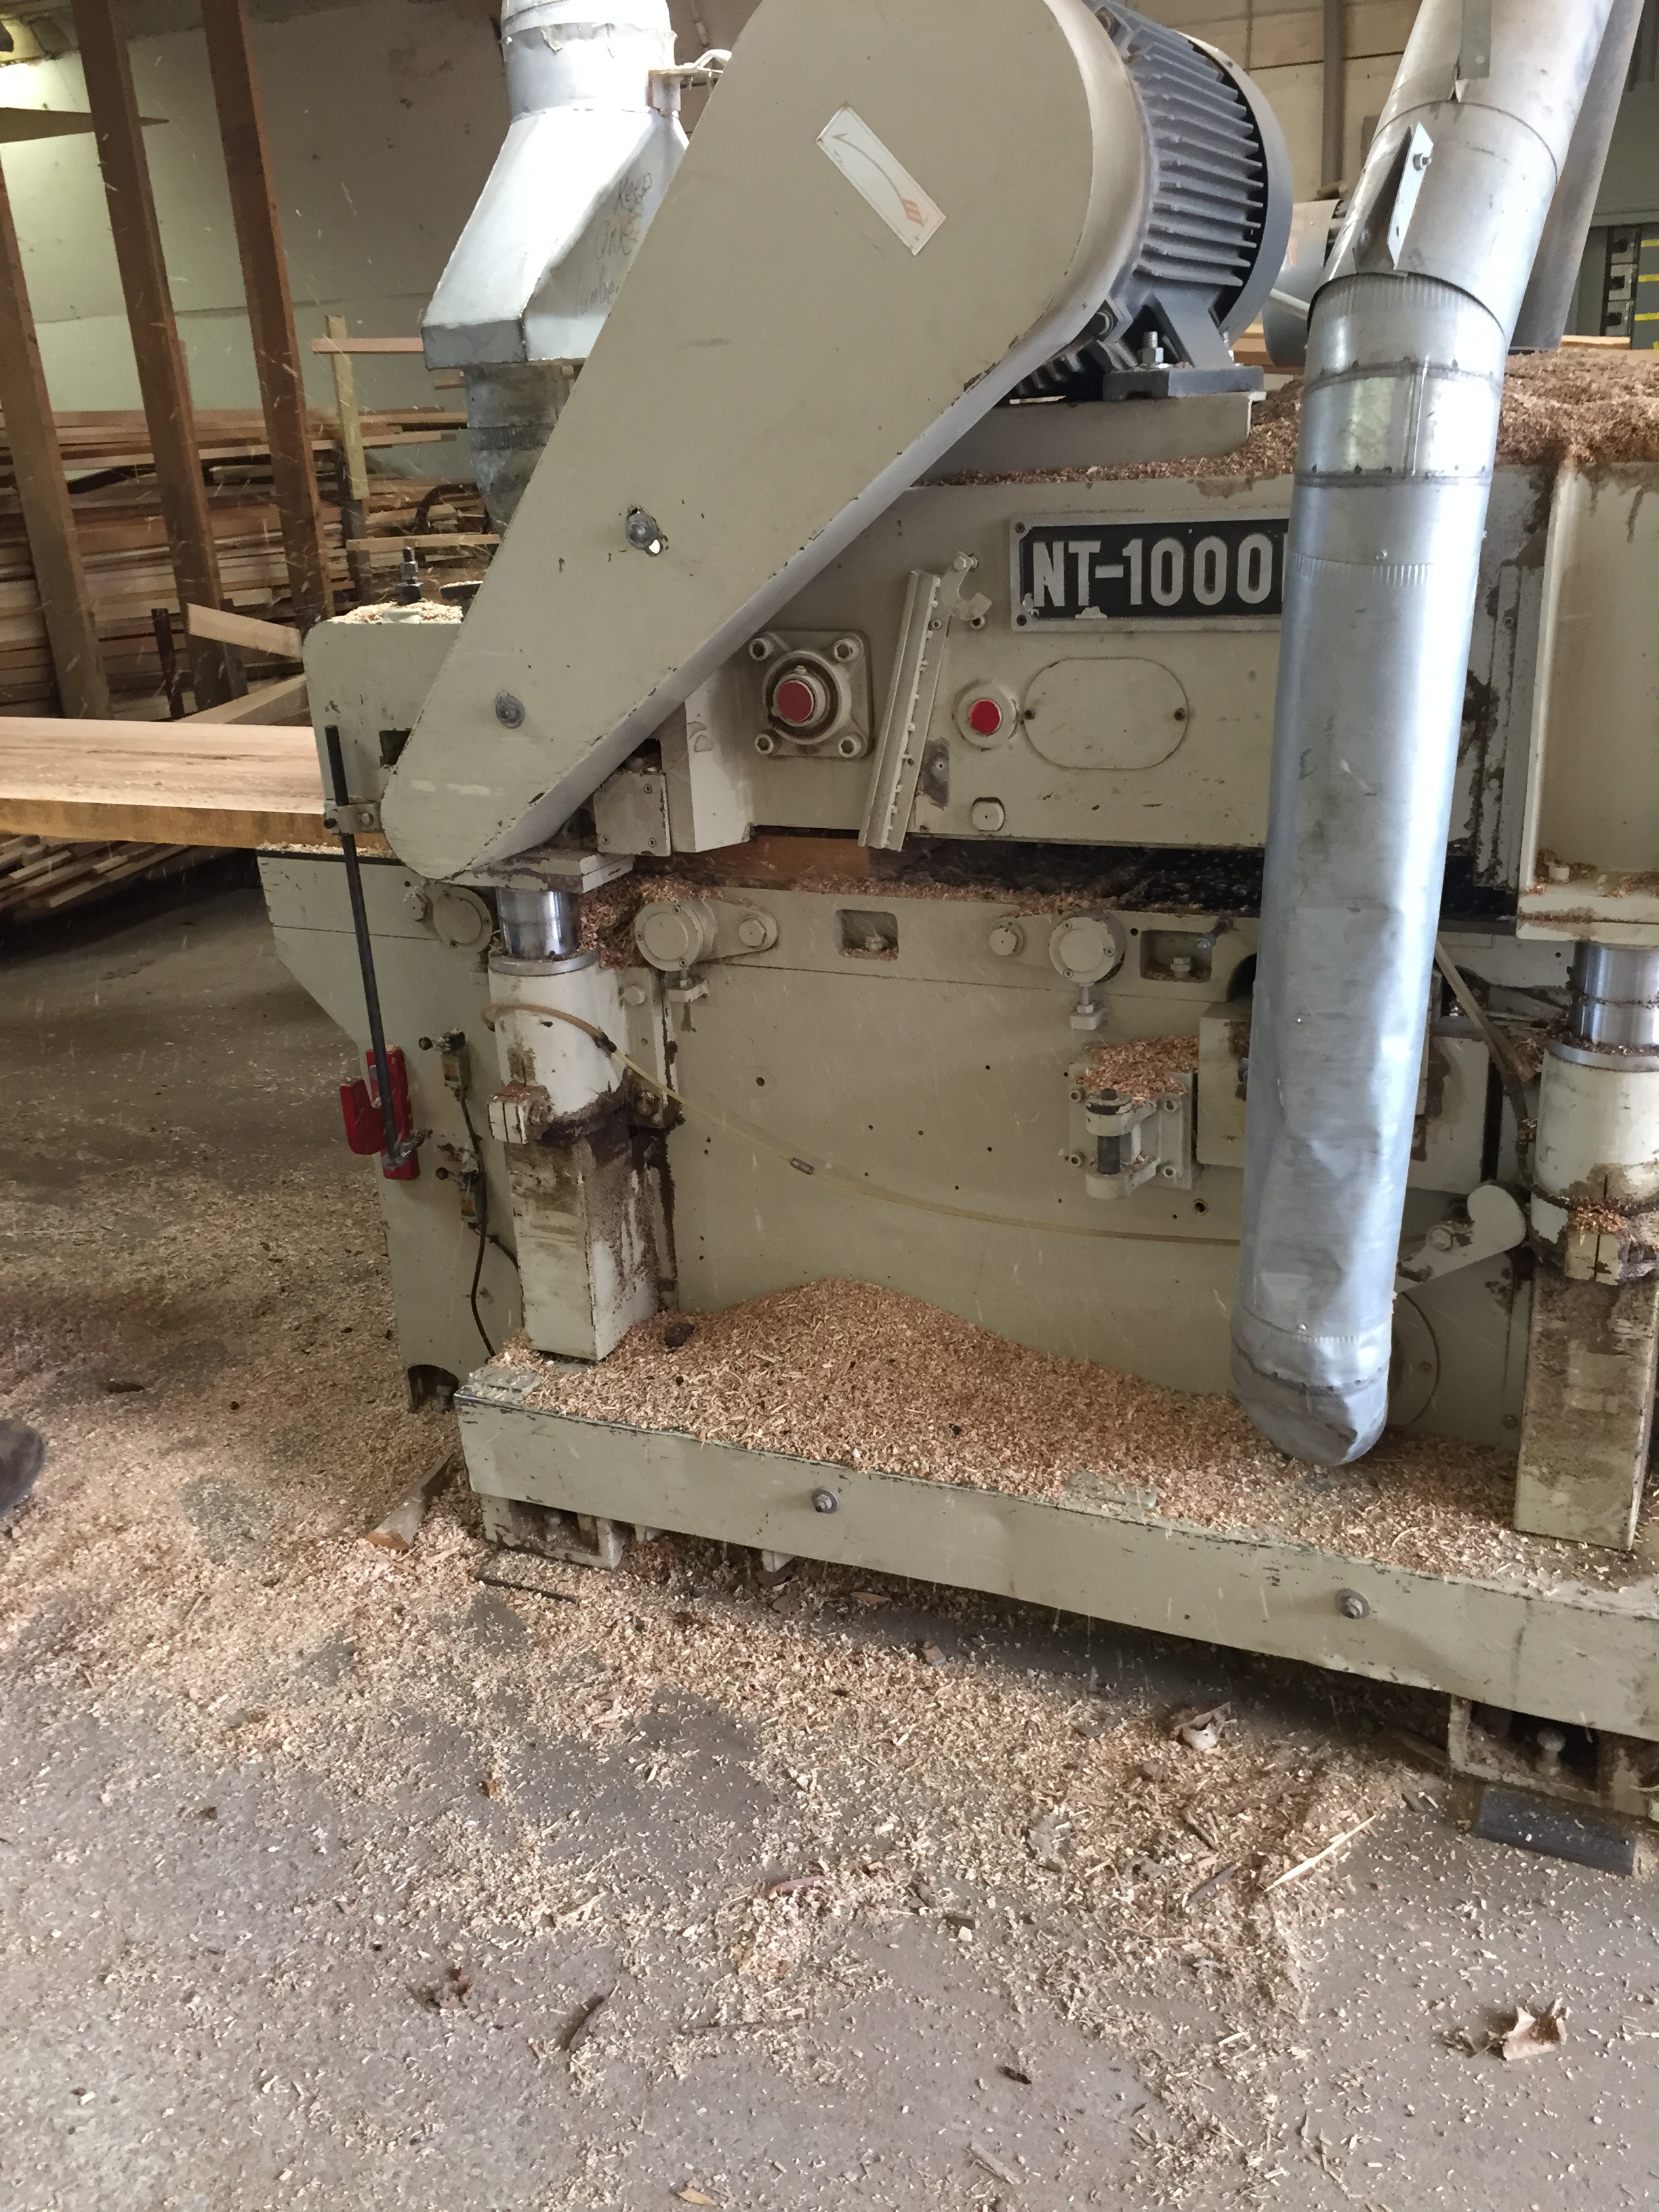
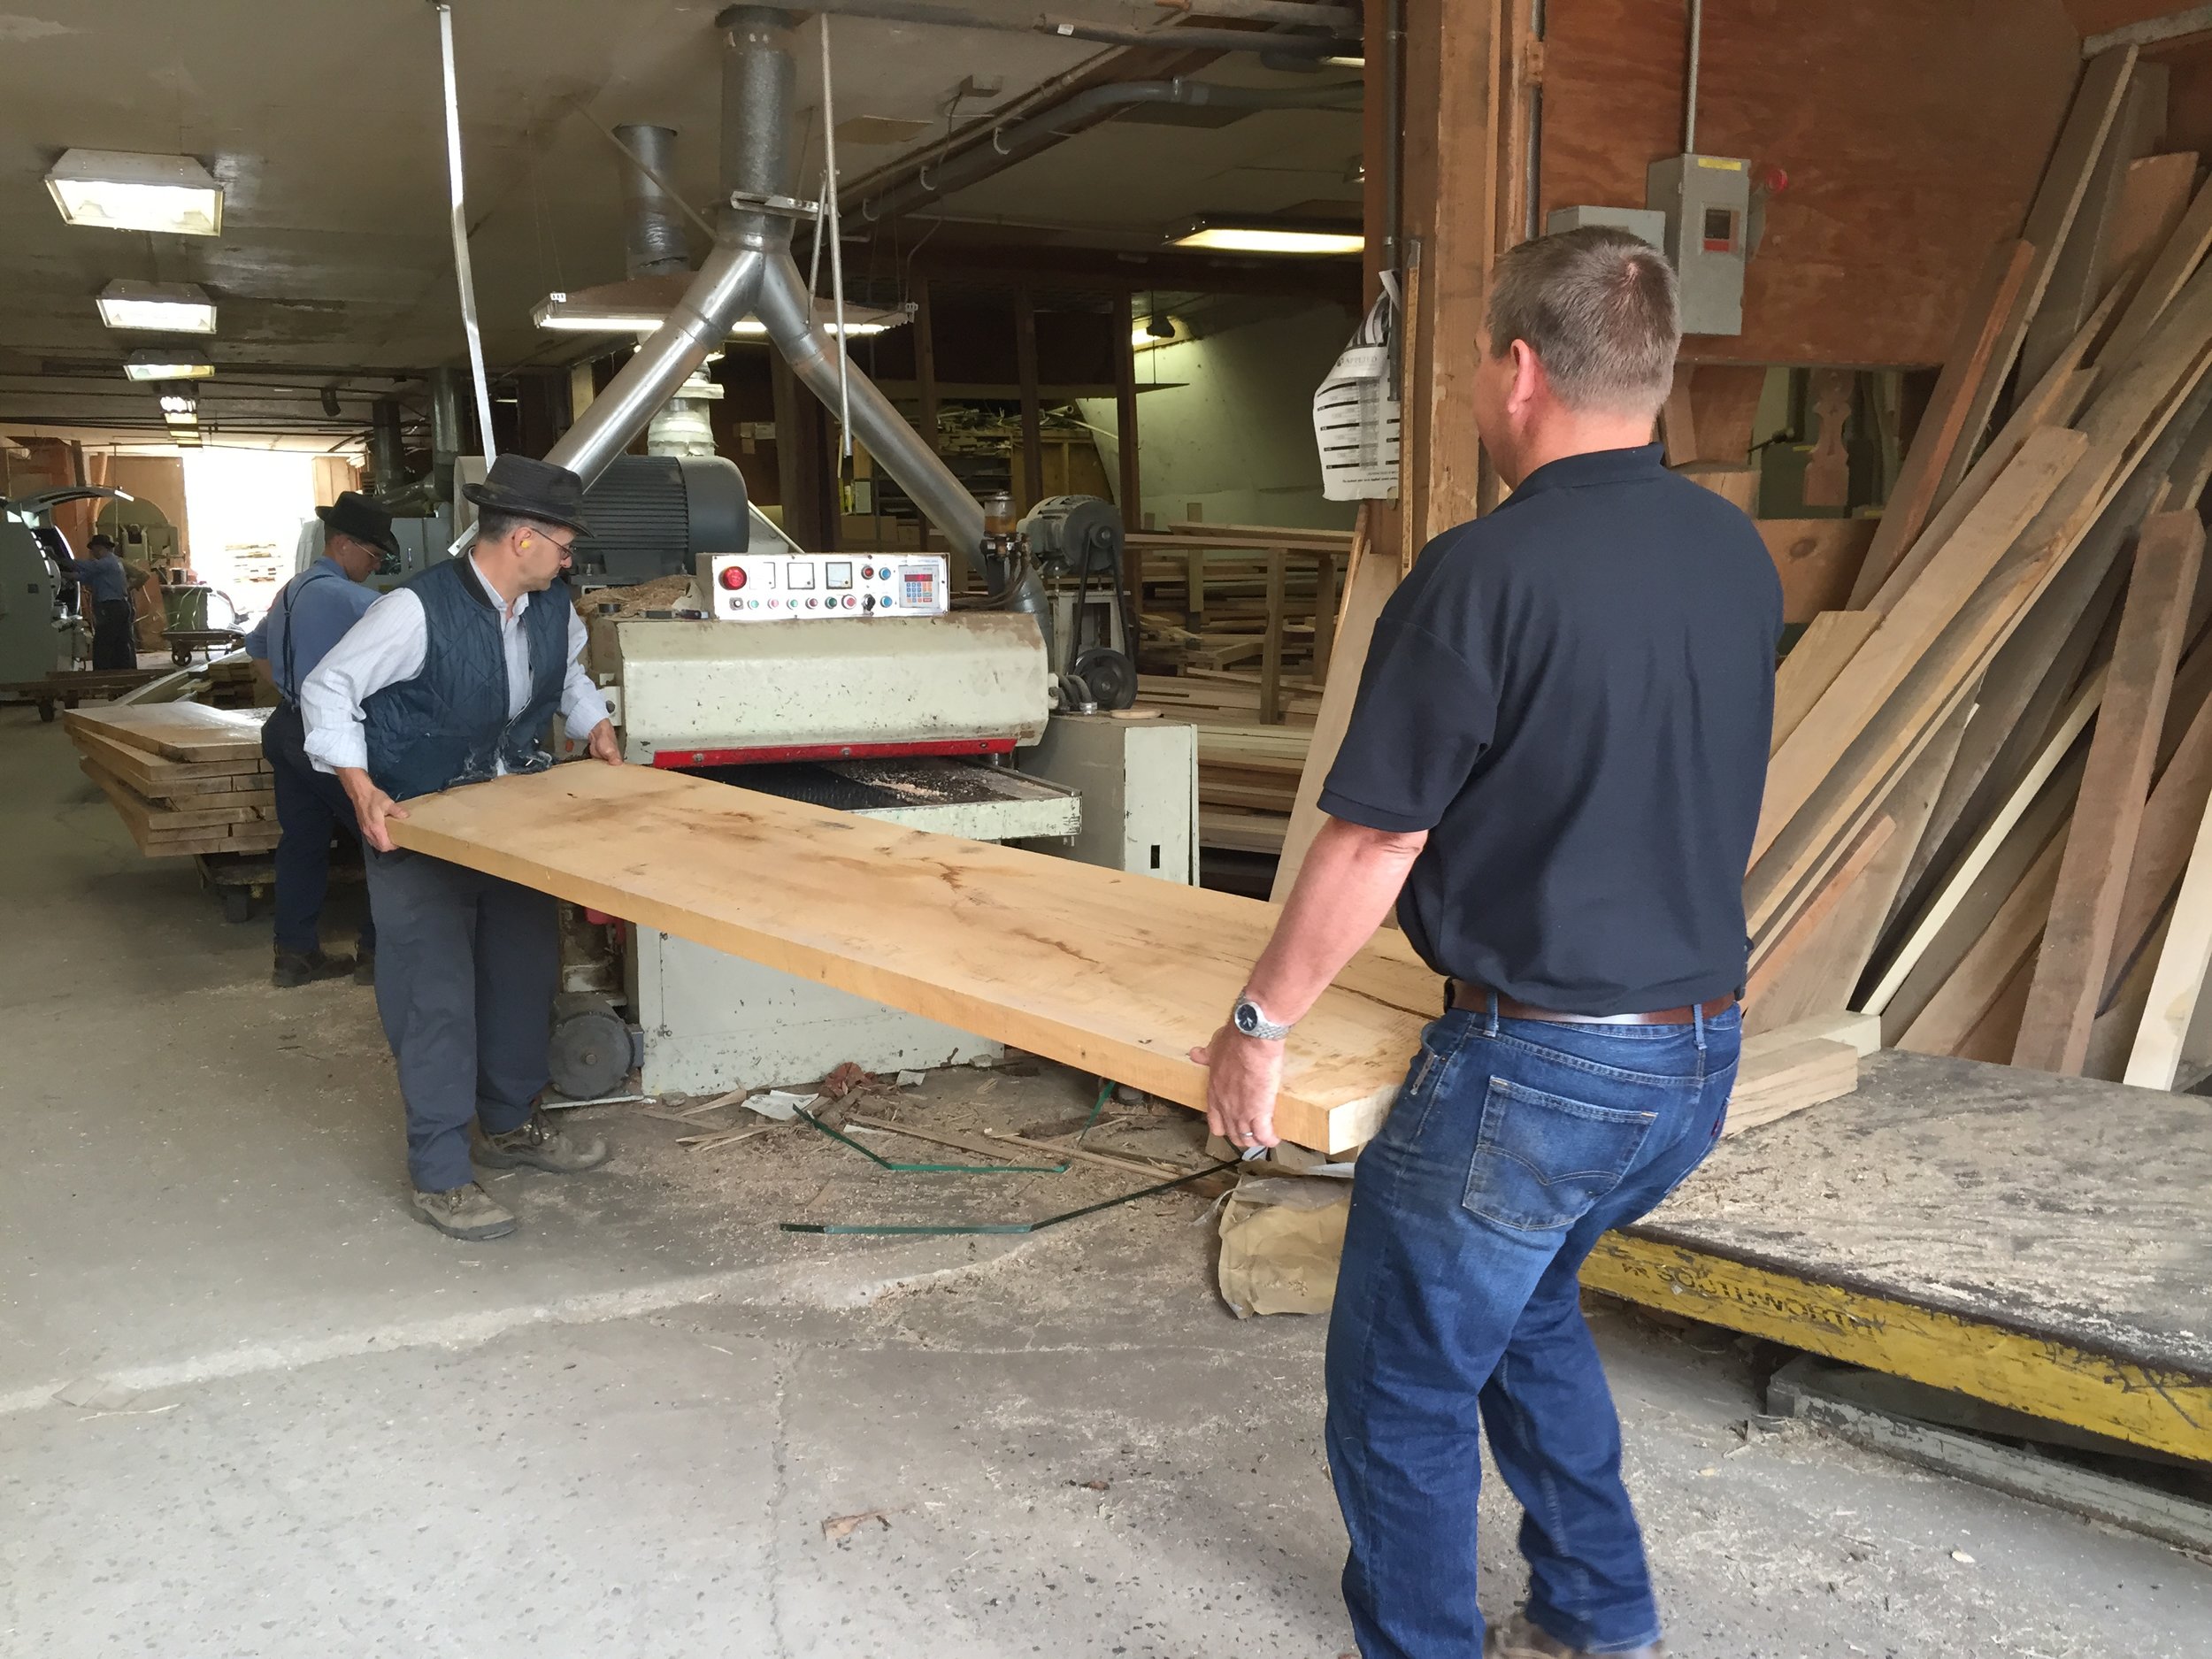
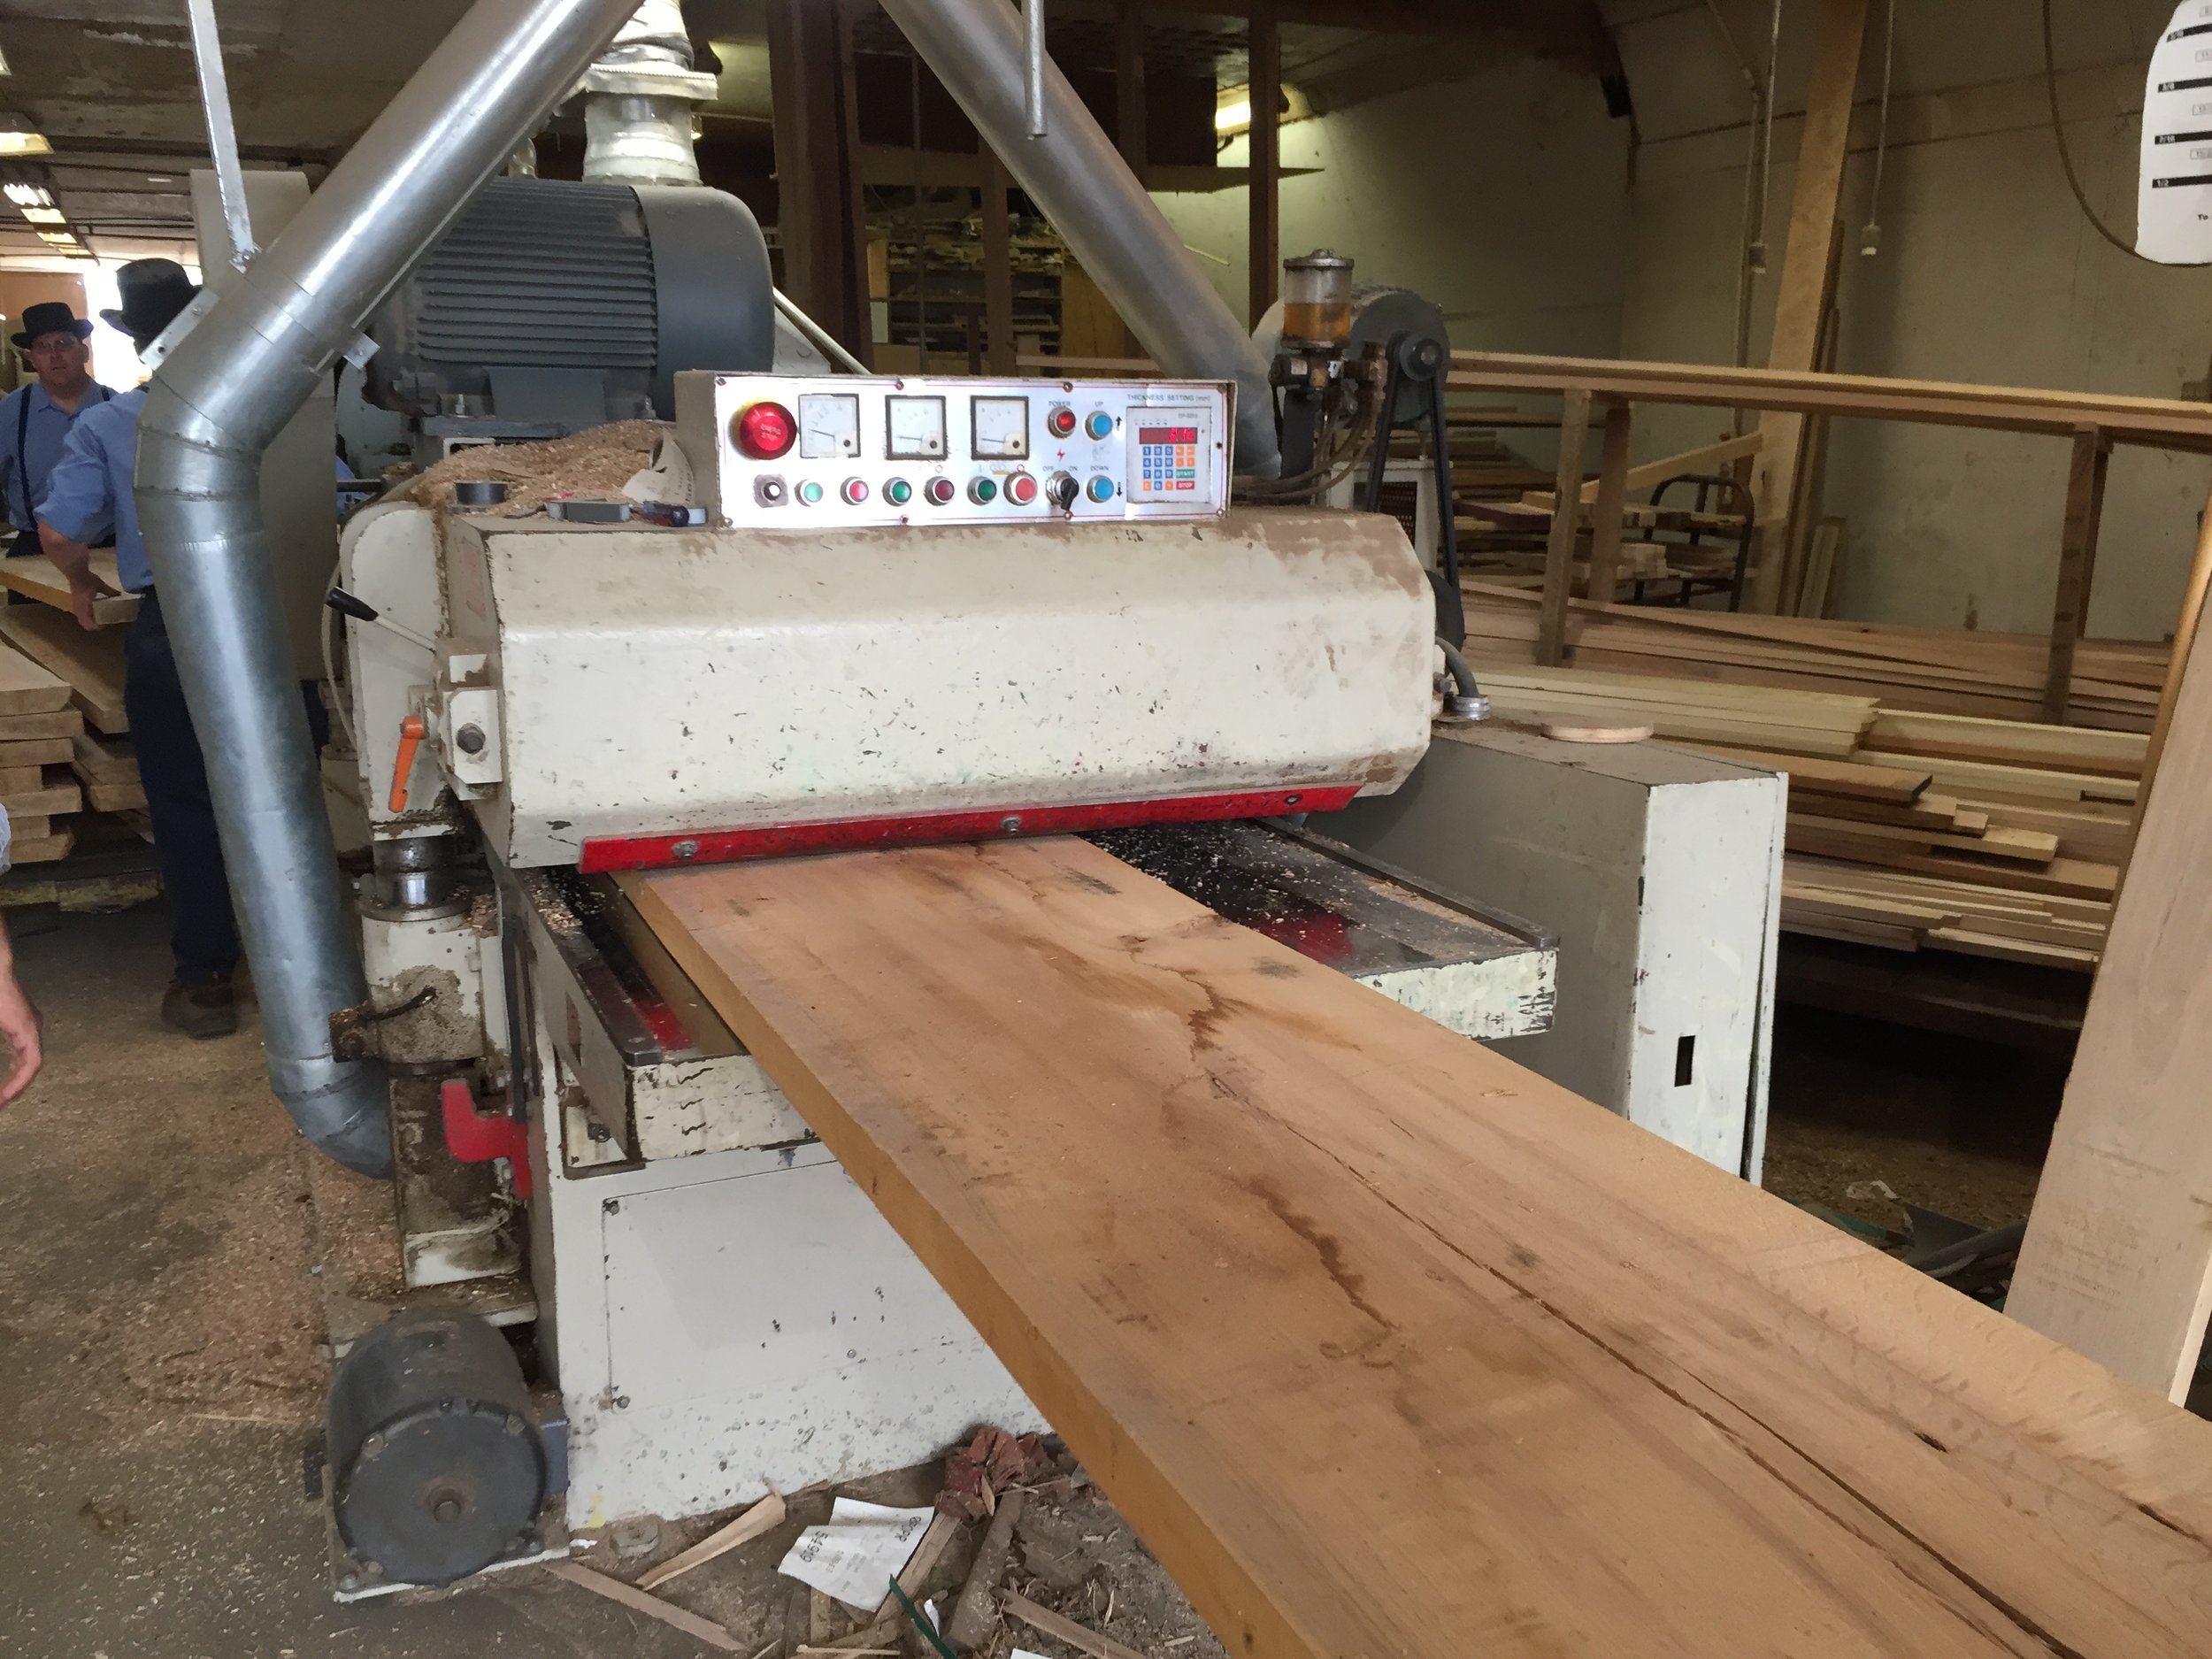
In the previous installment we explained the initial process of cutting the tree down into slabs on-site, air and kiln drying time and then planing the wood. This is the standard method of getting any wood carpentry-ready and is a process that we repeated on a red cedar tree at our Weaver Avenue property.
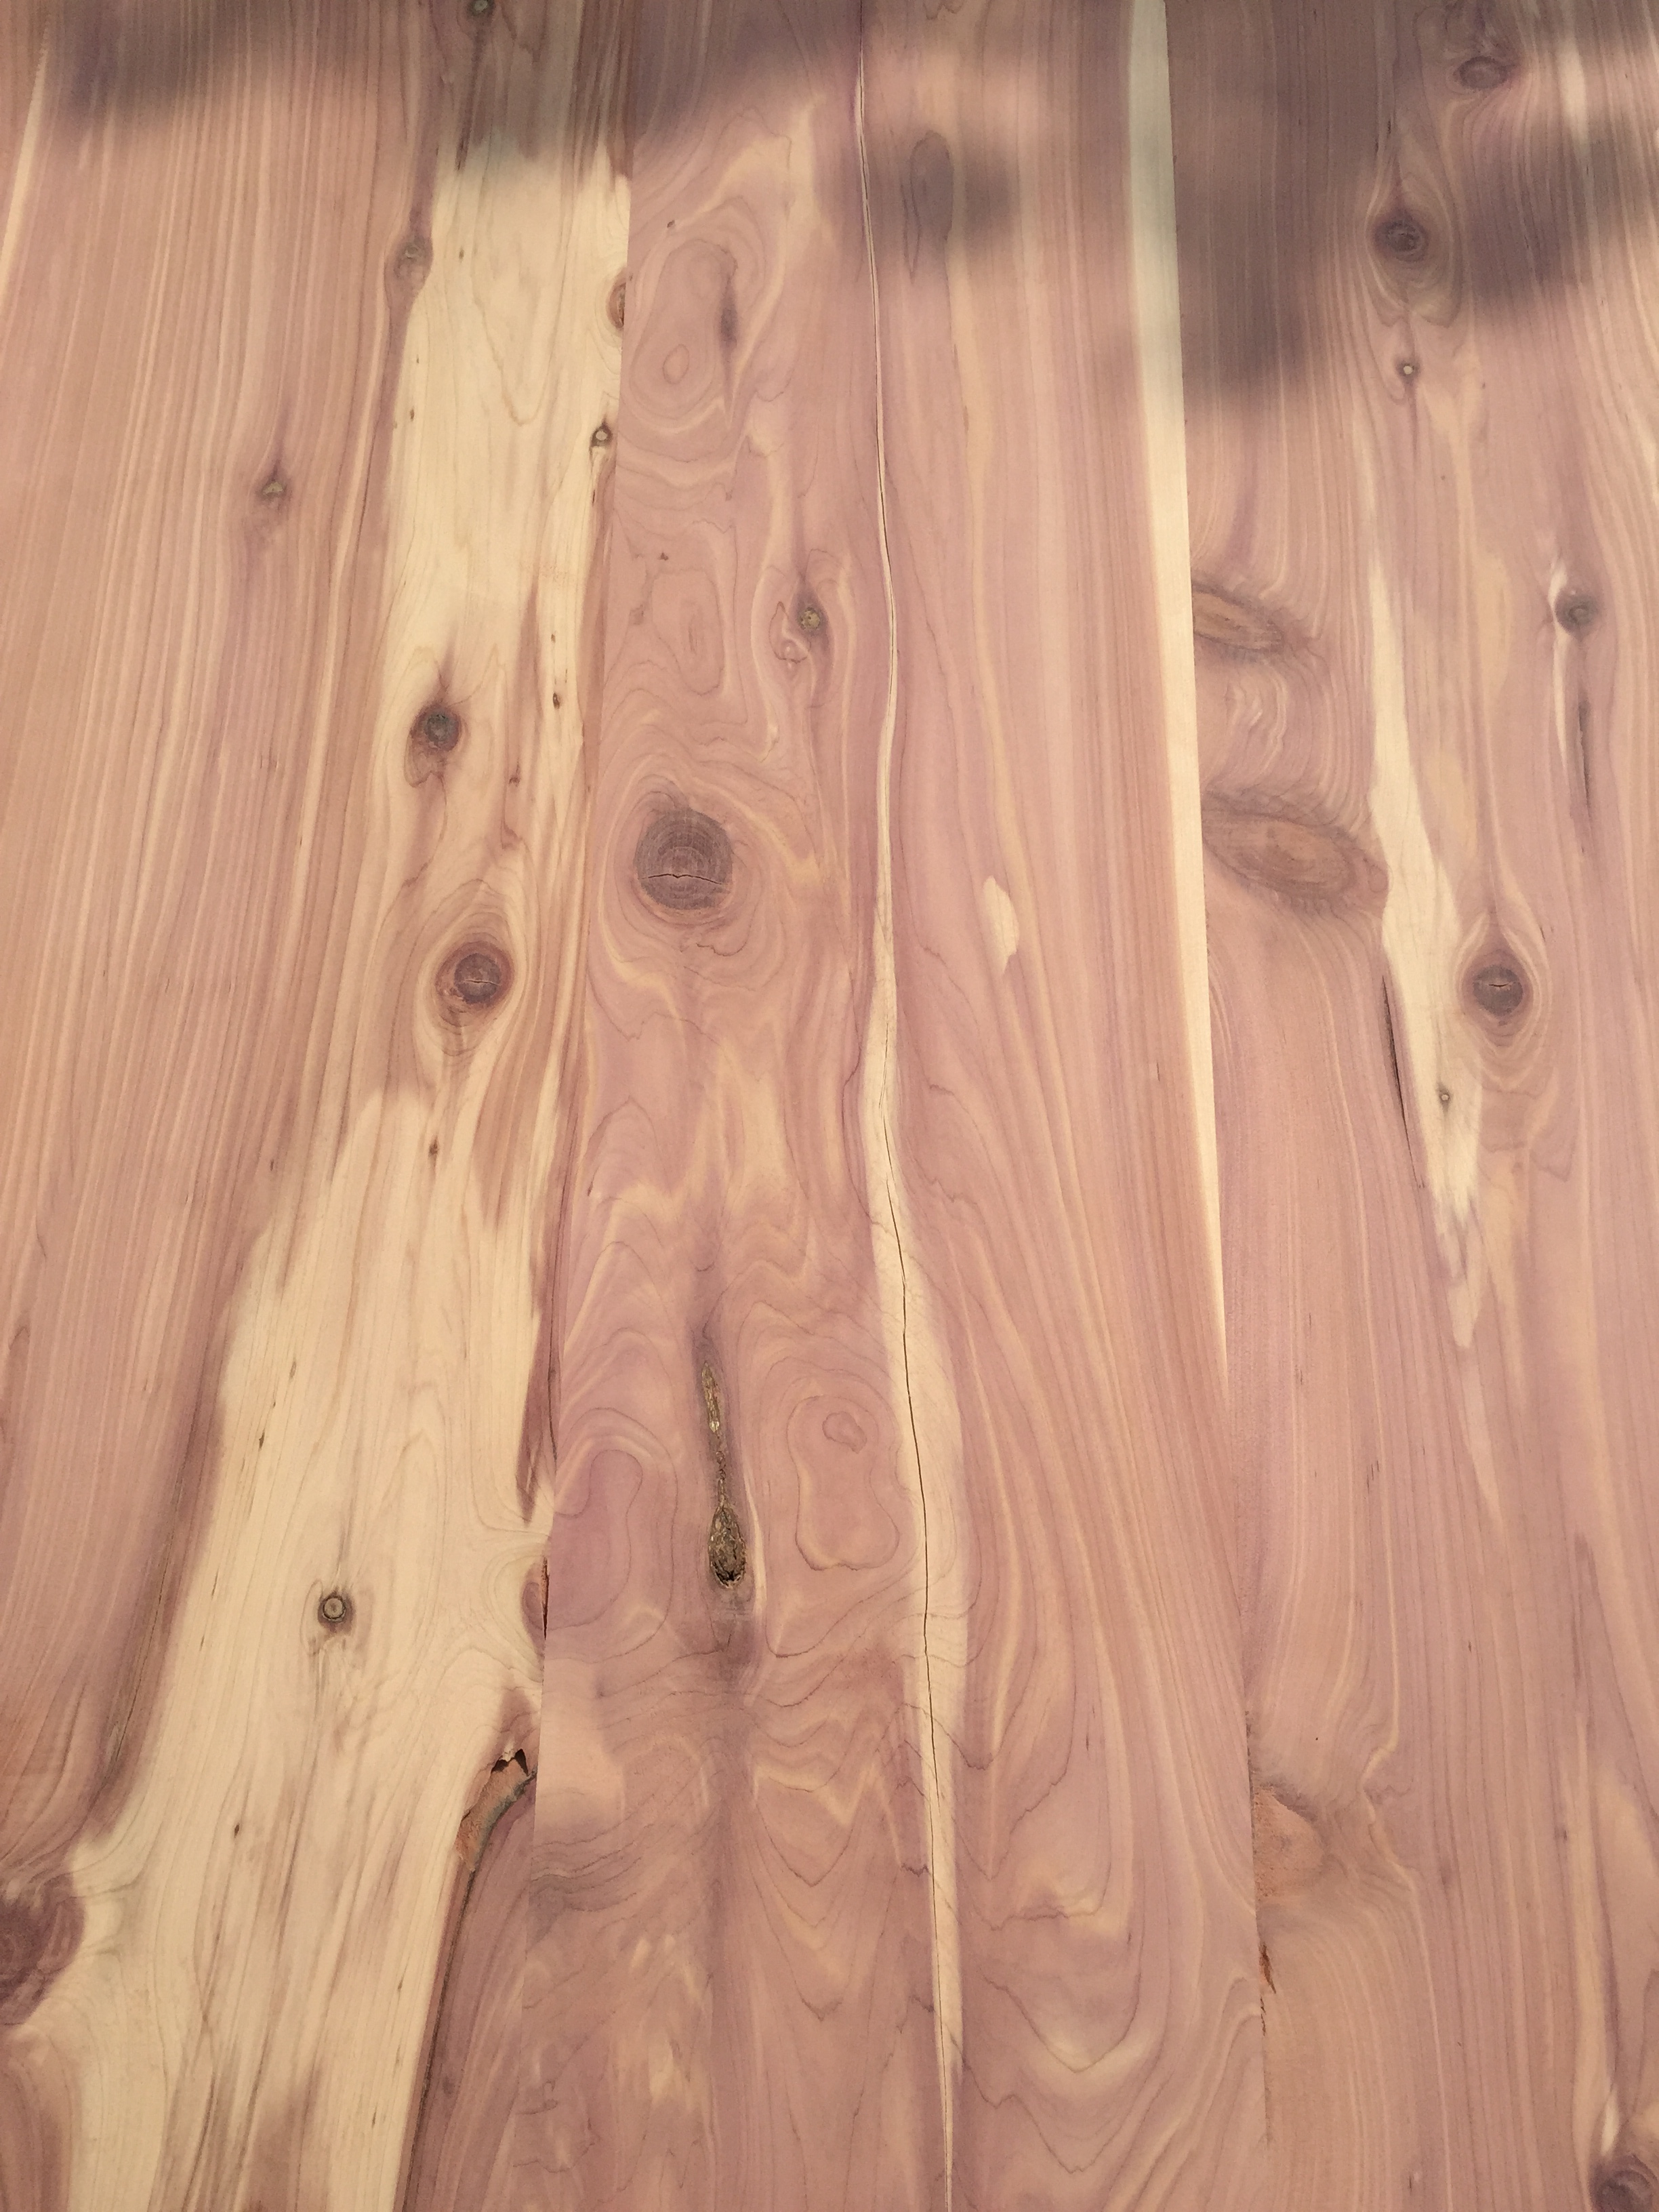
The red oak was the first one that I got to be involved in and you can see plenty of pictures of the process. The red cedar was substantially lighter than the red oak and had a familiar smell of hamster cage shavings, except it smelled clean.
After the cutting was completed, all of the same drying and squaring steps were repeated prior to using the wood. After the requisite six-week or so I was able to begin plotting out how I wanted my table to look.
Our construction manager, Joe Little, and I decided to build a custom wooden kitchen table for my apartment that would both compliment the interior colors and required space in my dining room. While I was completely inexperienced in any sort of ‘from scratch’ carpentry, Little had recently built himself a new dining room table from the aforementioned oak slabs and began to expound his knowledge and experience at me as we built my table.
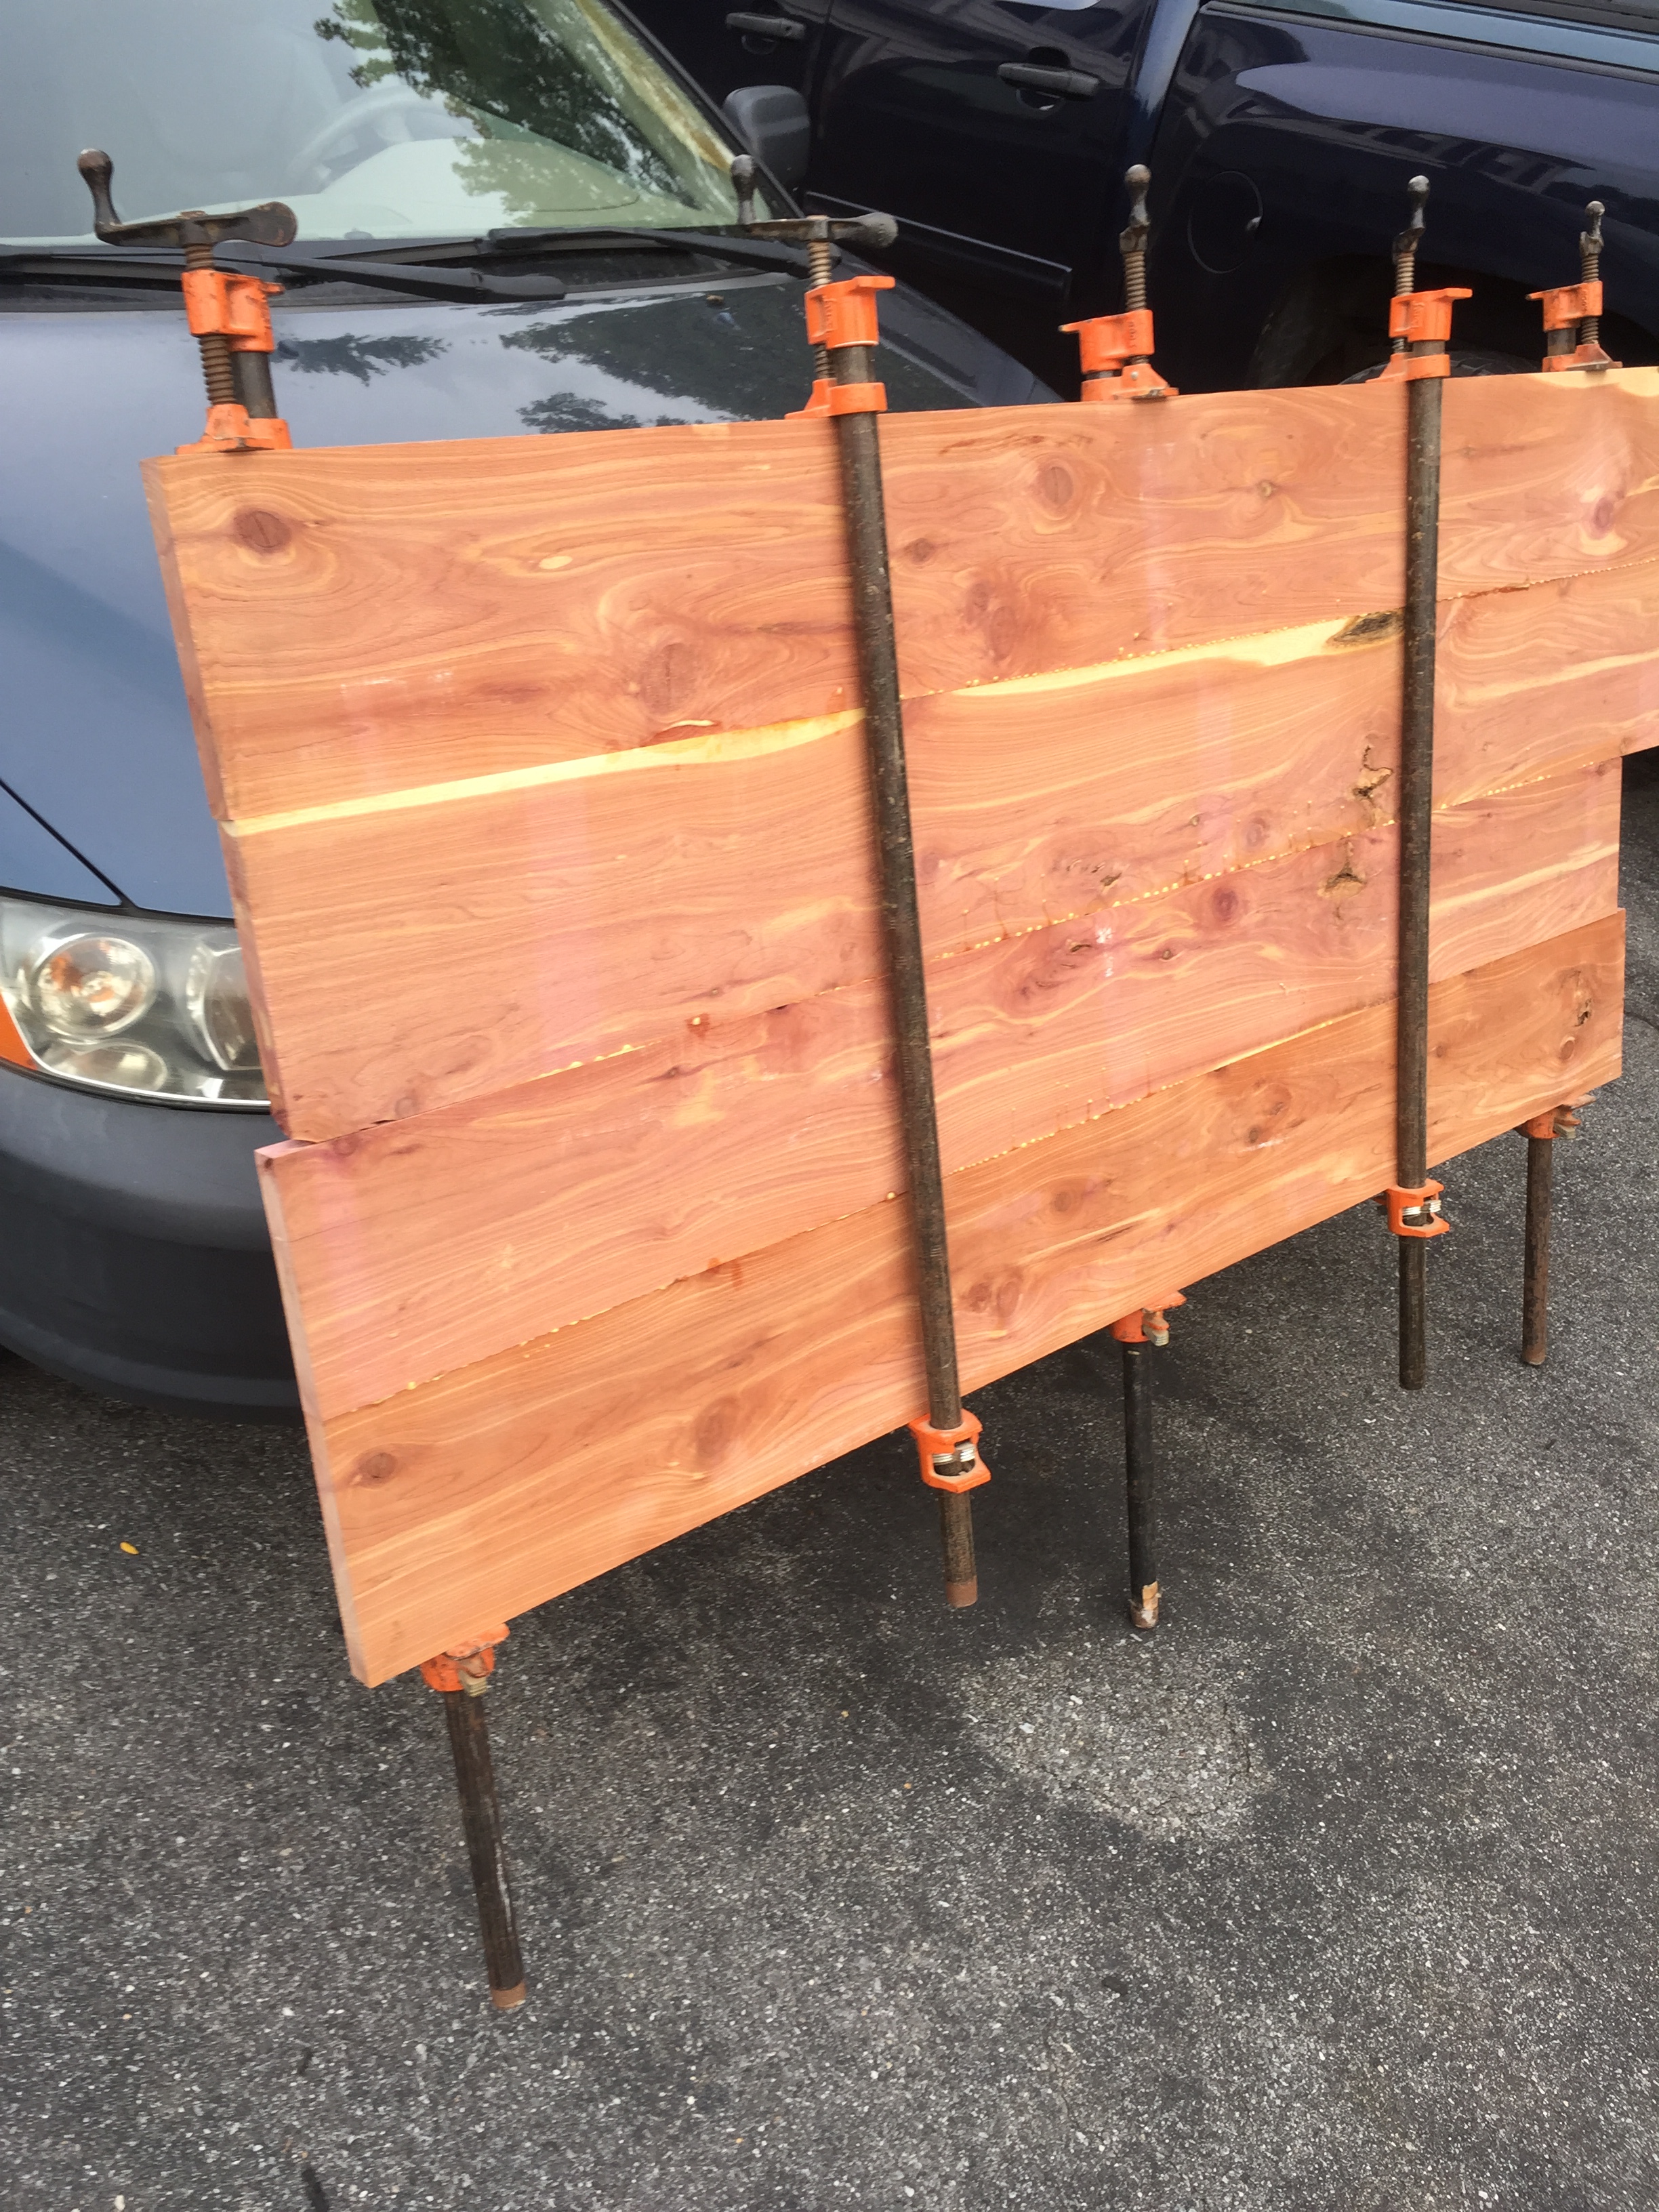
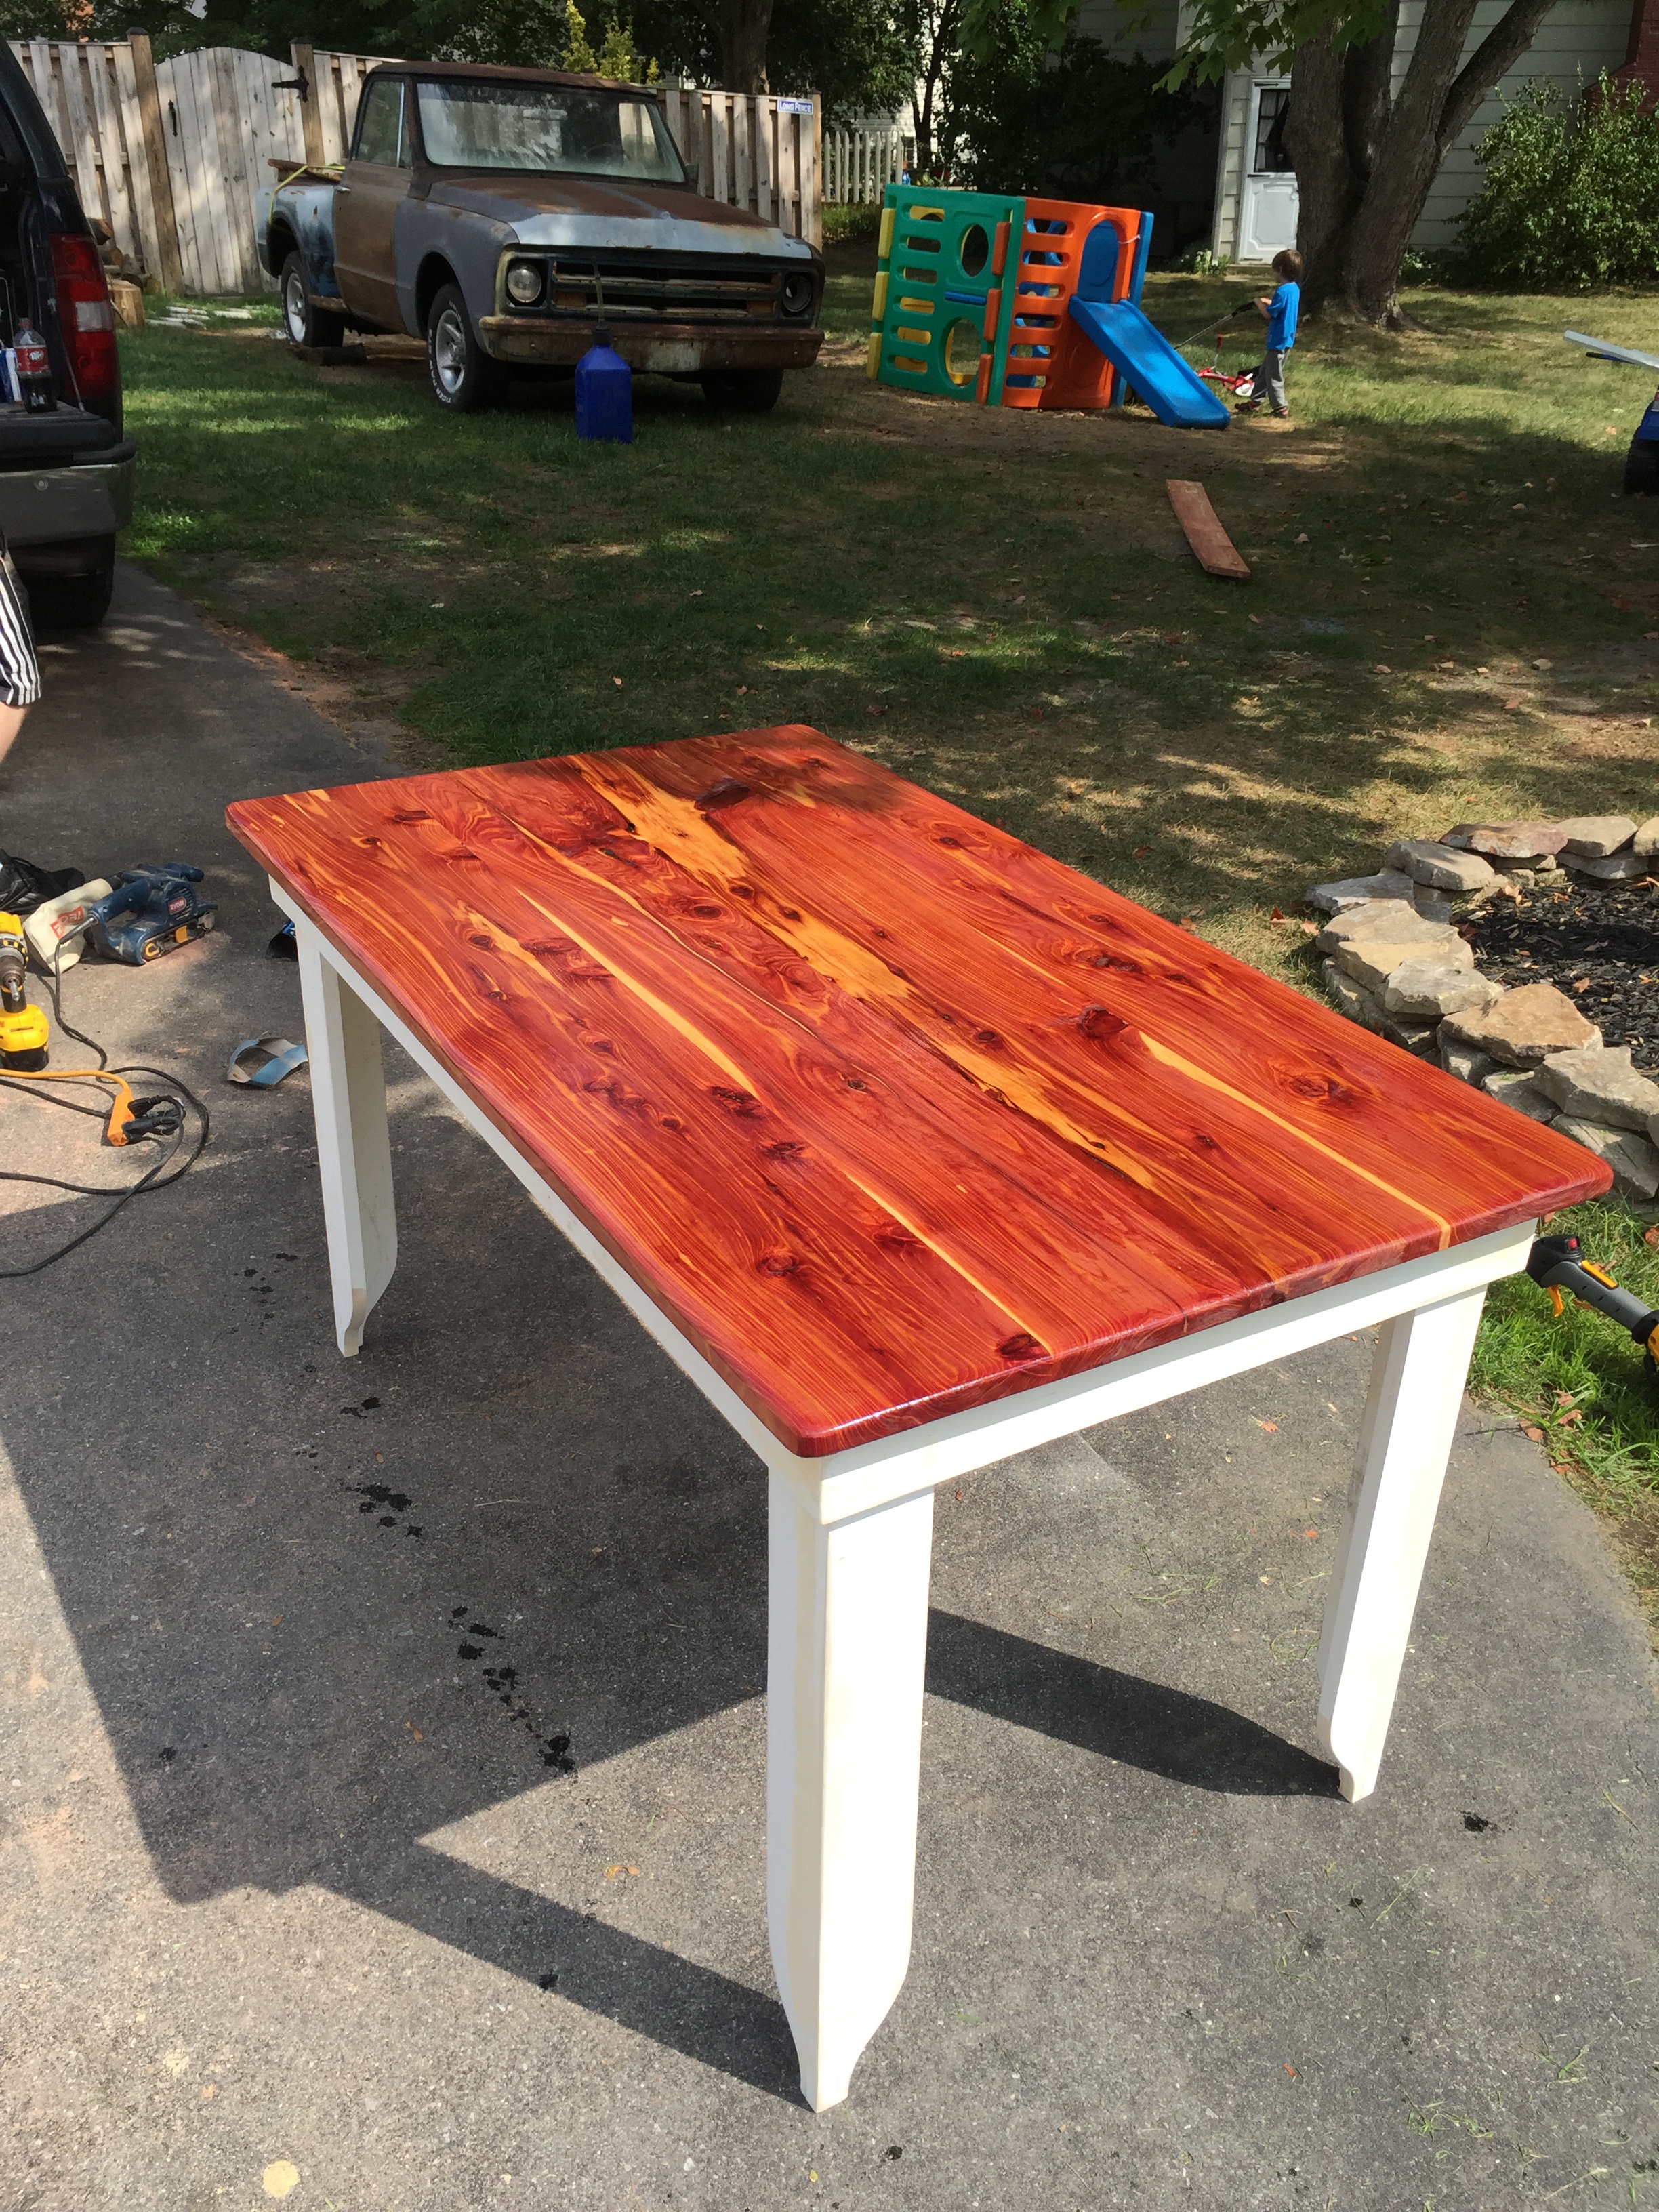
The first step was cutting down the wood into four even rectangular pieces to the desired size we wanted of a 2’ x 5’ table. Next, we glued and clamped the pieces in place. This was actually the longest part of the building process, taking about 6 hours since we had to wait for the glue to properly adhere before we mounted it to the legs.
Once the glue dried, it was time to start mapping out the table skirt and legs. The table skirt is the band of wood below the tabletop that typically is inset below the top so it creates an even lip around the table. We used some basic 1x6 pieces of wood to build the rectangular skirt and once assembled, centered it evenly on the underside of the table and glued it into place along with some small tack nails to make sure it didn’t move while drying.
The last component of actual construction was the table legs. At first we considered using some repurposed stair rail posts for the legs, but ultimately decided they looked too skinny and moved onto making our own. Instead, we took two 1x6 pieces of wood and formed an ‘L’ for each of the legs.
Before we fastened each together, we decided to give the legs some flare rather than just being straight legs with hard right angles. Little and I designed a basic curve that would allow the legs to transition from thick to a skinnier foot type that would rest on the floor and match the rest of the table. Once we settled on the look, we cut the same shape into all eight pieces that would compose the legs.
The ‘L’ of the legs were positioned on the inside of the table skirt’s corners, giving the table multiple shadow lines as almost a reverse pyramid type of construction and the tapered legs touching on the long end of the curve. These pieces were all attached using the same tack nails that are small enough for a nail gun to shoot in and avoid being visible in the final product.
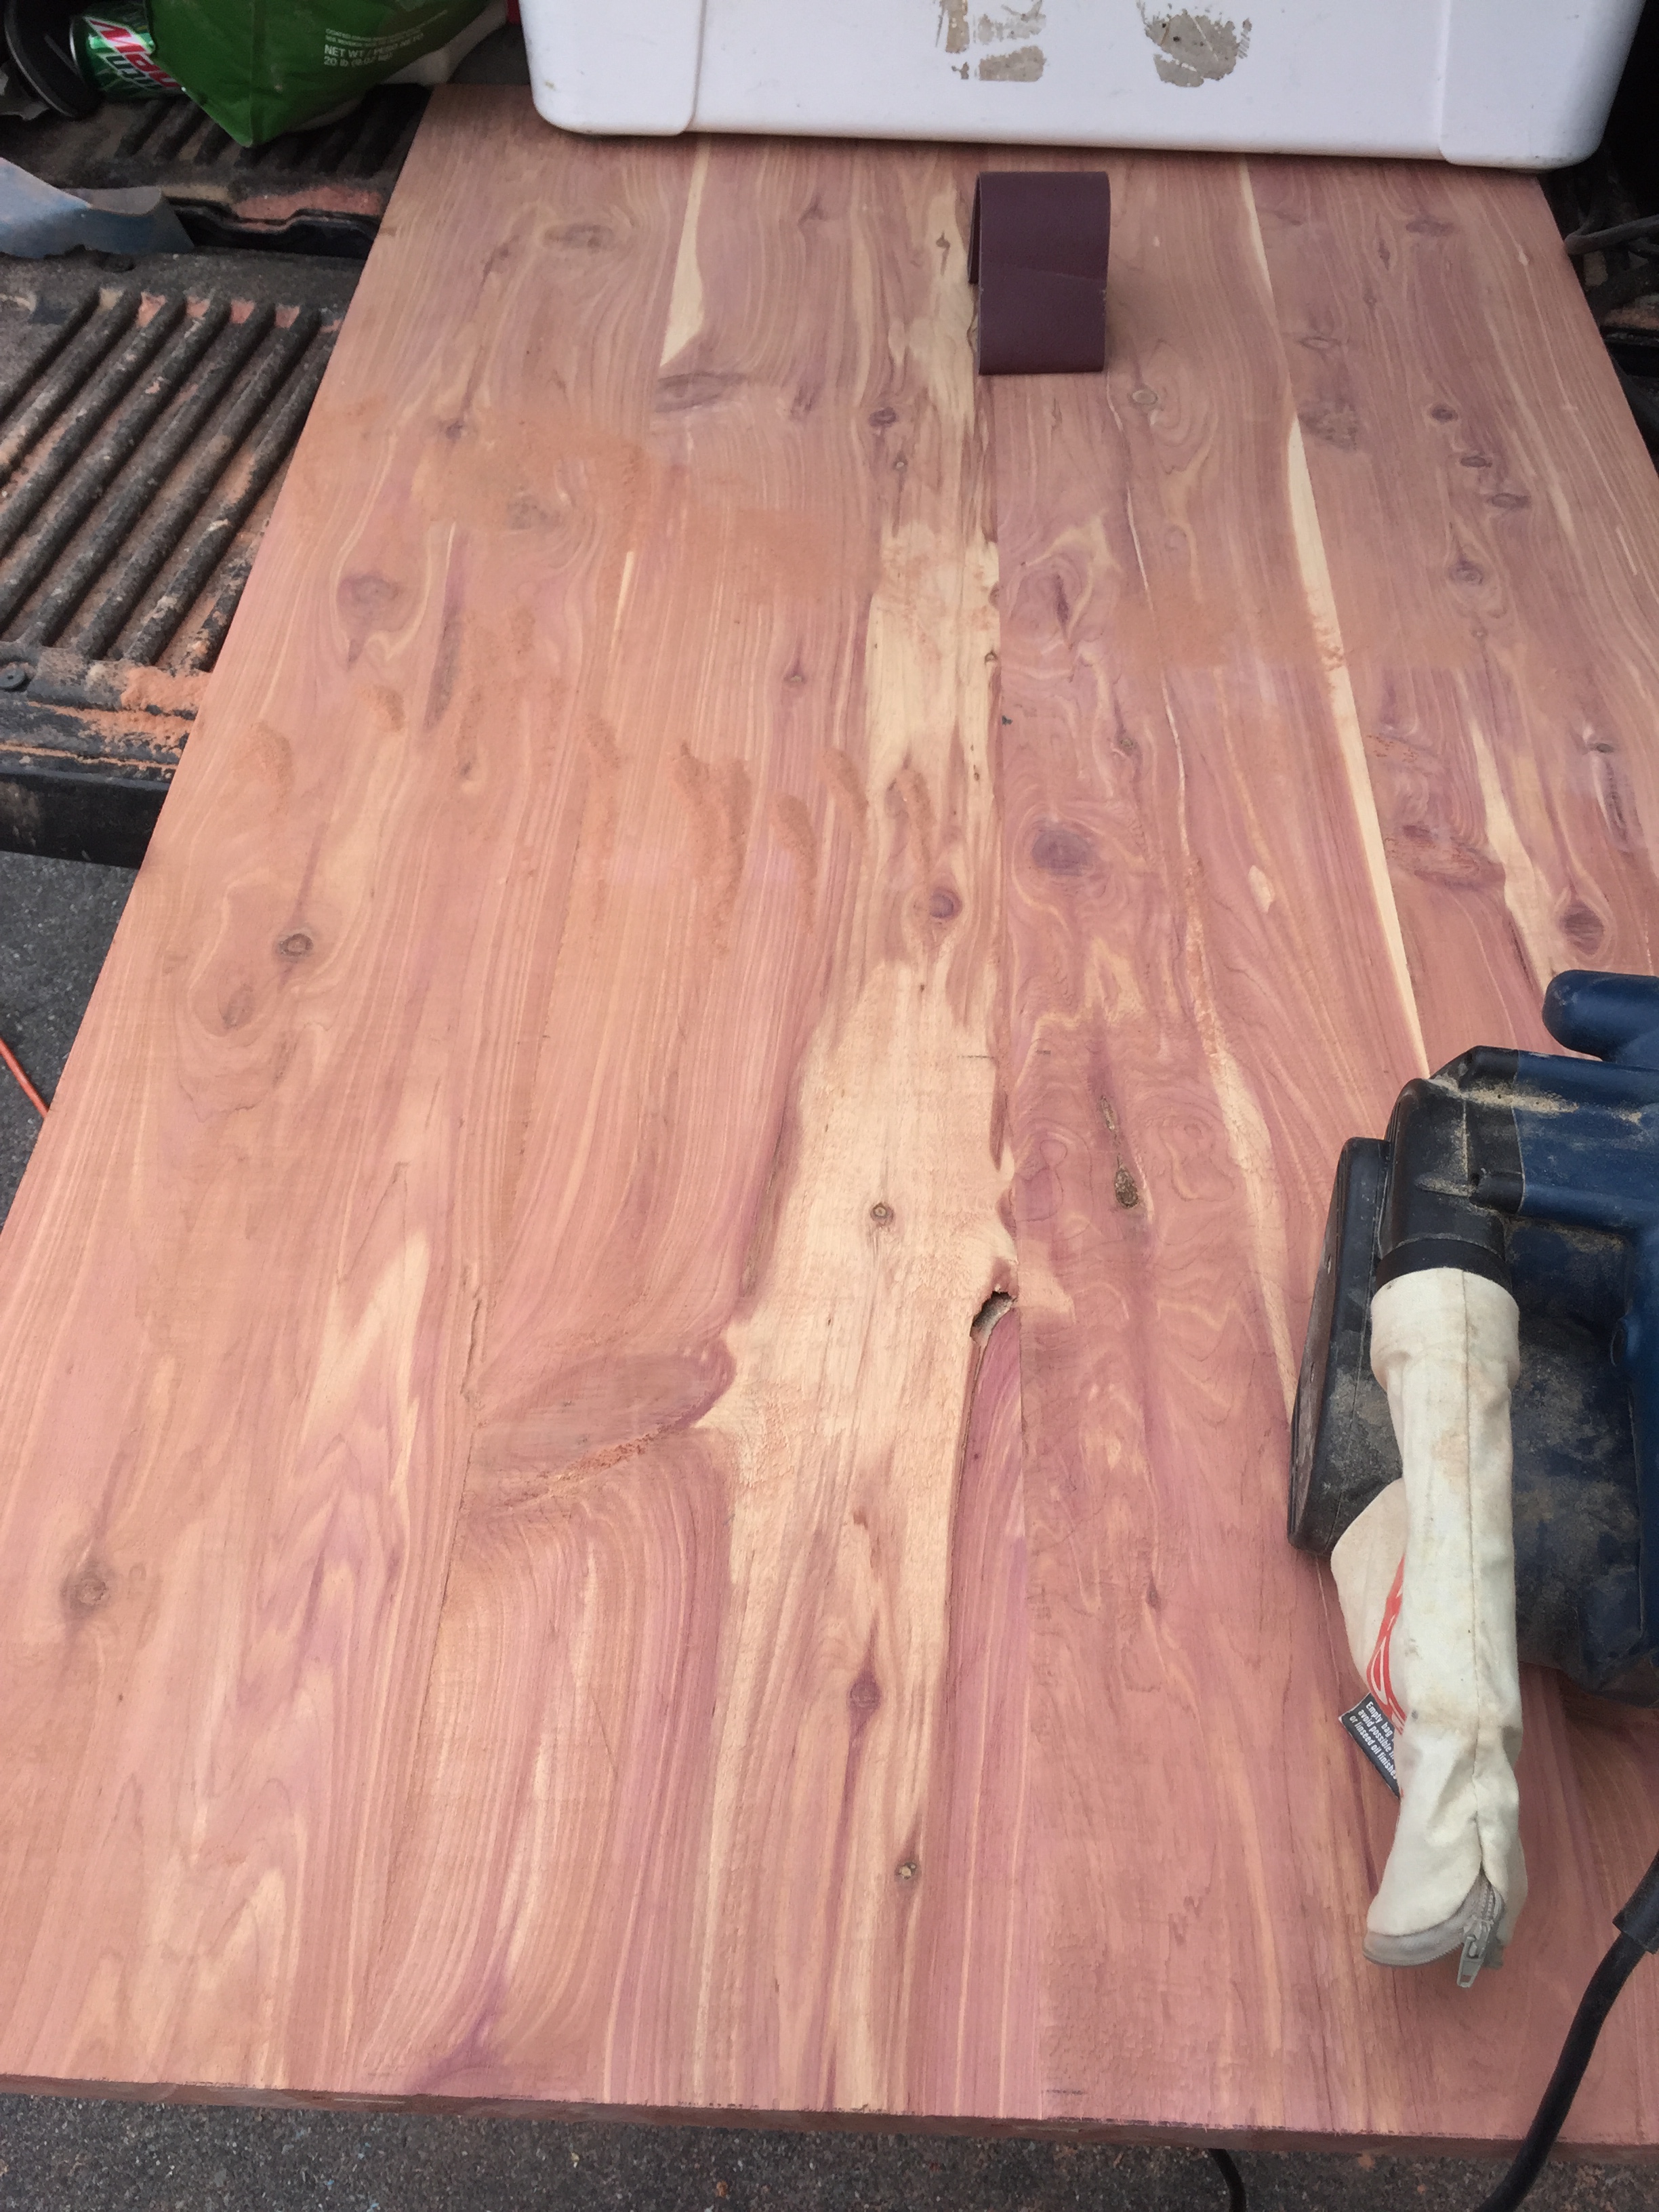
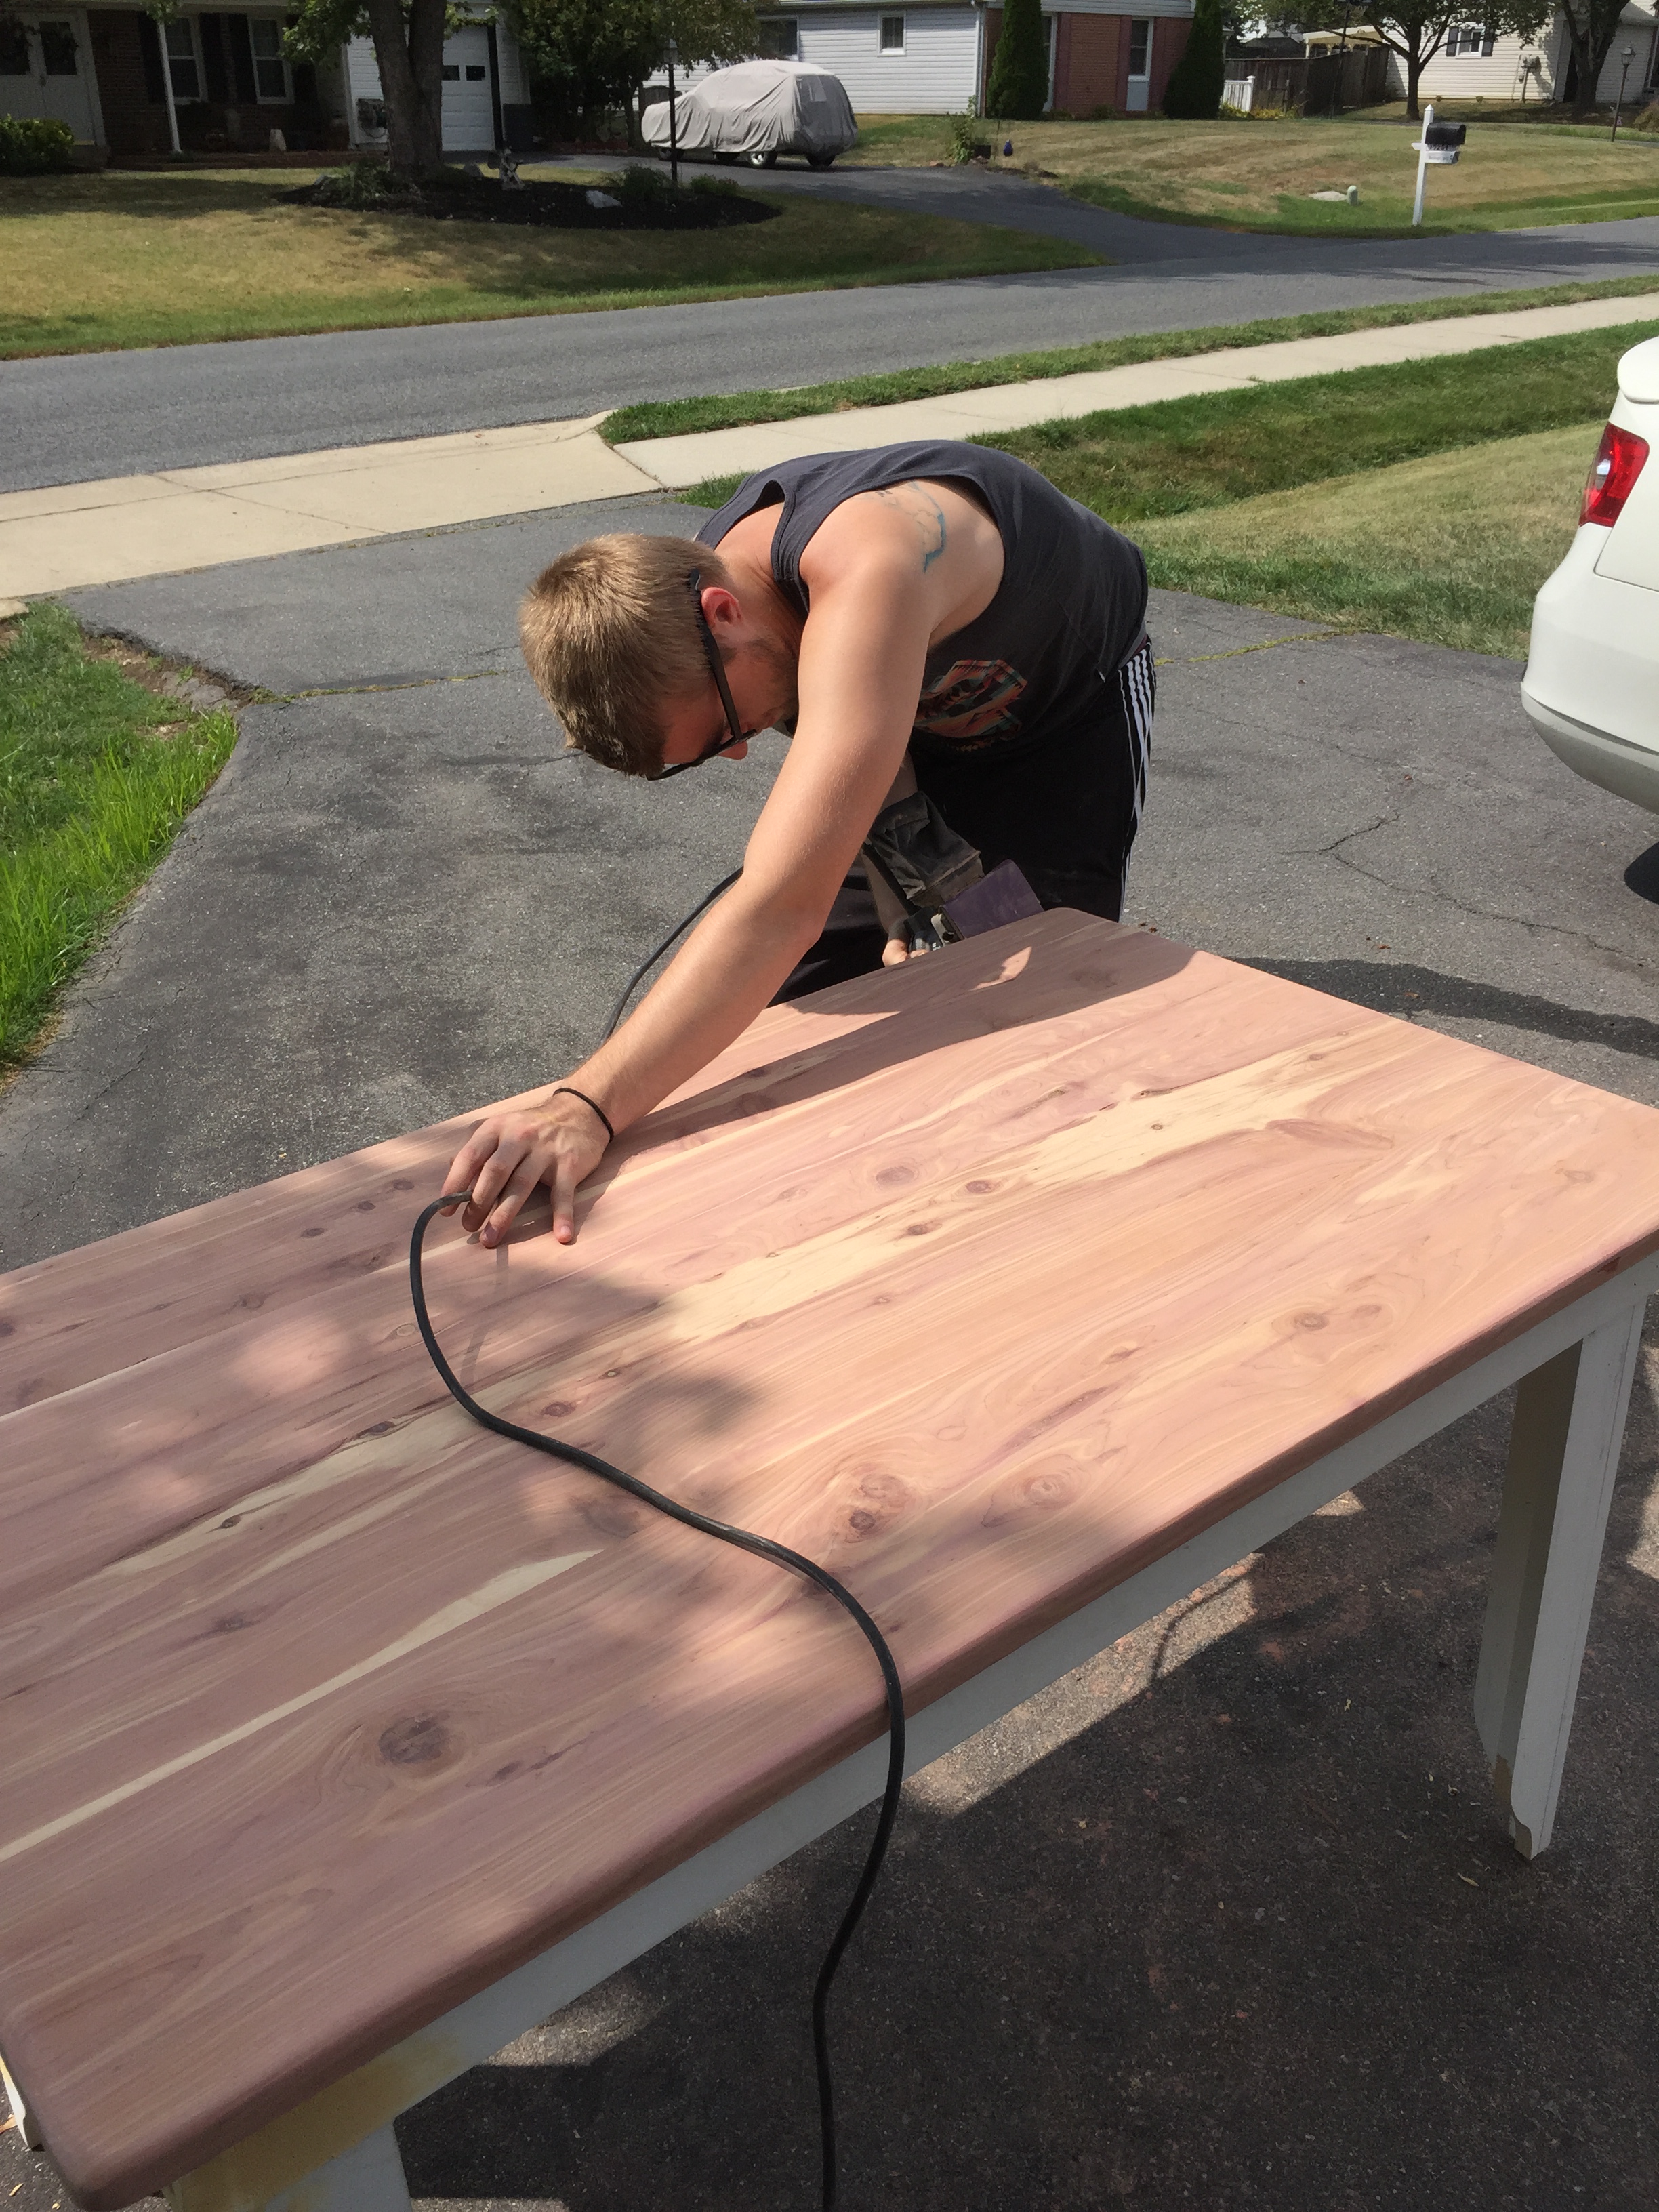
Now that we had all of the pieces assembled came the more grueling work. While it wasn’t as bad as watching glue dry, the sanding process of the tabletop took several hours. First, the entire surface had to be sanded with heavy grit sandpaper (40 grit) on the top and sides to get any glue, sealant or other imperfections that may have been present.
We slowly worked our way up the sandpaper grit numbers to get a flatter tabletop (80 & 120 grit), but it still had some rough areas that needed to be smoothed out with the super-fine sandpaper (400 & 600 grit).
With the tabletop at an almost sleek perfection, we decided to add one more detail to the table that would give it an even more professional look—rounded edges and corners.
Since hard corners on tables inevitably end up stabbing or poking someone eventually, we took our sander and sanded in an arc motion on all four sides to round them down without removing too much of the table’s wood. Once all four sides and corners were smooth enough to run your fingers across without getting a splinter, it was time to get this table looking a bit more finished.
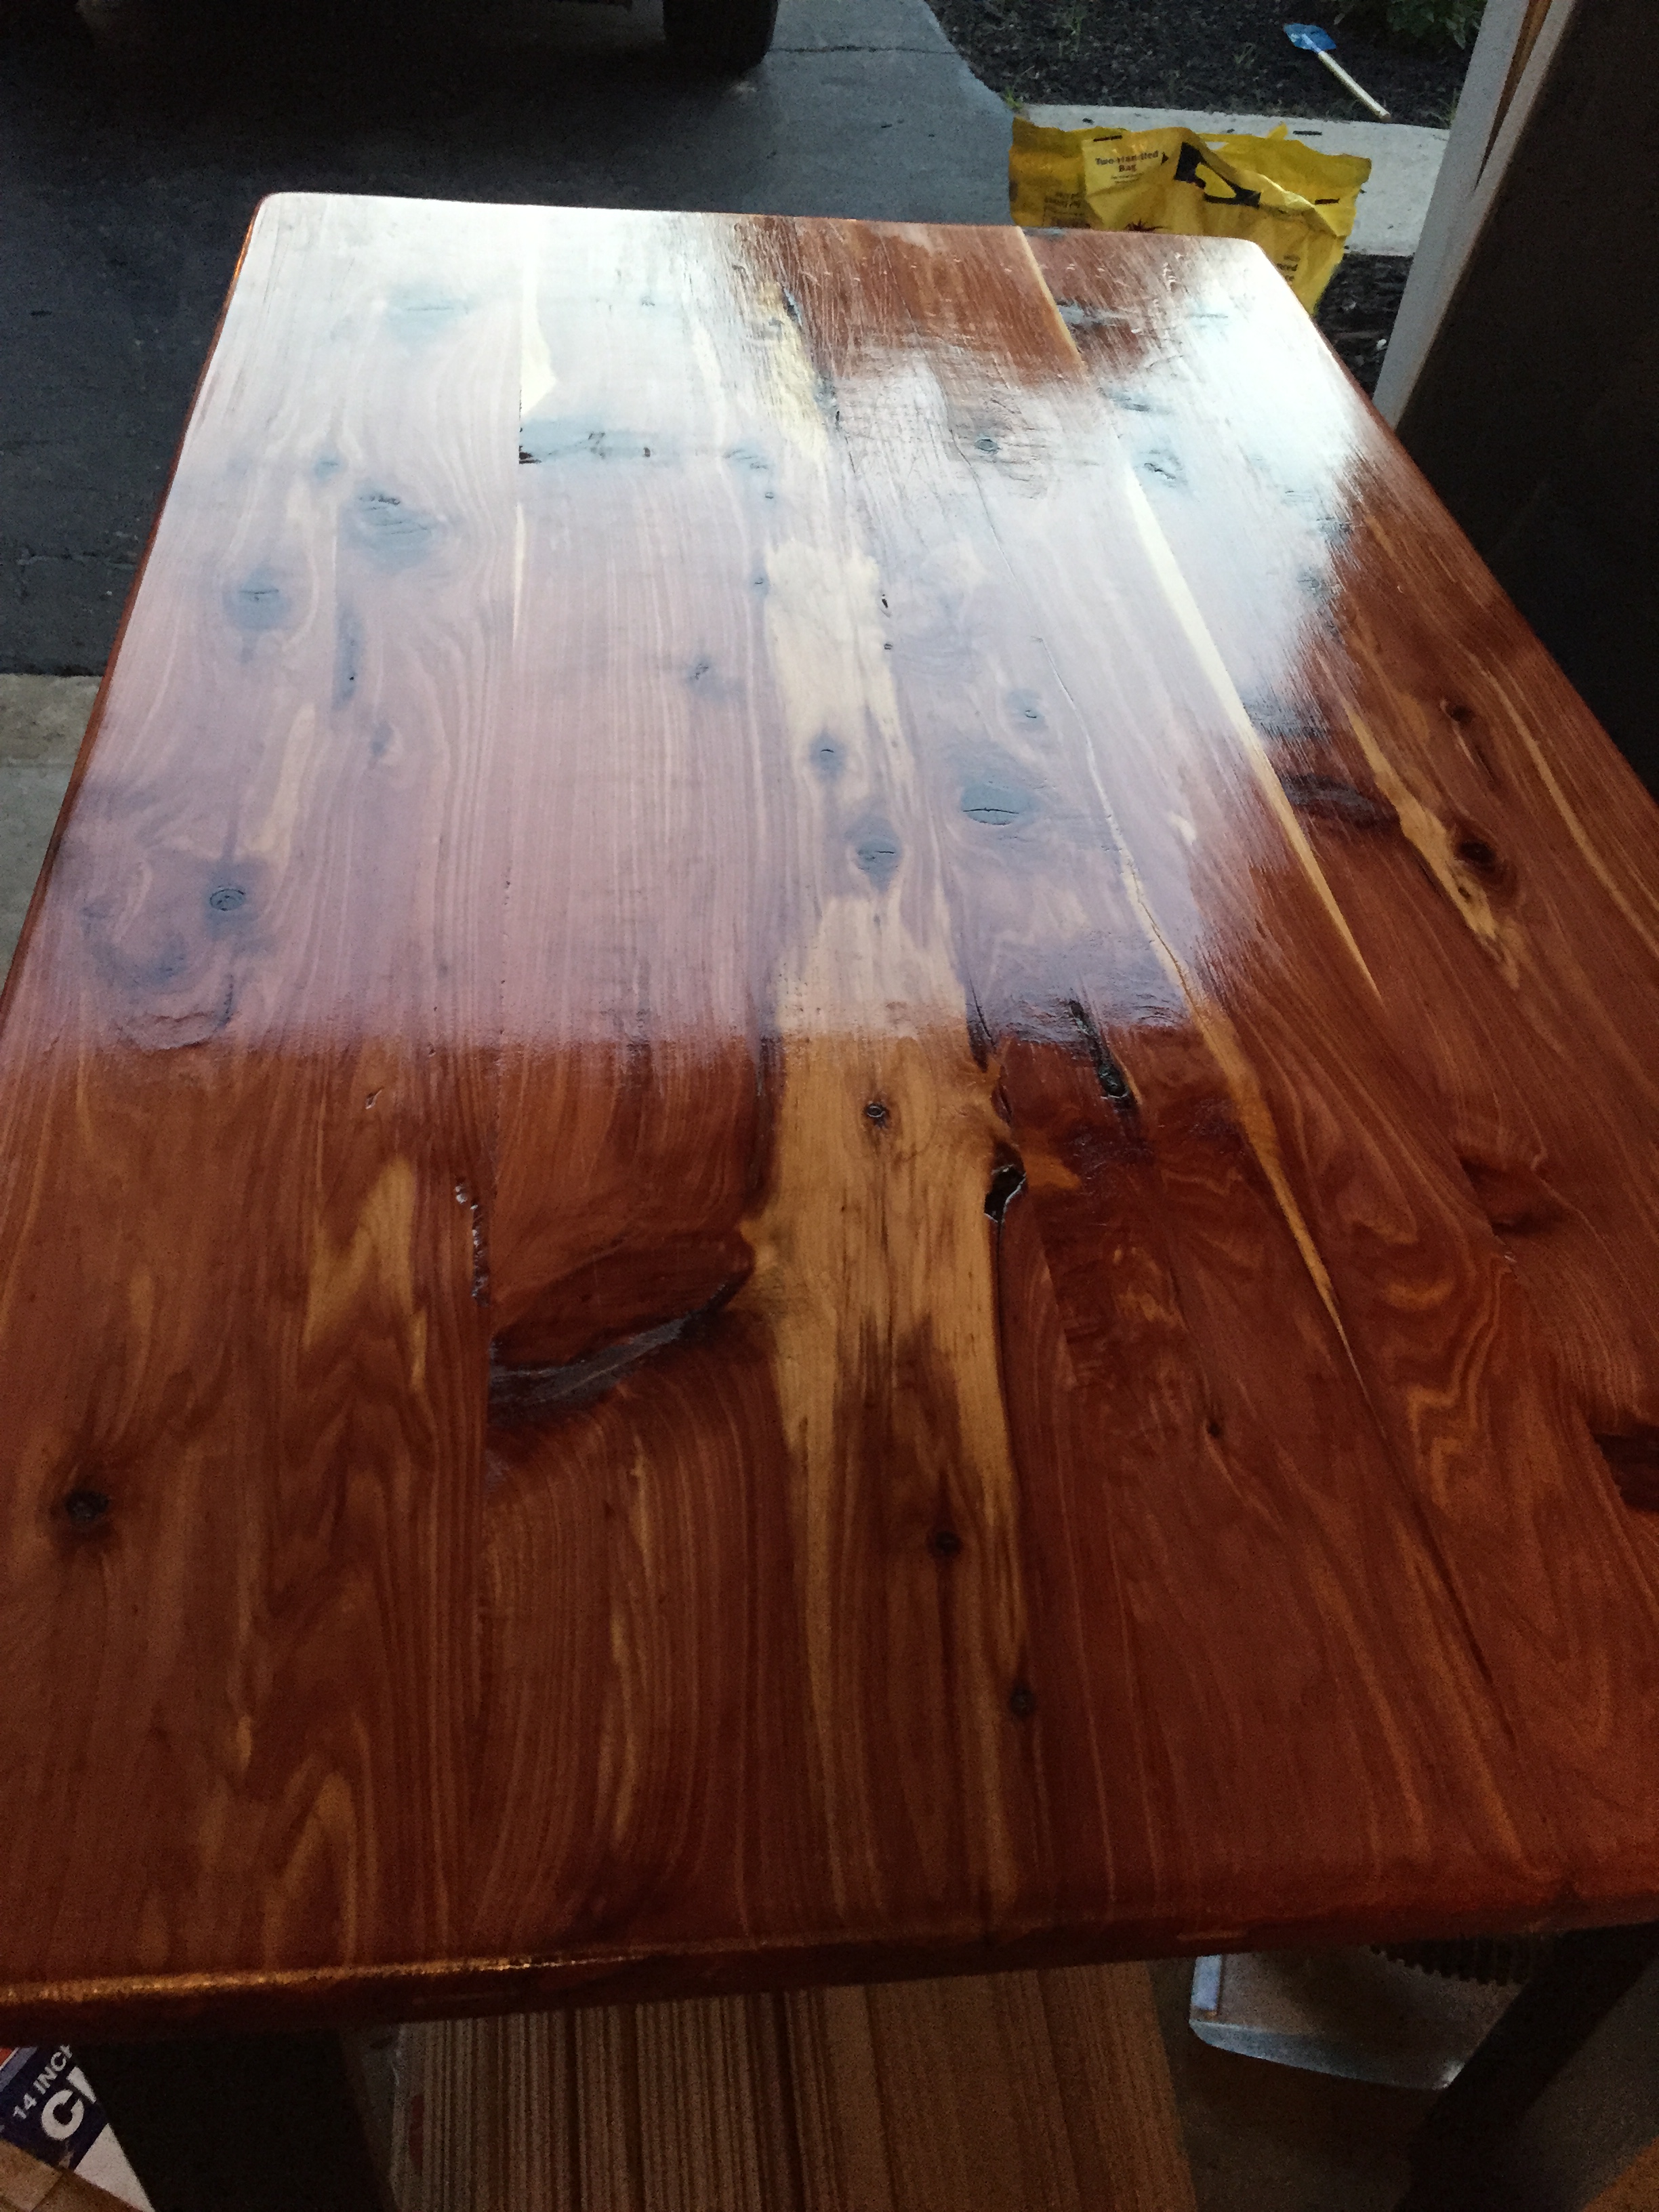
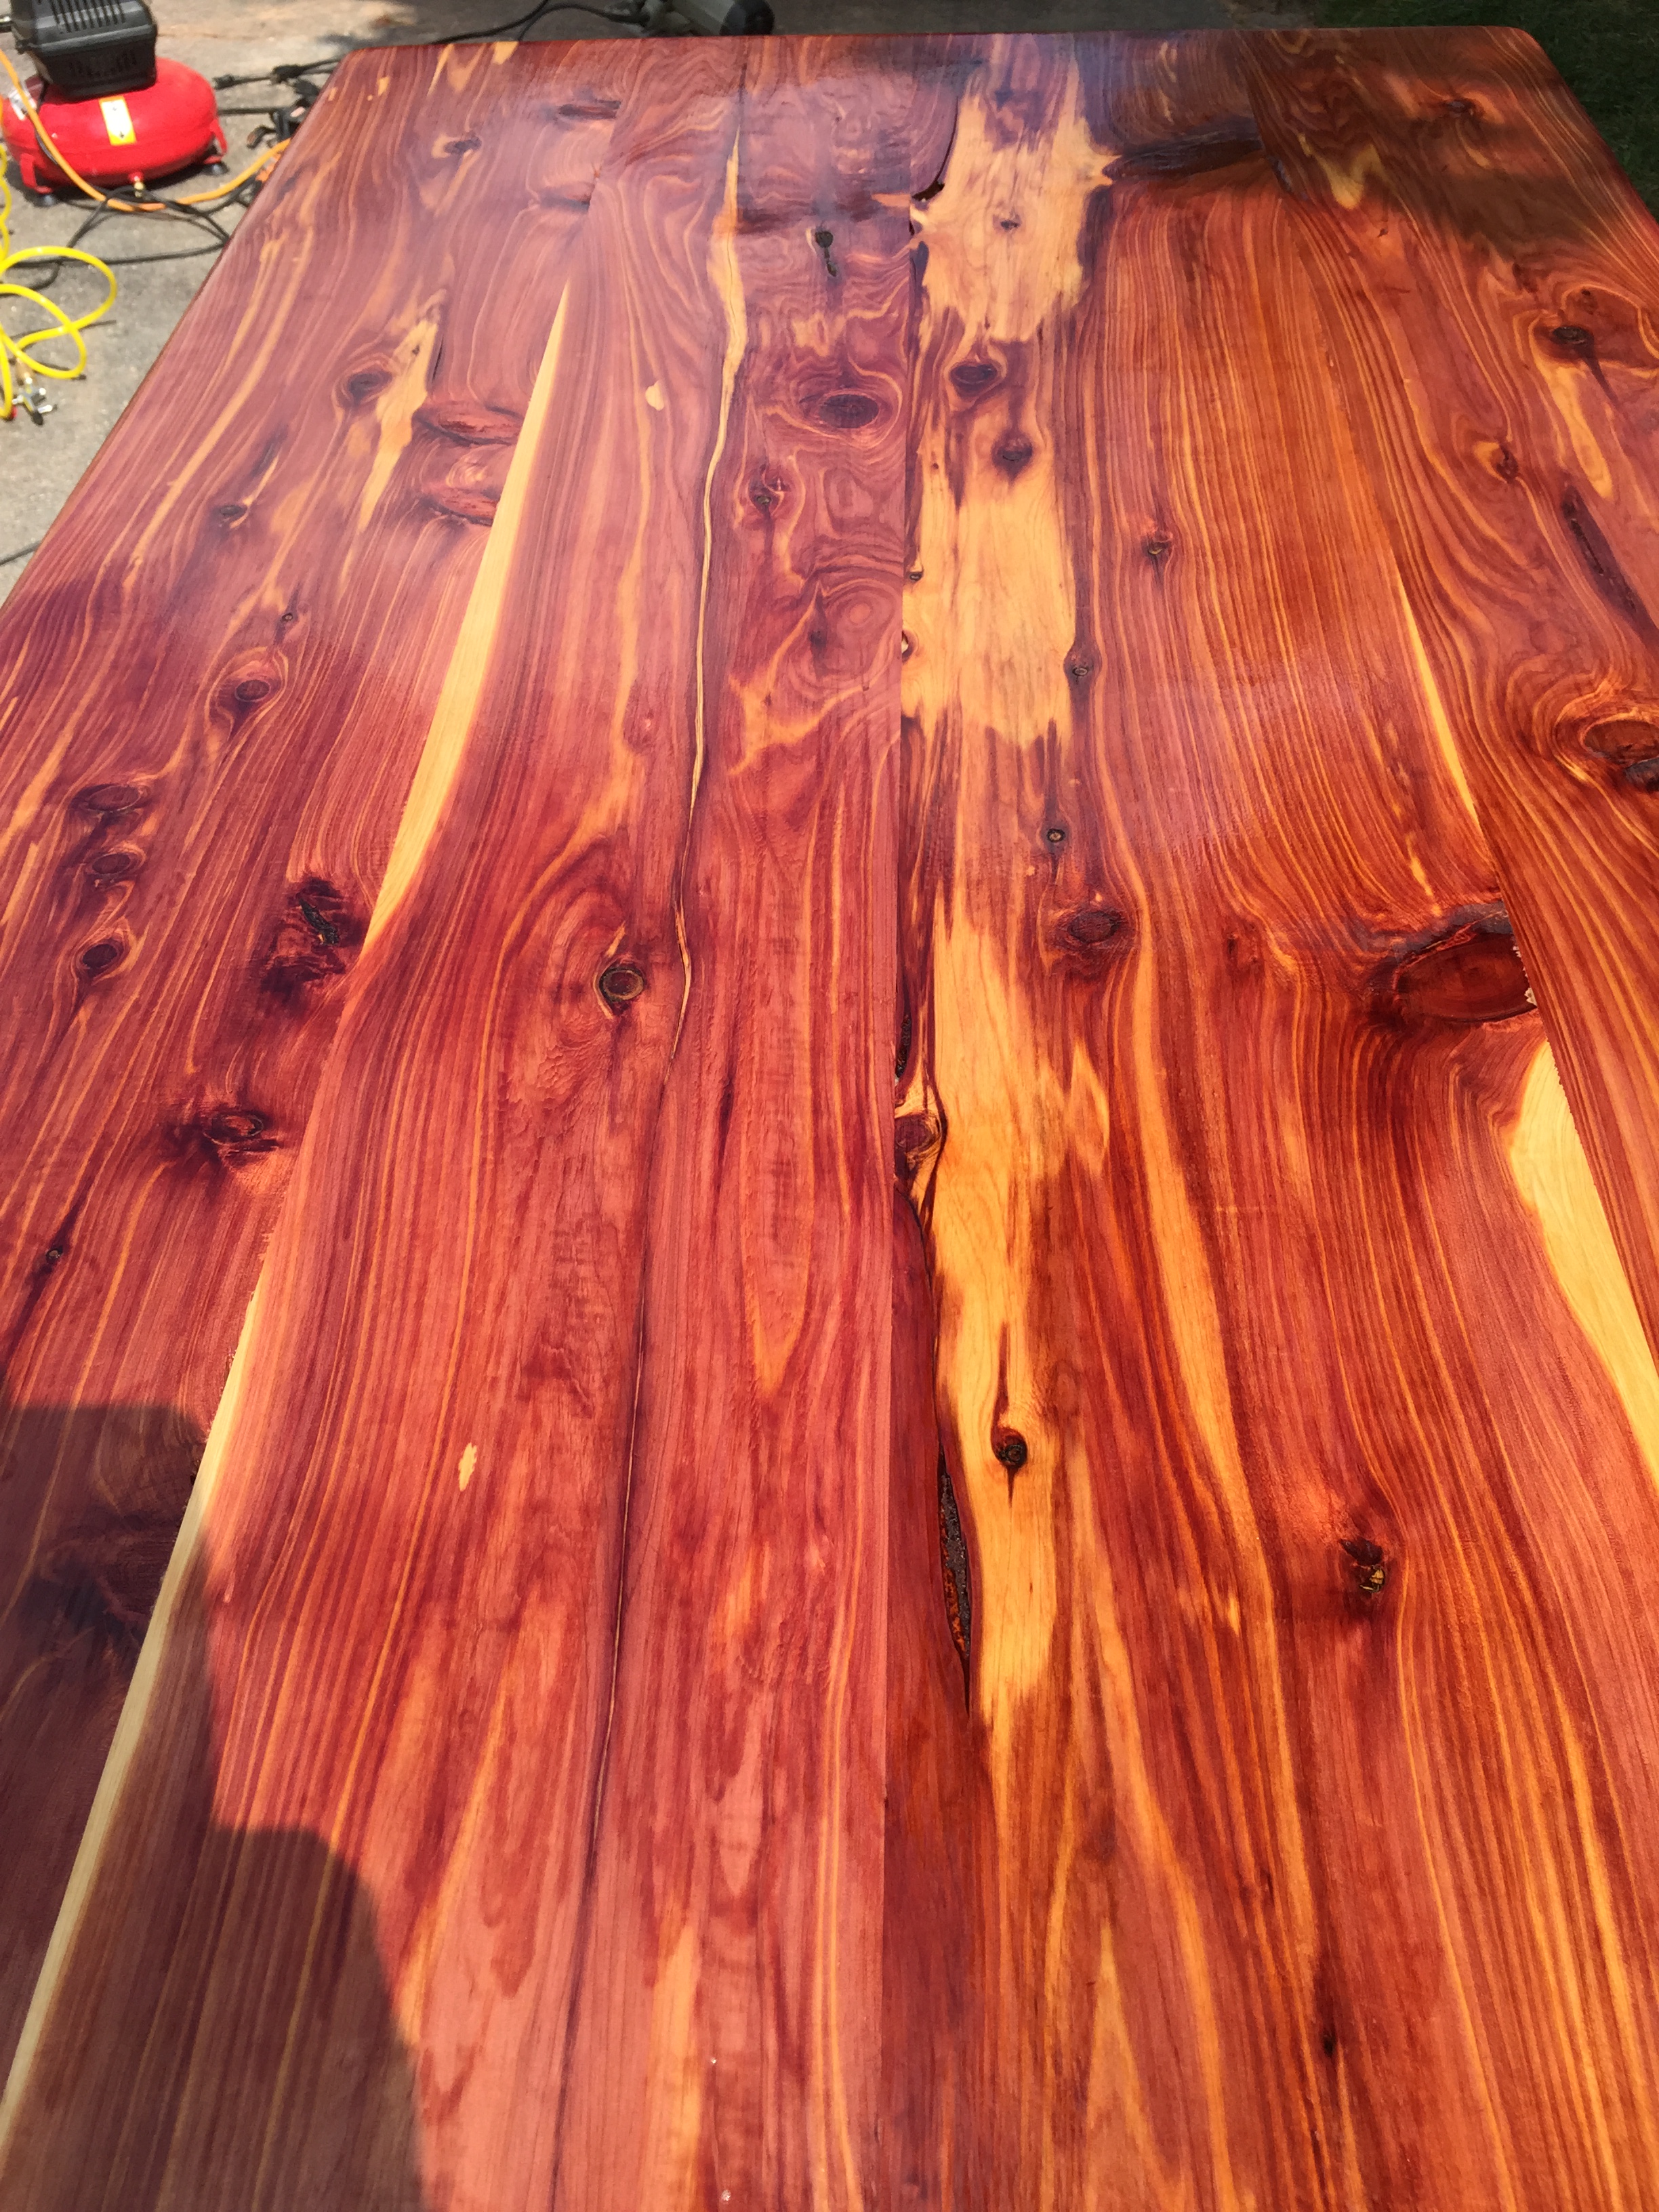
To match the other furniture in my dining room, I chose to paint the legs and skirt black that would offset the clear-coat stain I chose for the wood. While many may use stain colors, an advantage of clear-coat stain for red cedar is the fact that it wets the wood and then locks in the color it looks when it’s wet. As you can see from the images, the ‘wet look’ of the wood is a popping red that has no need for artificial coloring.
The clear coat took maybe an hour or so to dry and within the same day I was able to load the table onto the back of Little’s truck, take it over to my apartment and place it in its new home. While I may not have matching chairs for the table, the table itself is a brilliant color that brightens the room and astounds any visitors asking where I got it from and I slyly grin and just say “I built it with a colleague from work.”
If you have any specific questions regarding the steps or anything I may have glossed over, don’t hesitate to reach out.

